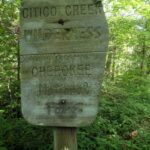
We tried to generate power from Citico Creek using a fire hose and some sort of generator. This was originally Scott Gilliland’s idea, and we volunteered to put this craziness to the test by carrying an extra compatible hose all the way down the mountain with us!
We were trying to make it entirely gravity driven, but the place we were at on the creek didn’t drop far enough to create enough pressure to work with the equipment we brought.
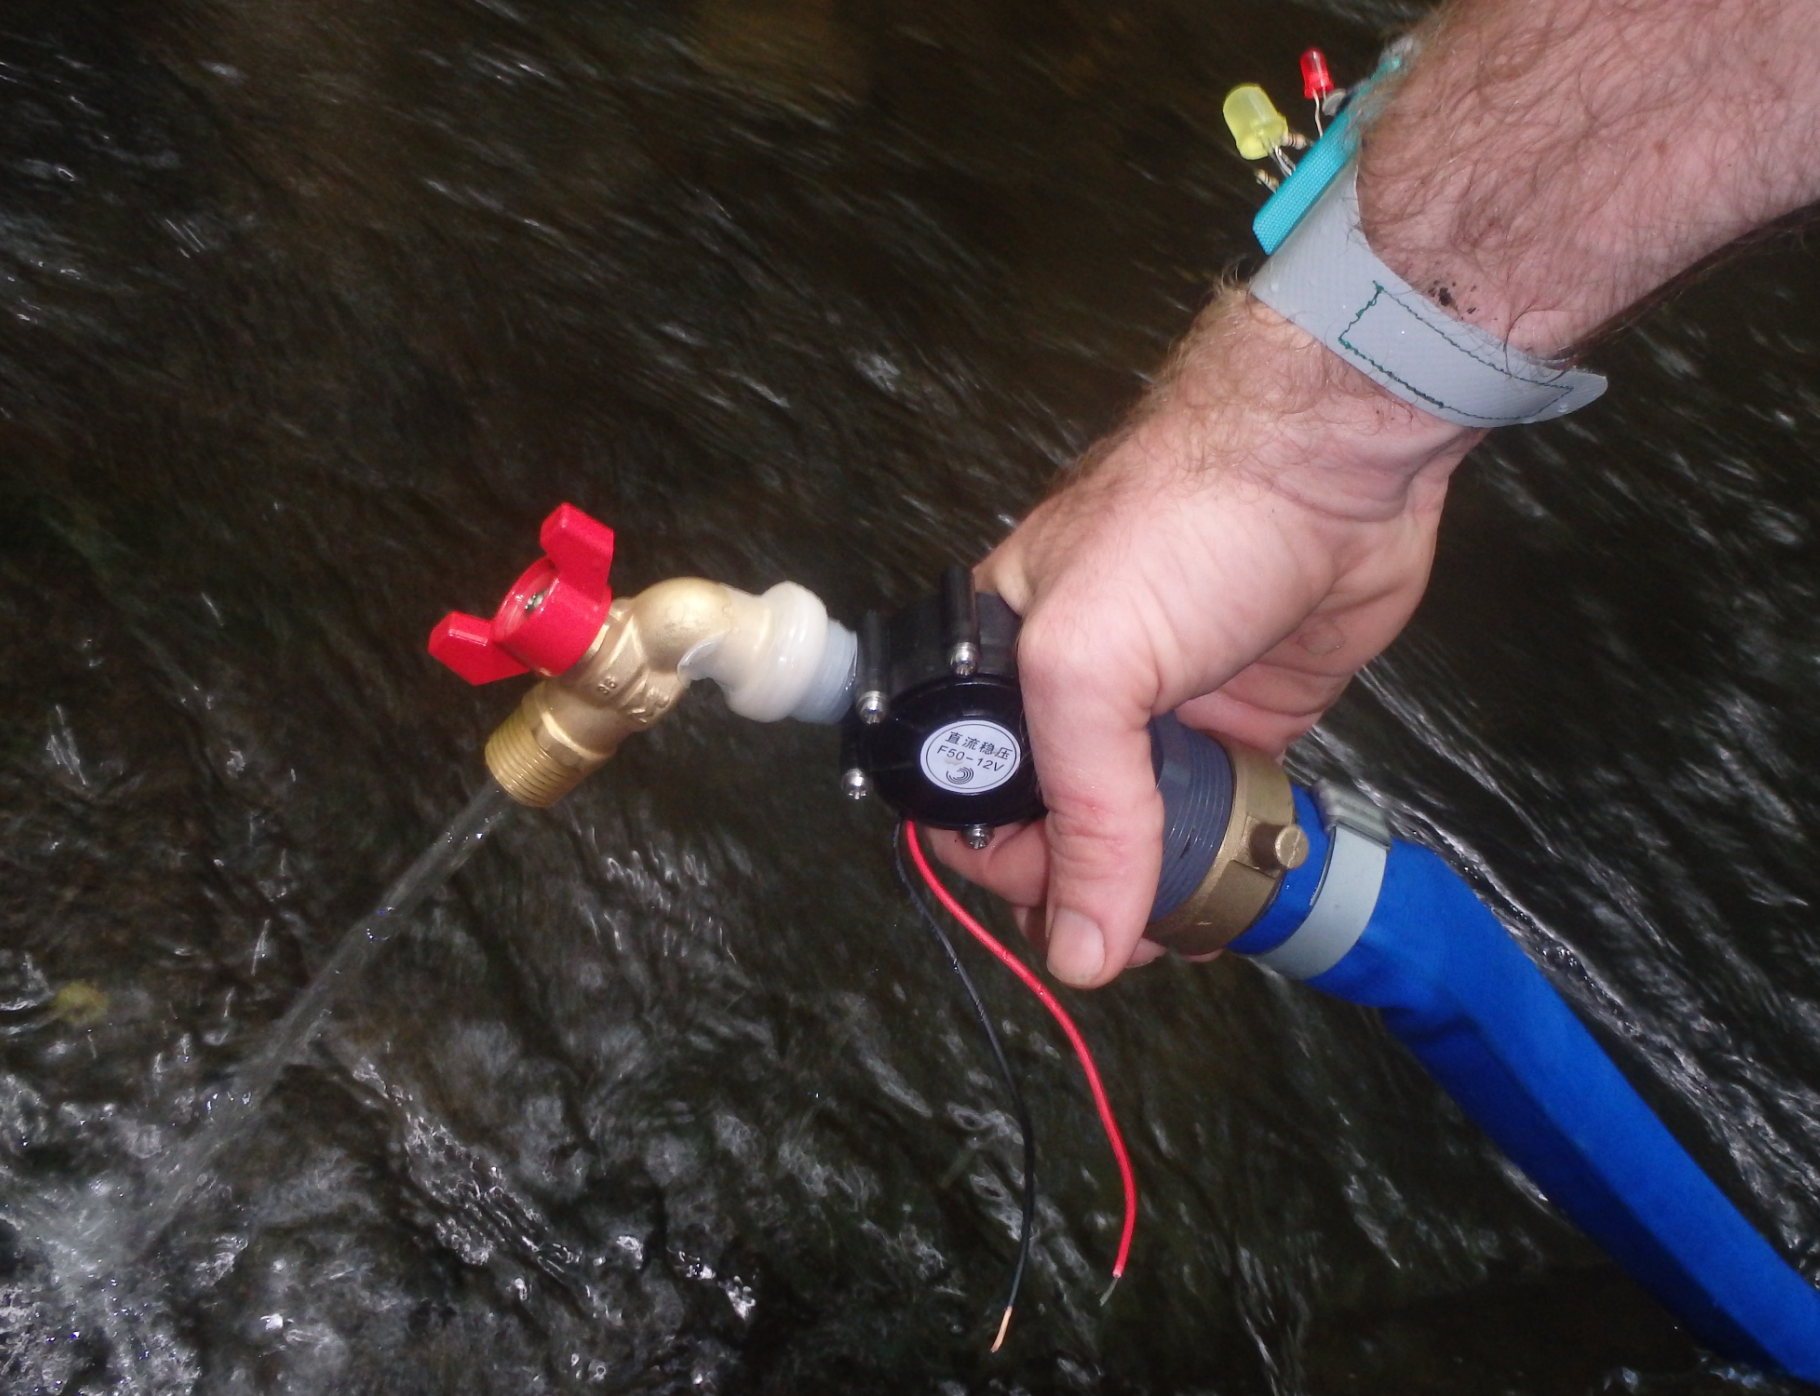
Attempts to create a portable system for harnessing energy from rushing water. A 50-foot firehose was placed upstream connected to a PVC opener. At the low end, an electric generator was attached to hopefully created electricity. This generator was not useable with low-pressure systems, and thus a different generator will need to be attached in future trials. The basic proof of concept seems valid however!
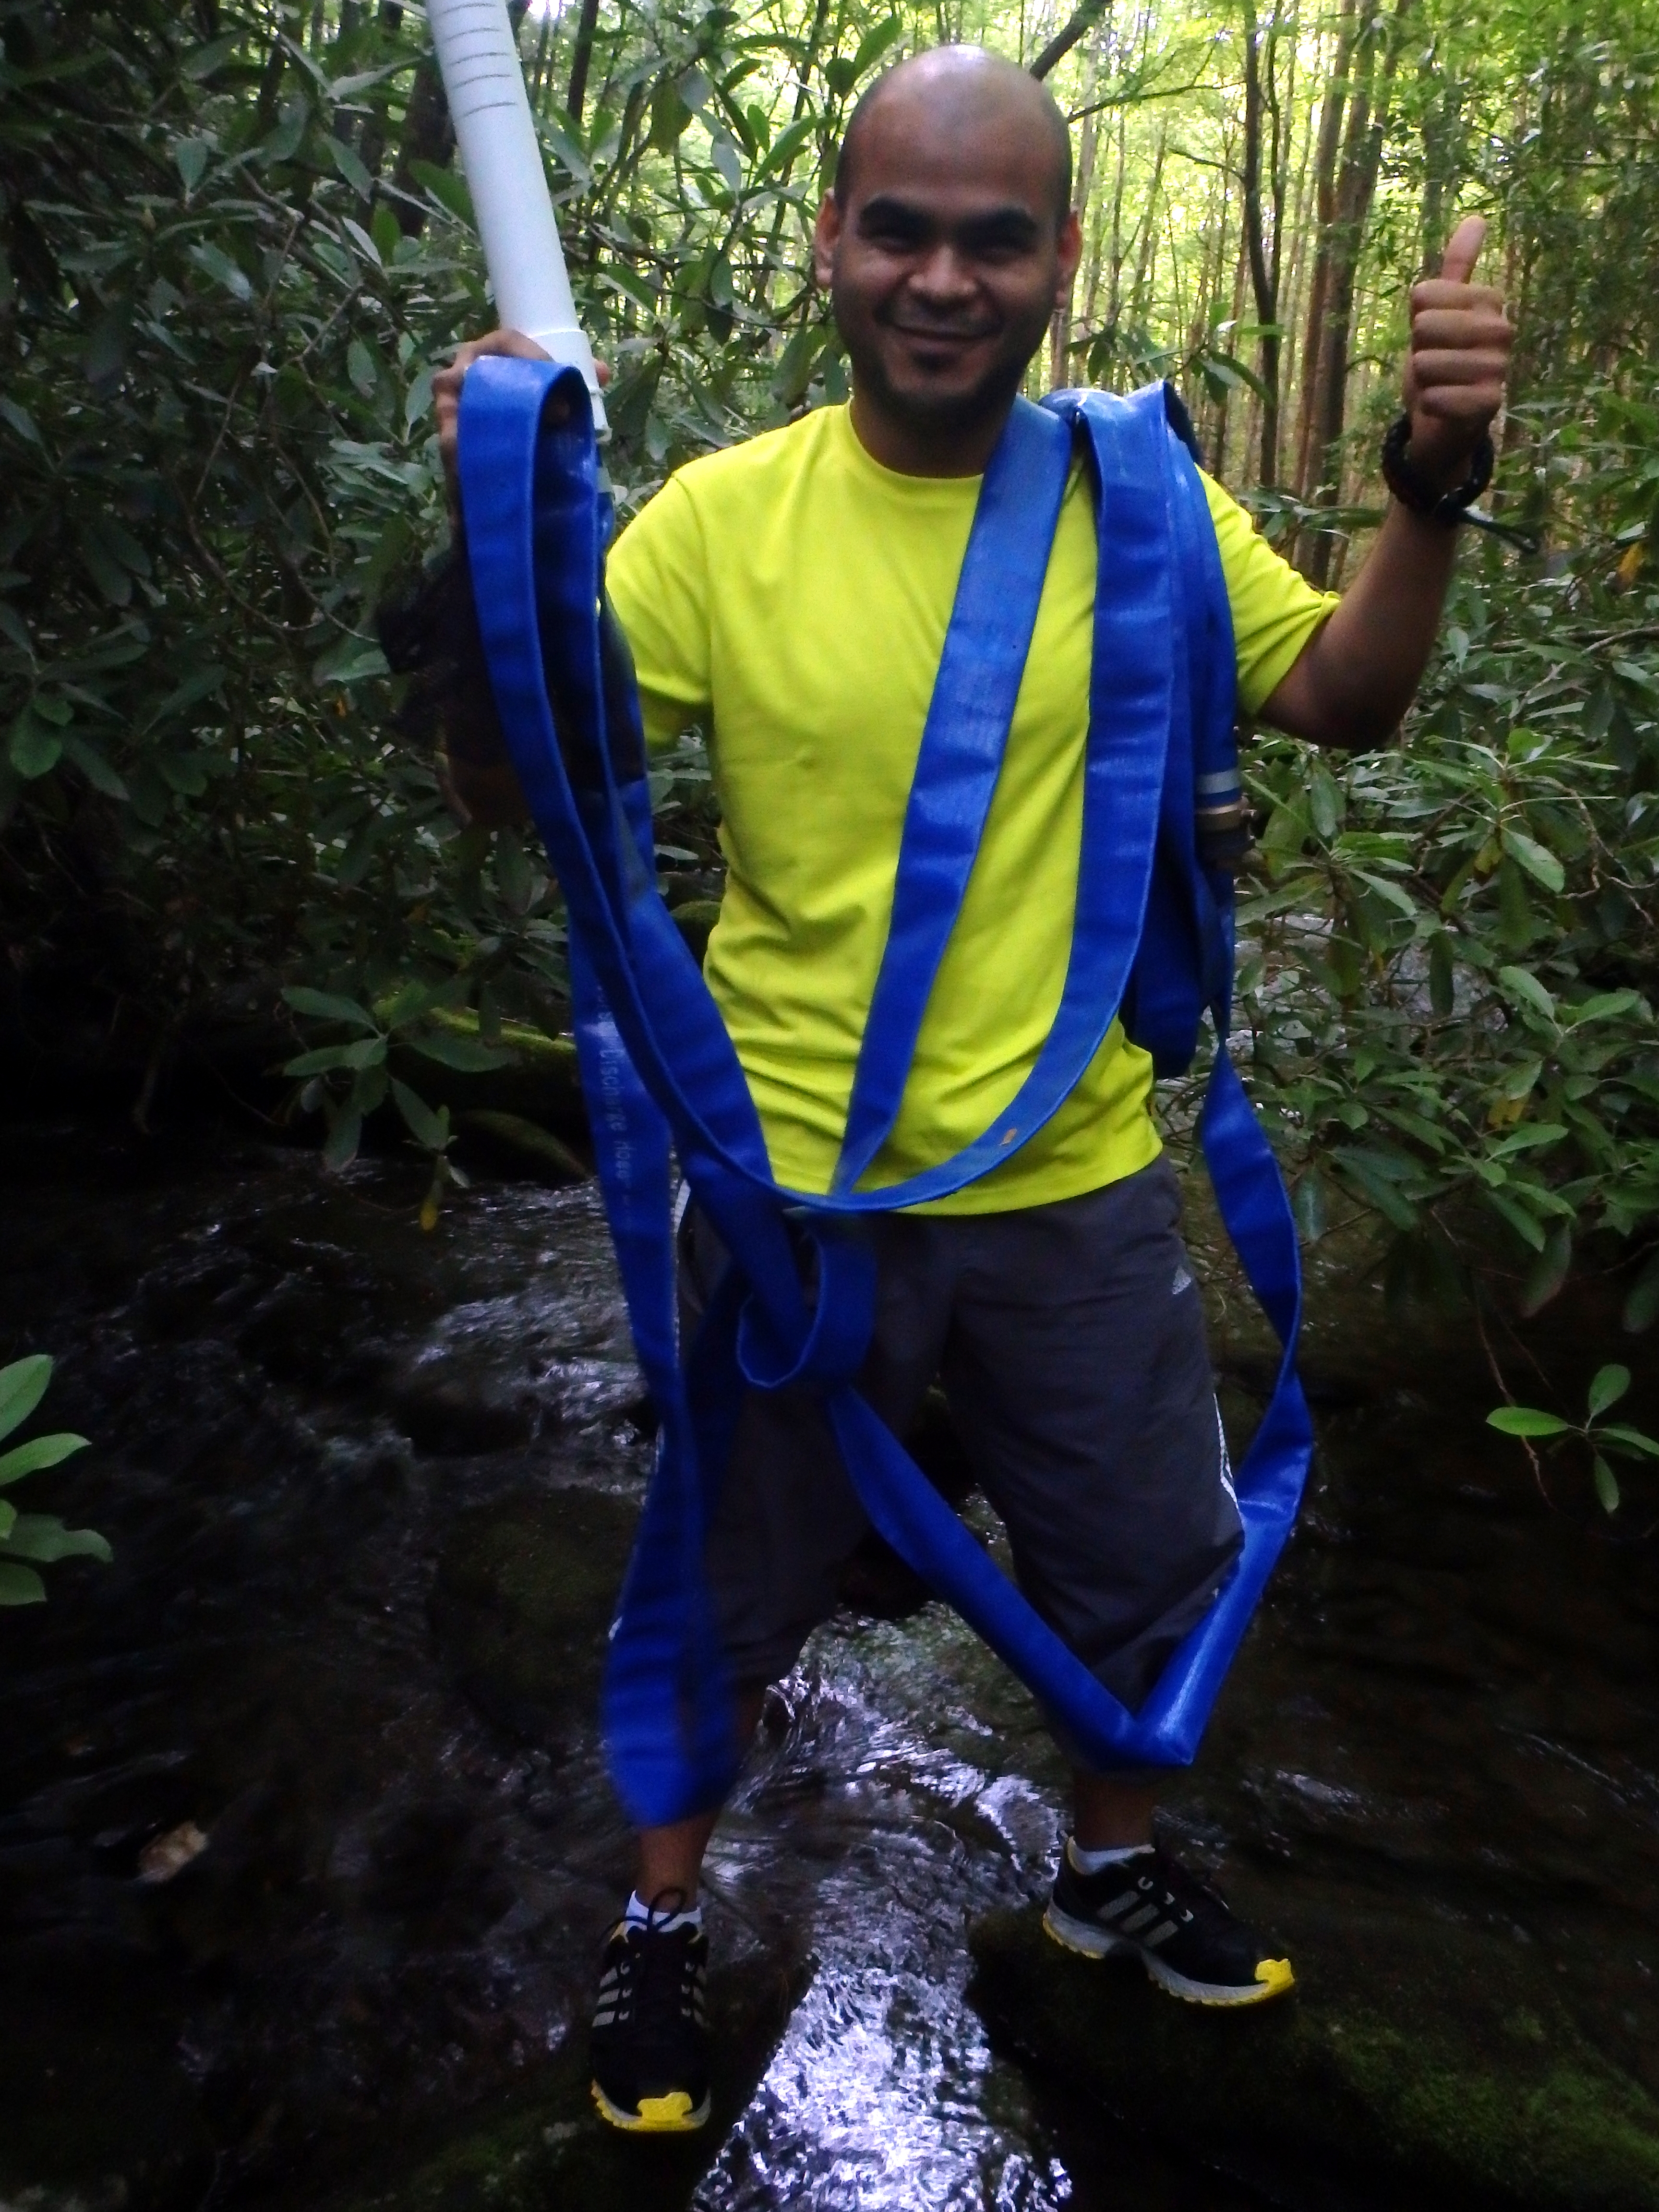
Shiva with the top end of the hose in the creek
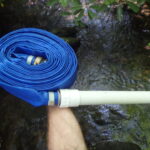
Portable Hydro power system made by Scott Gilliland
Hand-made turbine electrical generator
The fire hose was so heavy that the water wouldn’t even push the sides out enough to get unobstructed flow. Basically the hose was restricting flow through it. Also, the generator we brought was designed for higher pressure that we could create, so the water flowing through it wouldn’t even turn the turbine.
We could solve these problems from two different directions. We could have hike up in to the mountains to find a suitable waterfall, so that we really could have gotten a 50ft drop from the 50ft fire hose. That theoretically could have generated enough pressure to turn the turbine, but getting a hose to the top of a waterfall isn’t exactly easy, and if there’s not a waterfall near the campsite, getting the batteries to the base of the waterfall and on dry land isn’t really convenient.
Better would be to bring gear more suited to the environment and task that we were dealing with. We now know that in the location we were at the creek drops about 5 feet over 50 feet of length. We could calculate the pressure that could generate and find a hose that works with that low of a pressure and a generator that works with the pressure also. We’d generate less voltage, but there are ways to deal with that, like a voltage booster, that would do the job for recharging batteries.
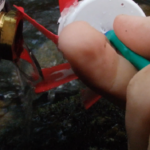
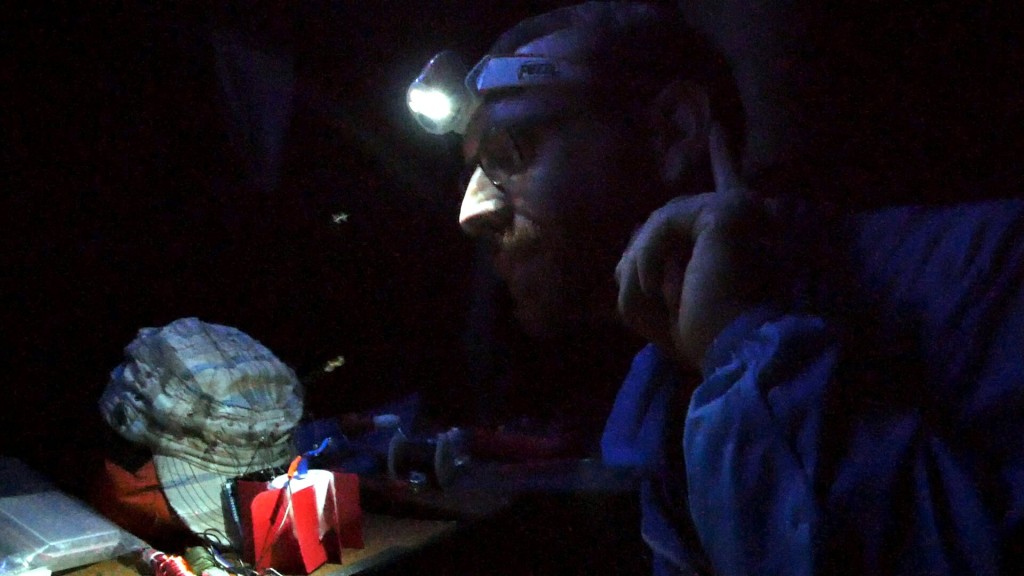
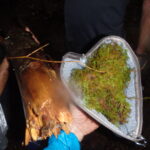
We tried building our own, low-power generator from a small vibration motor and a plastic cap. It delivered about 50 millivolts of electricity. This amount is quite insignificant, but it does prove the entire concept of harvesting electricity in a quick portable way from nearby water sources is valid. if anyone has suggestions of good, pre-existing turbines we should use, let us know!
Late Night Hacking of our own turbine
We came prepared to jump start a car when all we really needed was to trickle charge a LiPo. Next time, we’ll be even better prepared to harness the power of the water!
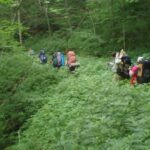
The first day of hiking was easy, until it wasn’t. I had planned it to take two days of walking to get to the NFCCDL (Owl Camp), but the early part of the day had been so easy that we’d gotten optimistic that we could make it in one day of walking. That turned out to not be the case. It started getting bad when we realized that my map was out of date and that the terrain would be somewhat different than we’d expected. At the end of the day, we had hiked 7 miles and still just ended up completely exhausted and camped on the side of a waterfall. It really was for the best that we stopped though. If we’d kept going, we wouldn’t have made it to basecamp before nightfall, and there’s no way Andy and I would have recognized it in the dark.
The second day of walking started out only moderately difficult, at least compared to the end of the first day, and it just got easier. Andy had scouted ahead and found the place we had eaten lunch on our scouting hike a few weeks before and had reported that the trail went downhill a lot and that it flattened out as it got closer to the creek bed. But when the group got down towards the creek, we never passed any landmarks that we recognized.
As I walked along the creek, I got more and more concerned that we had either missed our target or that it was much farther away than we thought it was. I didn’t see our lunch spot, and I didn’t even recognize the trail. We weren’t passing terrain that seemed familiar at all, and I didn’t remember walking on a raised spot in between two branches of the creek.
I’m getting more and more skeptical when Andy runs back up the trail and says that he thinks he’s found the campsite but that he needs me to come take a look, because he’s been having the same problem. He didn’t remember passing our lunch site today, and the campsite looks quite a bit different.
I followed him down the trail and took a look at the site. It looked similar, but I didn’t think it was the same place. Something seemed off, and I still didn’t think we were on a part of the trail that we’d seen before. But there was a nice fire ring, and a little knoll next to the creek with a couple trees that were just right for a hammock. Whether it was the right site or not, it would make a good site, and people were getting a bit restless (and maybe doubting my navigation and planning abilities). Each hiker who trickled in to this perfectly acceptable, yet possibly unknown place, asked a version of the question, “Is this it?” I had to answer that it seemed like maybe but that I wasn’t sure (not a very good answer).
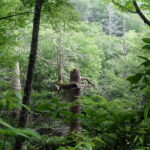
We decided to eat lunch there regardless and to take a little break. While others ate, Andy and I walked down the trail a bit looking for anything we recognized, but all I saw were obvious landmarks that I definitely did not recognize. I was certain we’d never hiked this section of trail before and couldn’t reconcile the fact that that campsite looked so familiar even though nothing else did. There was a tree nearby that had been struck by lightning, which I knew could have happened since we’d last been there, and I was willing to accept that things may have changed, but I needed at least one more landmark to be certain.
Andy finally spotted it: the beaver dam. It’s probably not a real beaver dam, and it didn’t look the same anyway, but sure enough, there was a bunch of sticks blocking a branch of the creek where the trail crossed it, and you could either cross in the deep end or the shallow end over a kind of weird drop in some rocks. Andy wasn’t convinced it was the same, but I was.
We walked back to the quizzical looks from the crew eating lunch at the basecamp. Andy said he was like 75% sure it was the site. I said 90%. We hemmed and hawed until I saw the stick Andy had stuck in a hole in a tree, exactly where’d he’d left it on our scouting trip. This tipped the scales for me. There was no way we weren’t there, although Andy played the skeptic for a few more minutes. The thing that convinced Andy was me getting a GPS reading on my phone that showed us pretty much exactly where we thought we should be (that’s a discussion for another post though).
This experience had a pretty profound effect on me. It had only been three weeks, but so much had changed. Different plants were blooming, some severe weather had knocked down some trees, and we eventually figured out that there had been some really significant trail maintenance that changed things. Even a place established to minimize the impact of people can change with the blink of an eye, and when you aren’t accustomed to the landmarks and signs that do stay relatively constant, you can stand in the exact same place and think you’ve never been there. It’s very disorienting, and it made me want to learn or develop techniques for avoiding it. How can you observe and annotate the important landmarks in the wilderness? What even are the important landmarks in the wilderness? And if they change, how do they change and how can you learn to see what was there before? Creeks rise and fall; flowers bloom and wilt; trees fall and crush other trees, and people clear the brush from the trail. Maybe environmental consistency is a human construction and requires concrete and alphabets to establish and maintain. Change may be the only constant, and when you’re confronted with it, how do you relate it to the things that you are actually certain of?
I don’t know, but we camped in a wonderful location for several nights. It began to feel very familiar, and each day I began to notice little things that had changed from the day before. Even though I felt comfortable, the forest seemed new and different every time I woke up. By normally living in an environment that is so severely controlled, maybe we forget that one of the things that makes the wilderness wild is the fact that we aren’t the thing that has control over the environment. And maybe, for me, that’s the thing that bothers me (in a very mild, non-confrontational way) about the core concept of the hiking hack. Are we going to the wilderness to tame it, or are we going there to observe it, and where is the line between the two?
Building the infrastructure for North Fork Citico Creek Digital Lab (NFCCDL) (Owl Camp):
From This: to This:
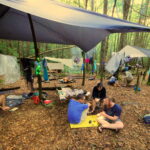
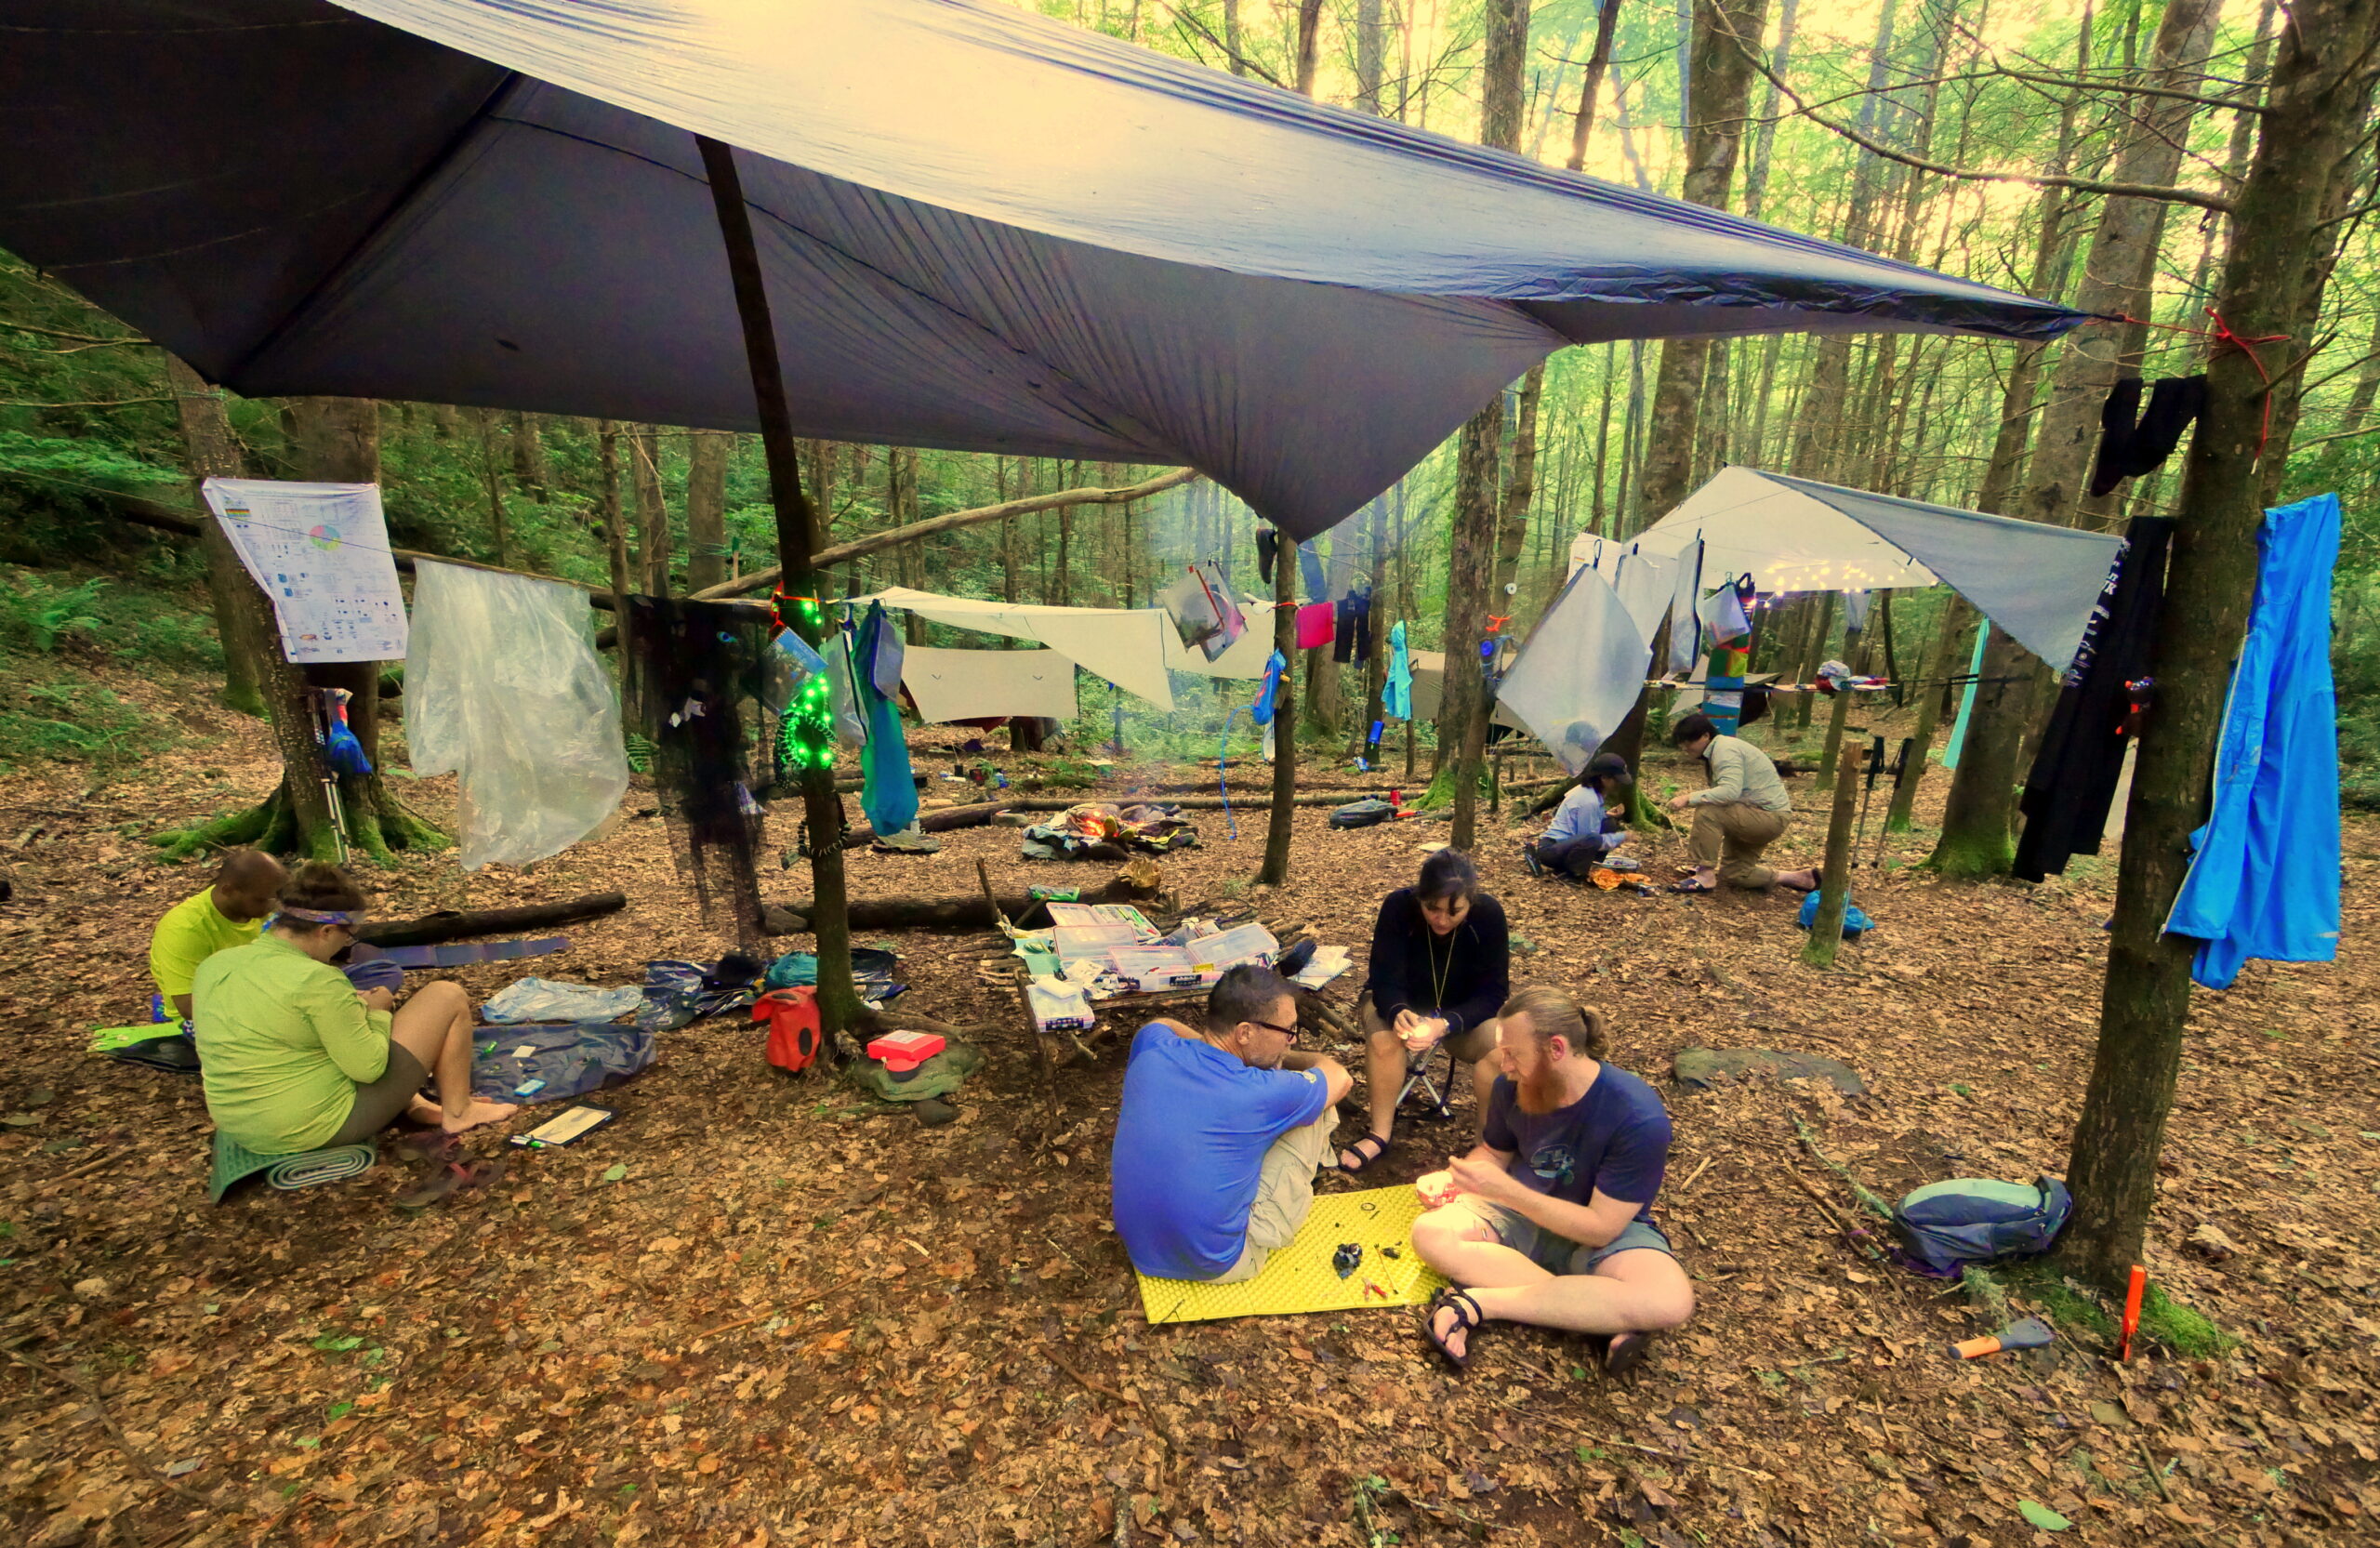
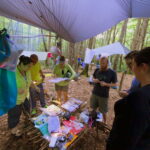
First day out of Unicoi Gap (TN) opened with an easy (albeit pack-heavy) stroll down an old logging road, later turning steep, wet, and slippery. After a night sleeping in a trailside encampment and a shorter hike down a much easier trail, we arrived at the NFCCDL (Owl Camp) site. Lunch was followed by a short but intense rain shower, what we erroneously supposed would be the first of many, so we scrambled to set up tarps for protection and as the first stage of the NFCCDL.
A 20×20 silnylon tarp stretched between four trees– a hickory, an oak and two dead hemlocks–and tied up by the Jeannette Andrew Elevation Team (JAET) became the main staging area, with headroom provided by another conveniently located uprooted hemlock trunk (probably the result of an earlier wind storm which also produced a ready stock of dead branches). Protected from water from above, the next order of business was avoiding the stream flowing through the nascent NFCCDL. Shiva gathered forked sticks, planted them upright, and we arranged and lashed rows of sticks, forming a 4×4 low table. Rain all you want, the designing can commence.
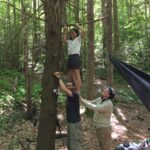
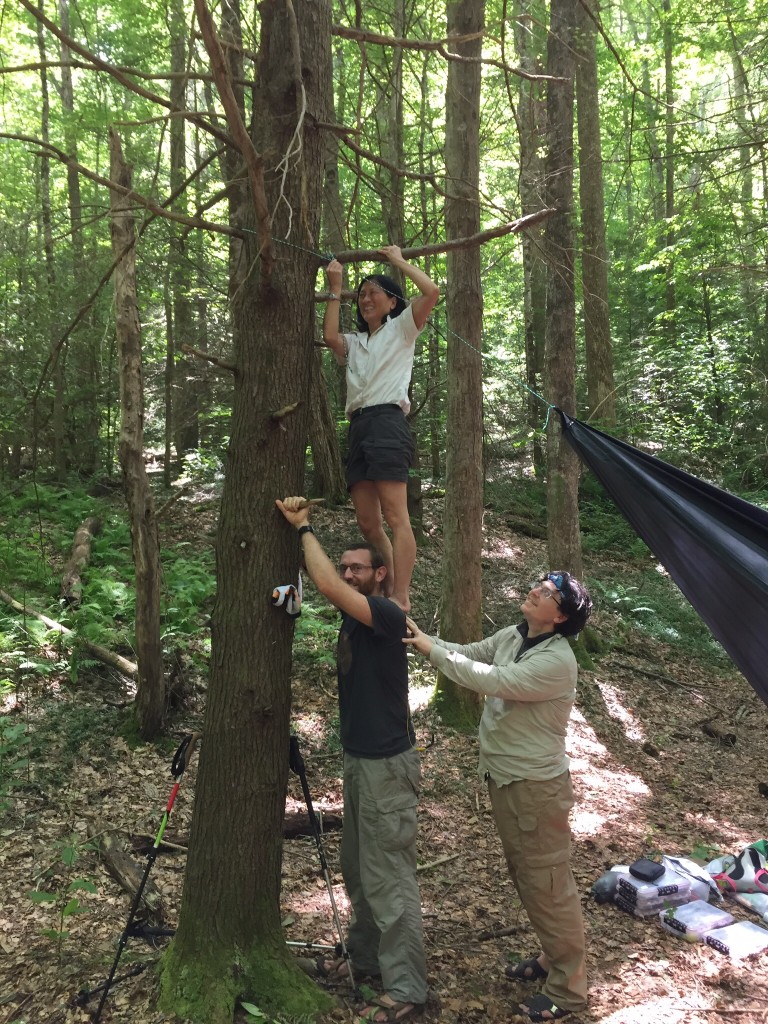
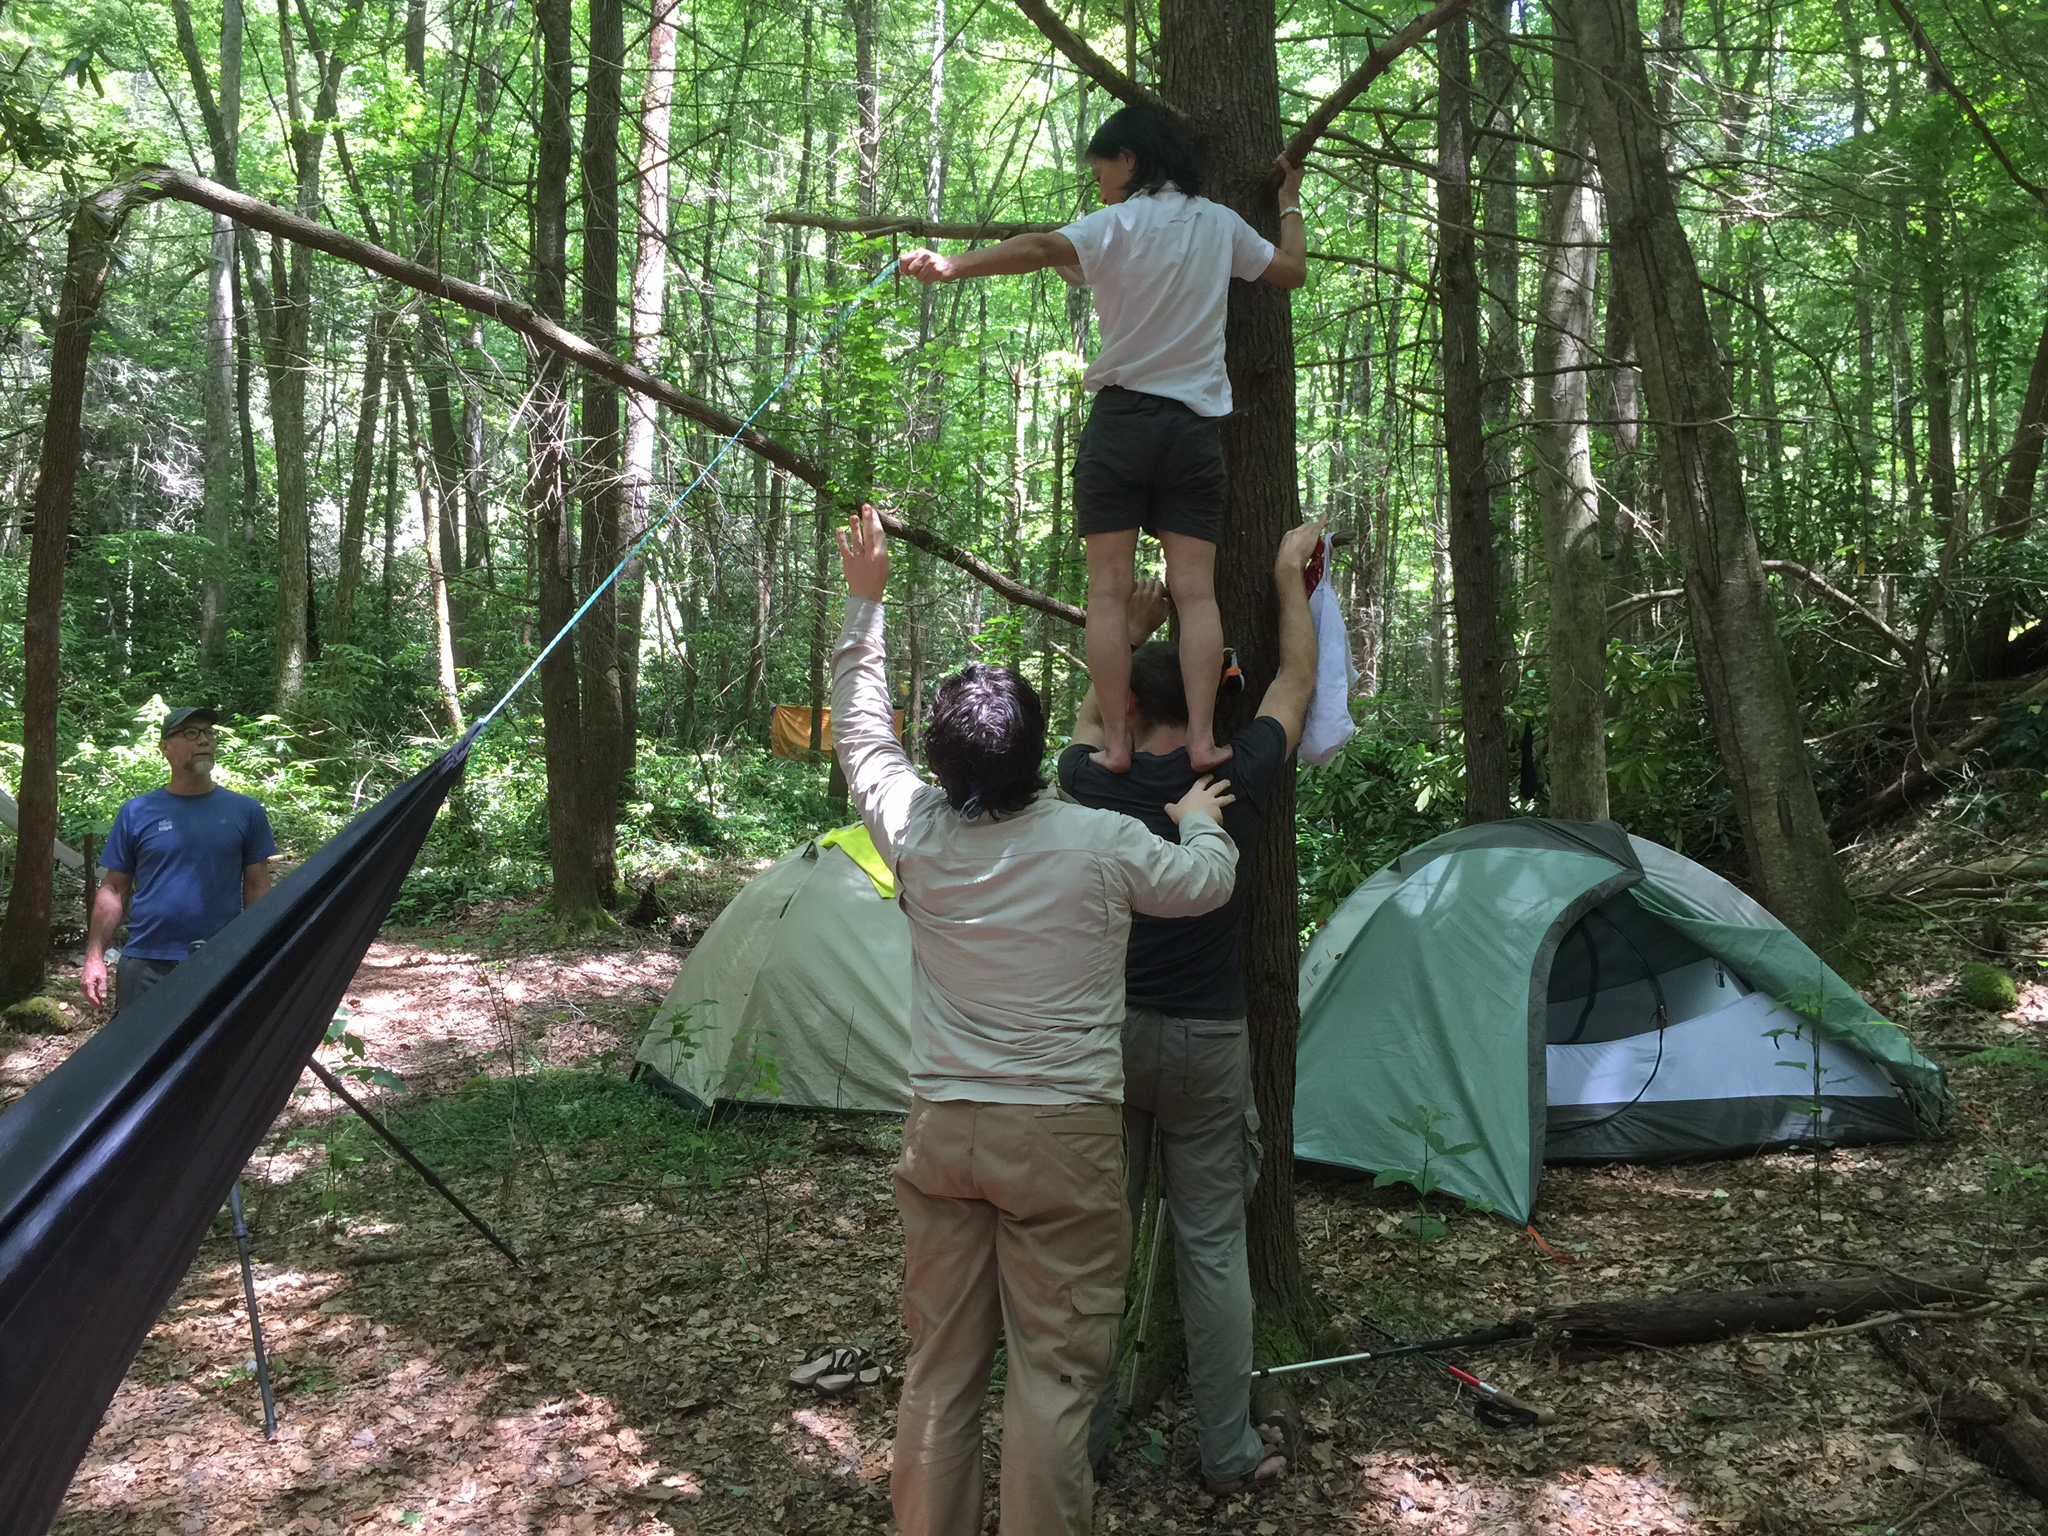
J- I loved my role as Master Blaster. At 5’, 96 lbs and agile, I could stand on the shoulders of Andy Q and reach heights that we could not have reached alone. We raised the tent of our workplace to unprecedented heights.
Master-Blaster for hanging Ropes high!
A- Our formation as the amazing Master Blaster duo was an important tool for the camp. As a 3 meter high mega monster, we were able to hang the roofs of our hacking labs quite high, to make for comfortable making!
After the last day of the prelim workshops, there was still SOO much for me to do.
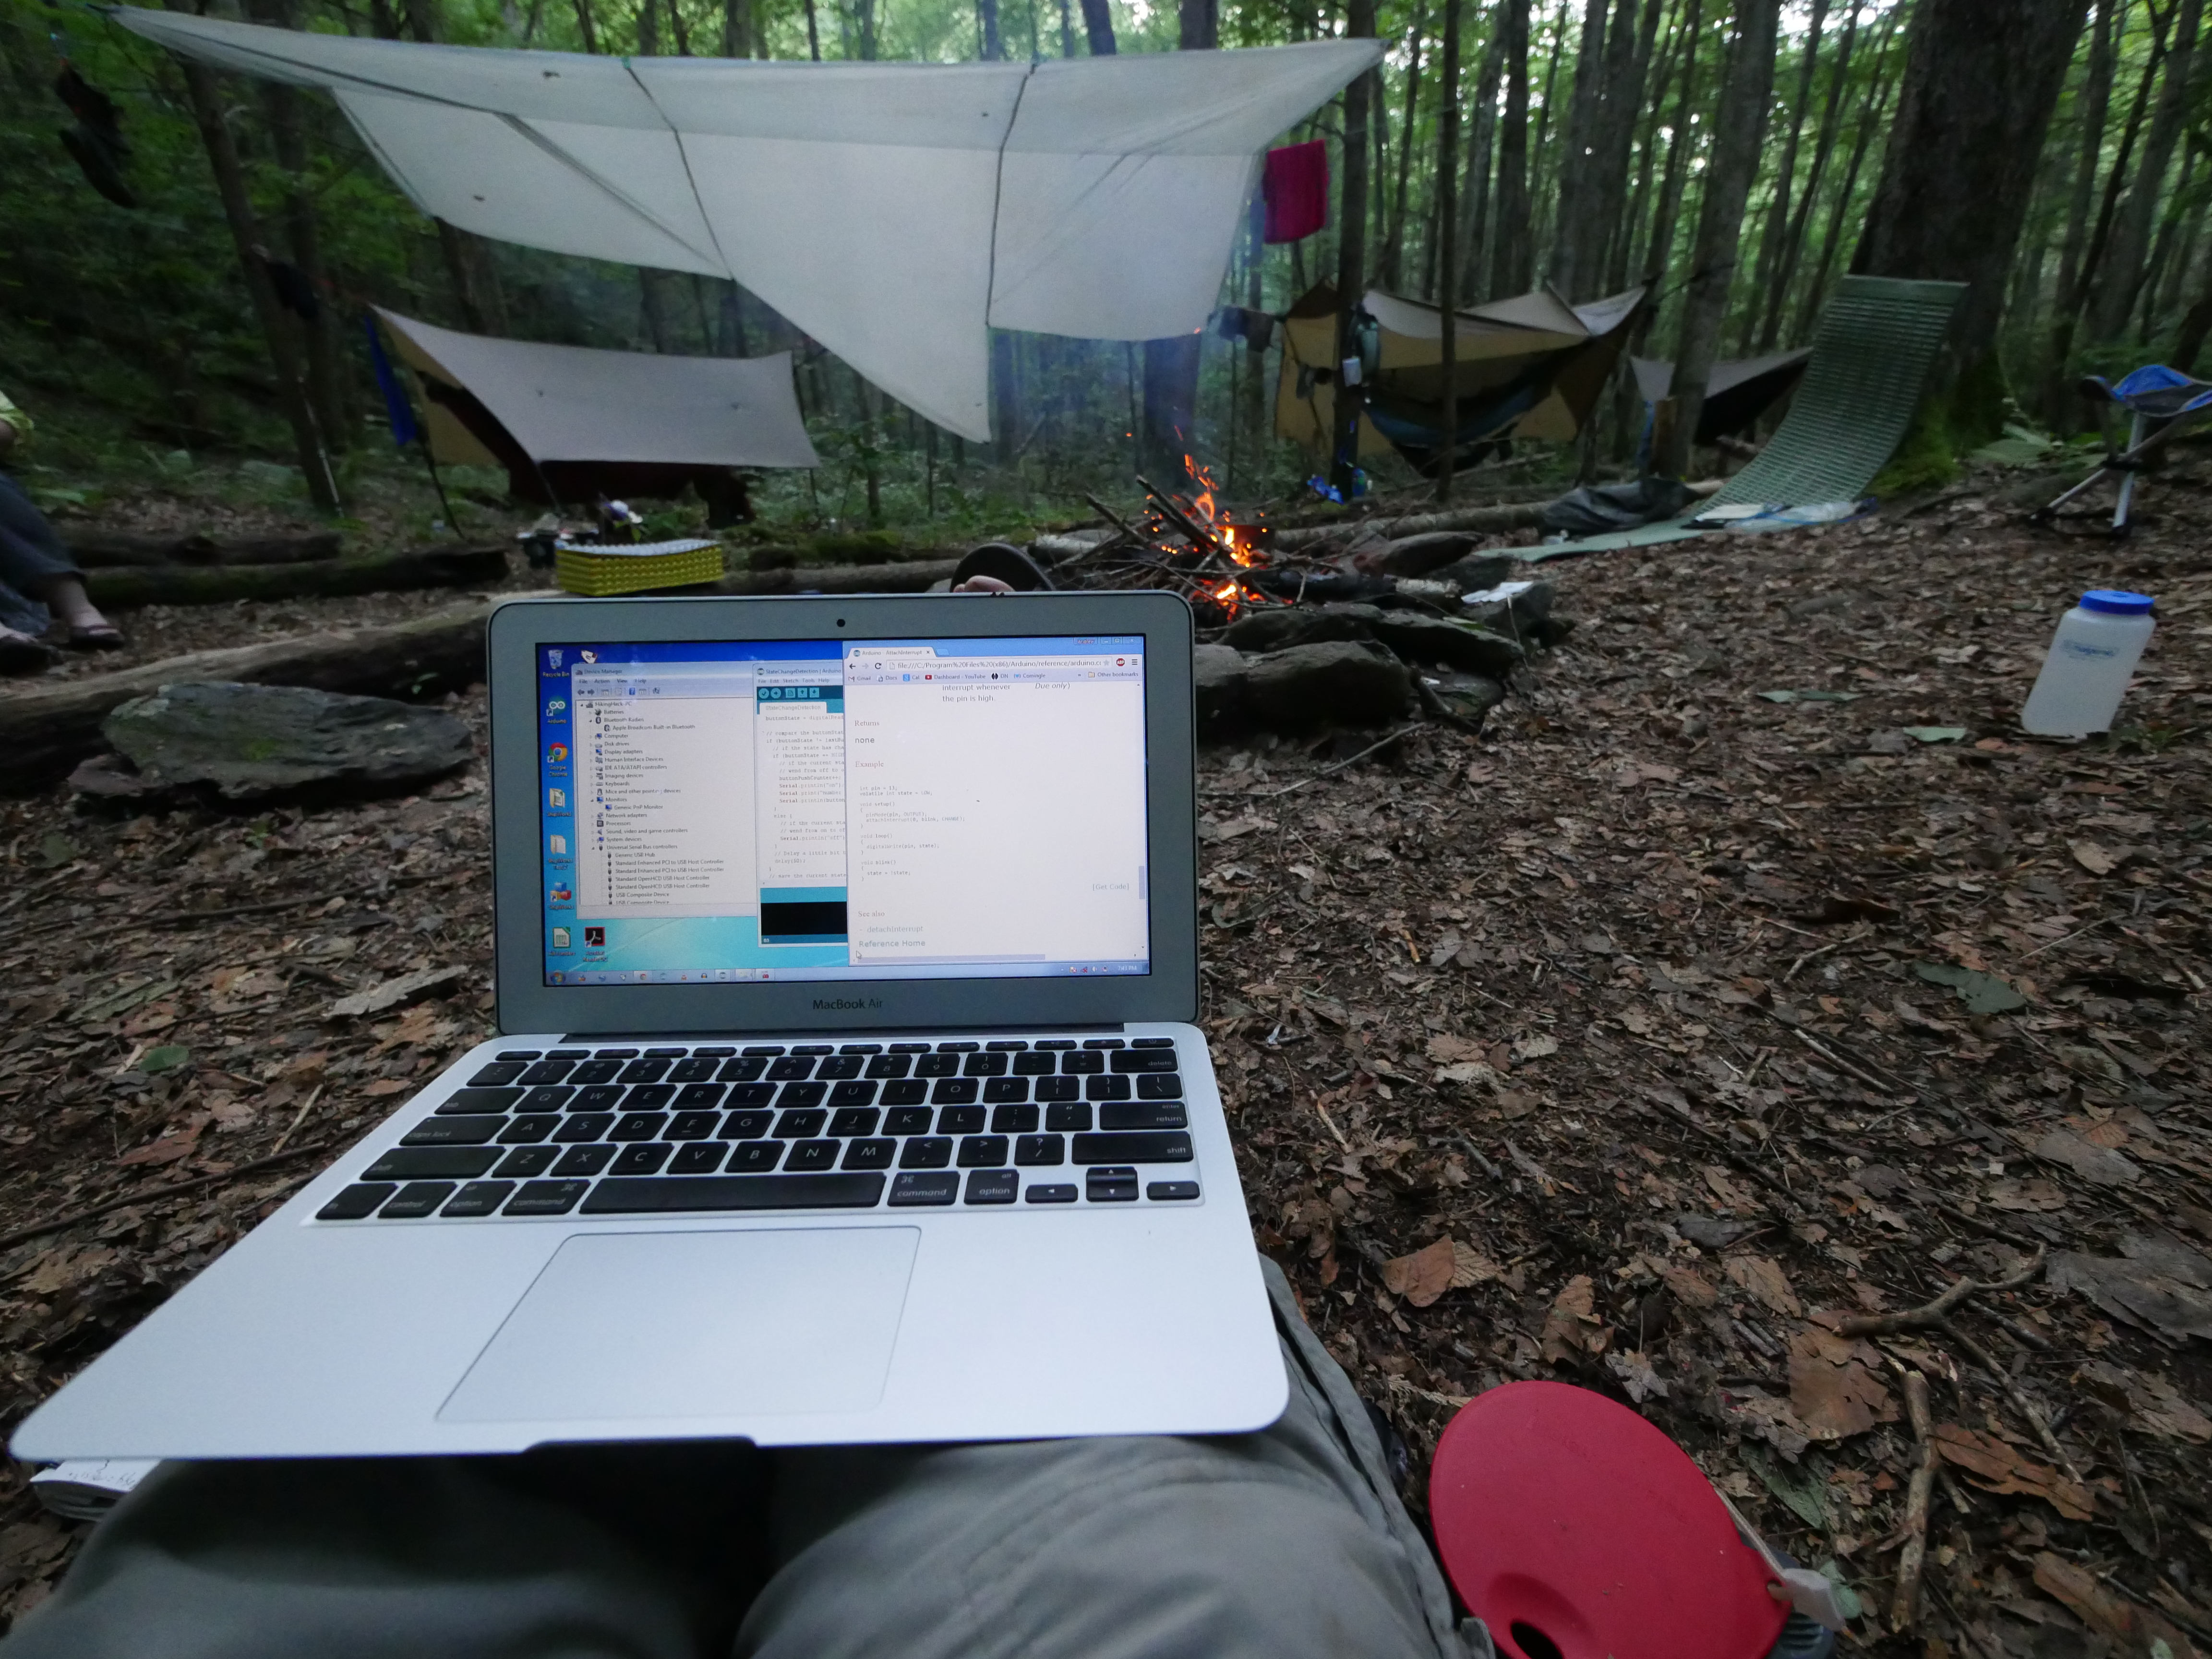
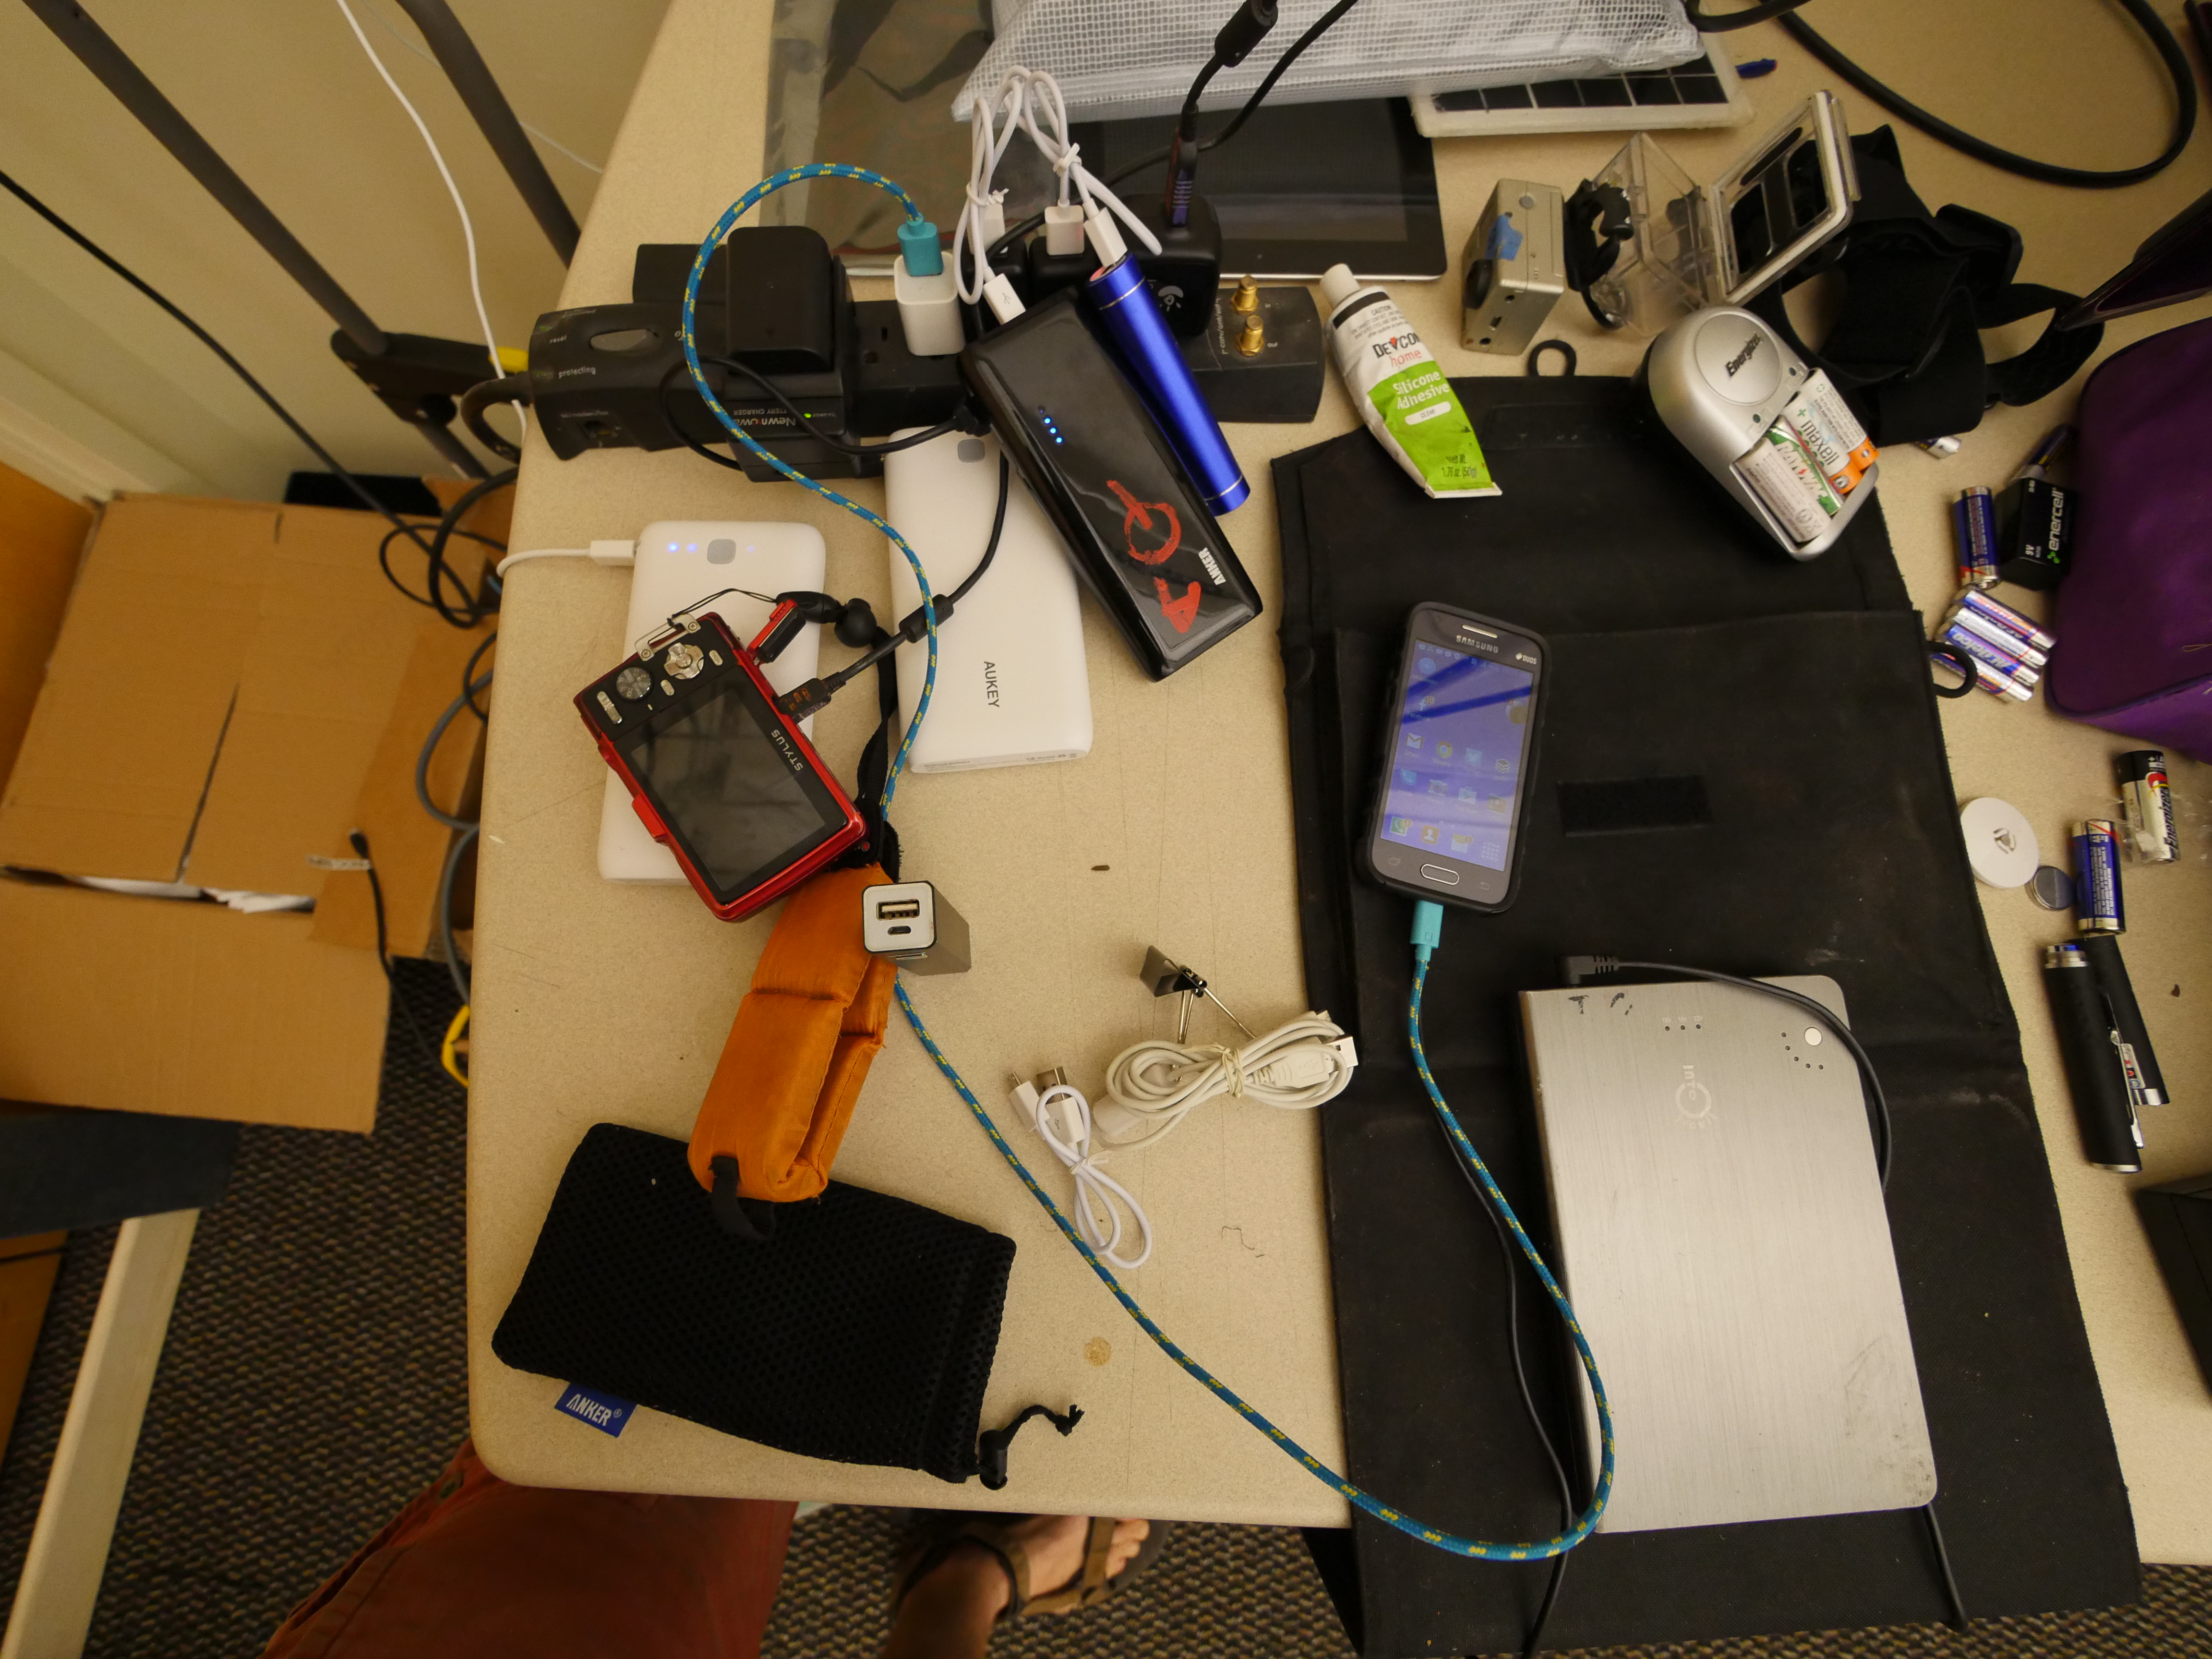
I had to finish charging all of our batteries, finish up several projects, organize the last bits of electronics we needed to take, and prep the hacking laptop (hacktop). Just getting this laptop ready was a major time suck. I had recently switched to an old macbook air (2010, 11 inch version) because it was super lightweight, cheap, and rather power efficient. But i didn’t have lots of the software and drivers and libraries we needed on it t work with lots of different projects. We were leaving at 6am, which mean i just didn’t sleep.
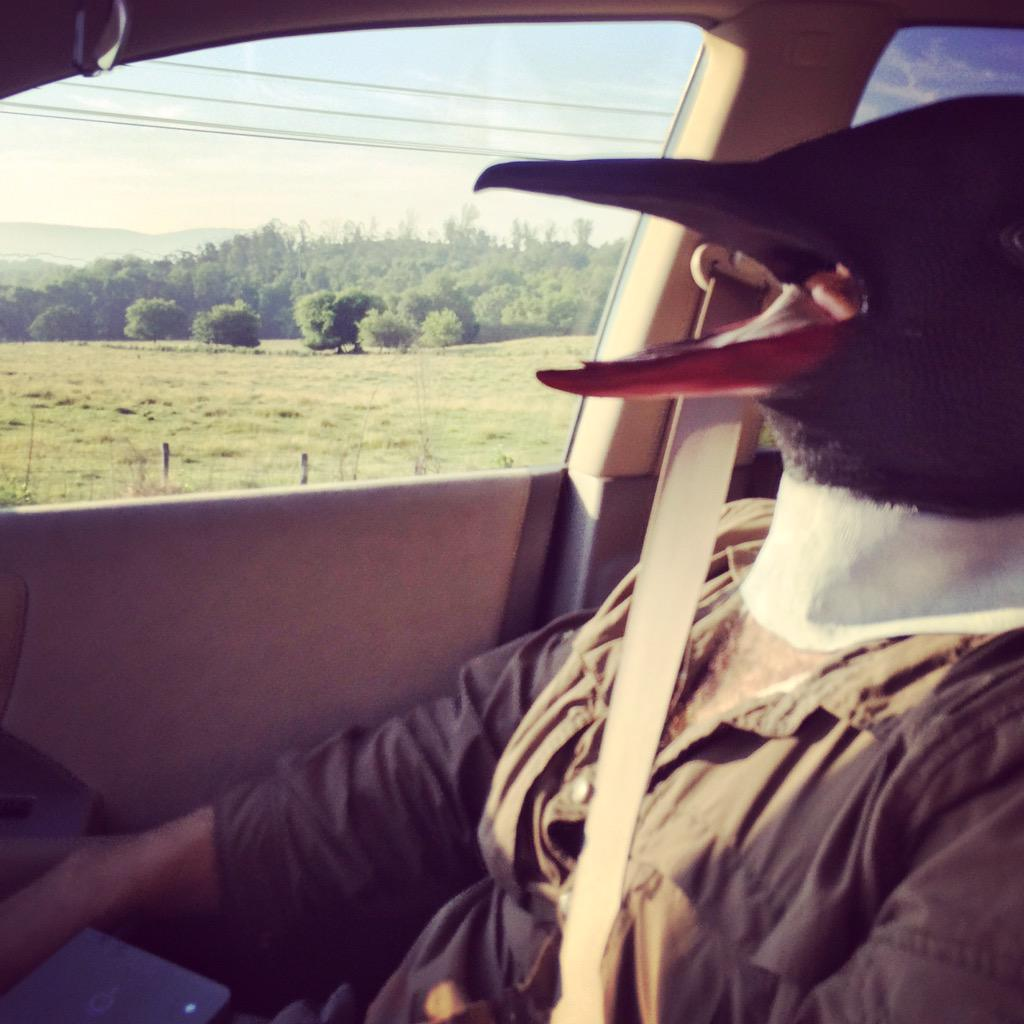
Luckily Laura drove my car for me, and I passed out immediately (while trying to charge an extra battery). I apparently put a penguin mask on my head to block out the light. I have no recollection of this:
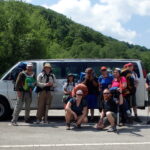
Hitting the Trail
OLYMPUS DIGITAL CAMERA
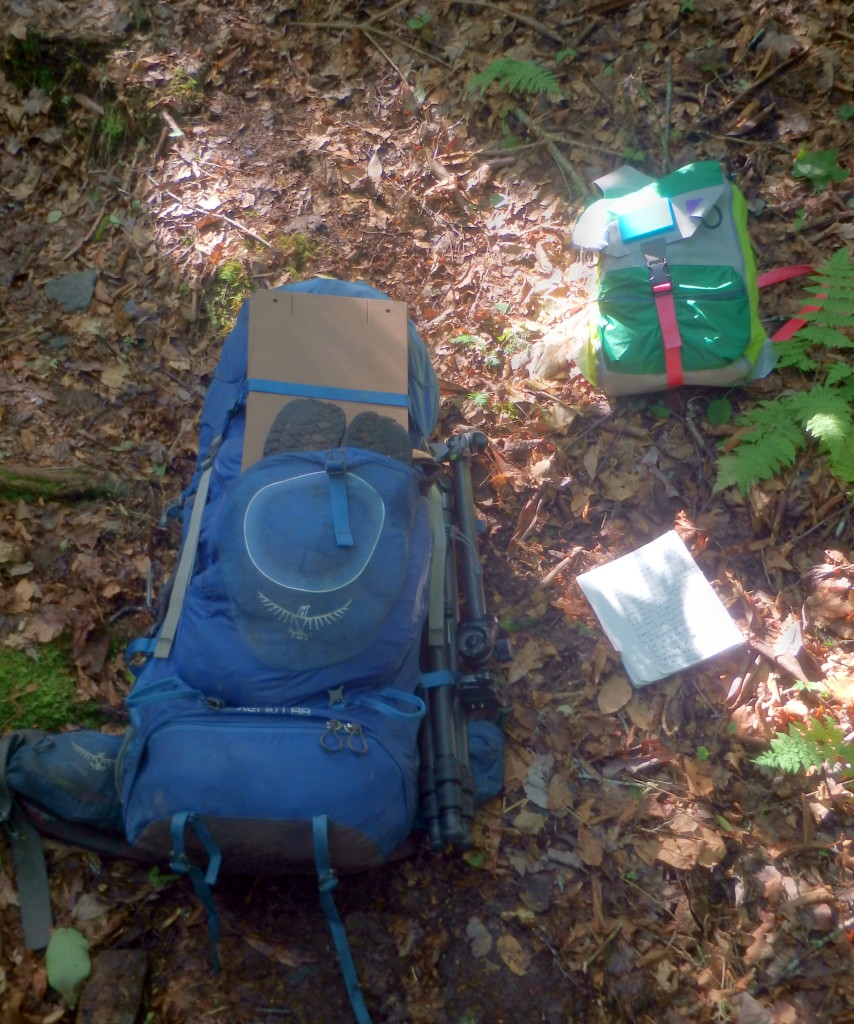
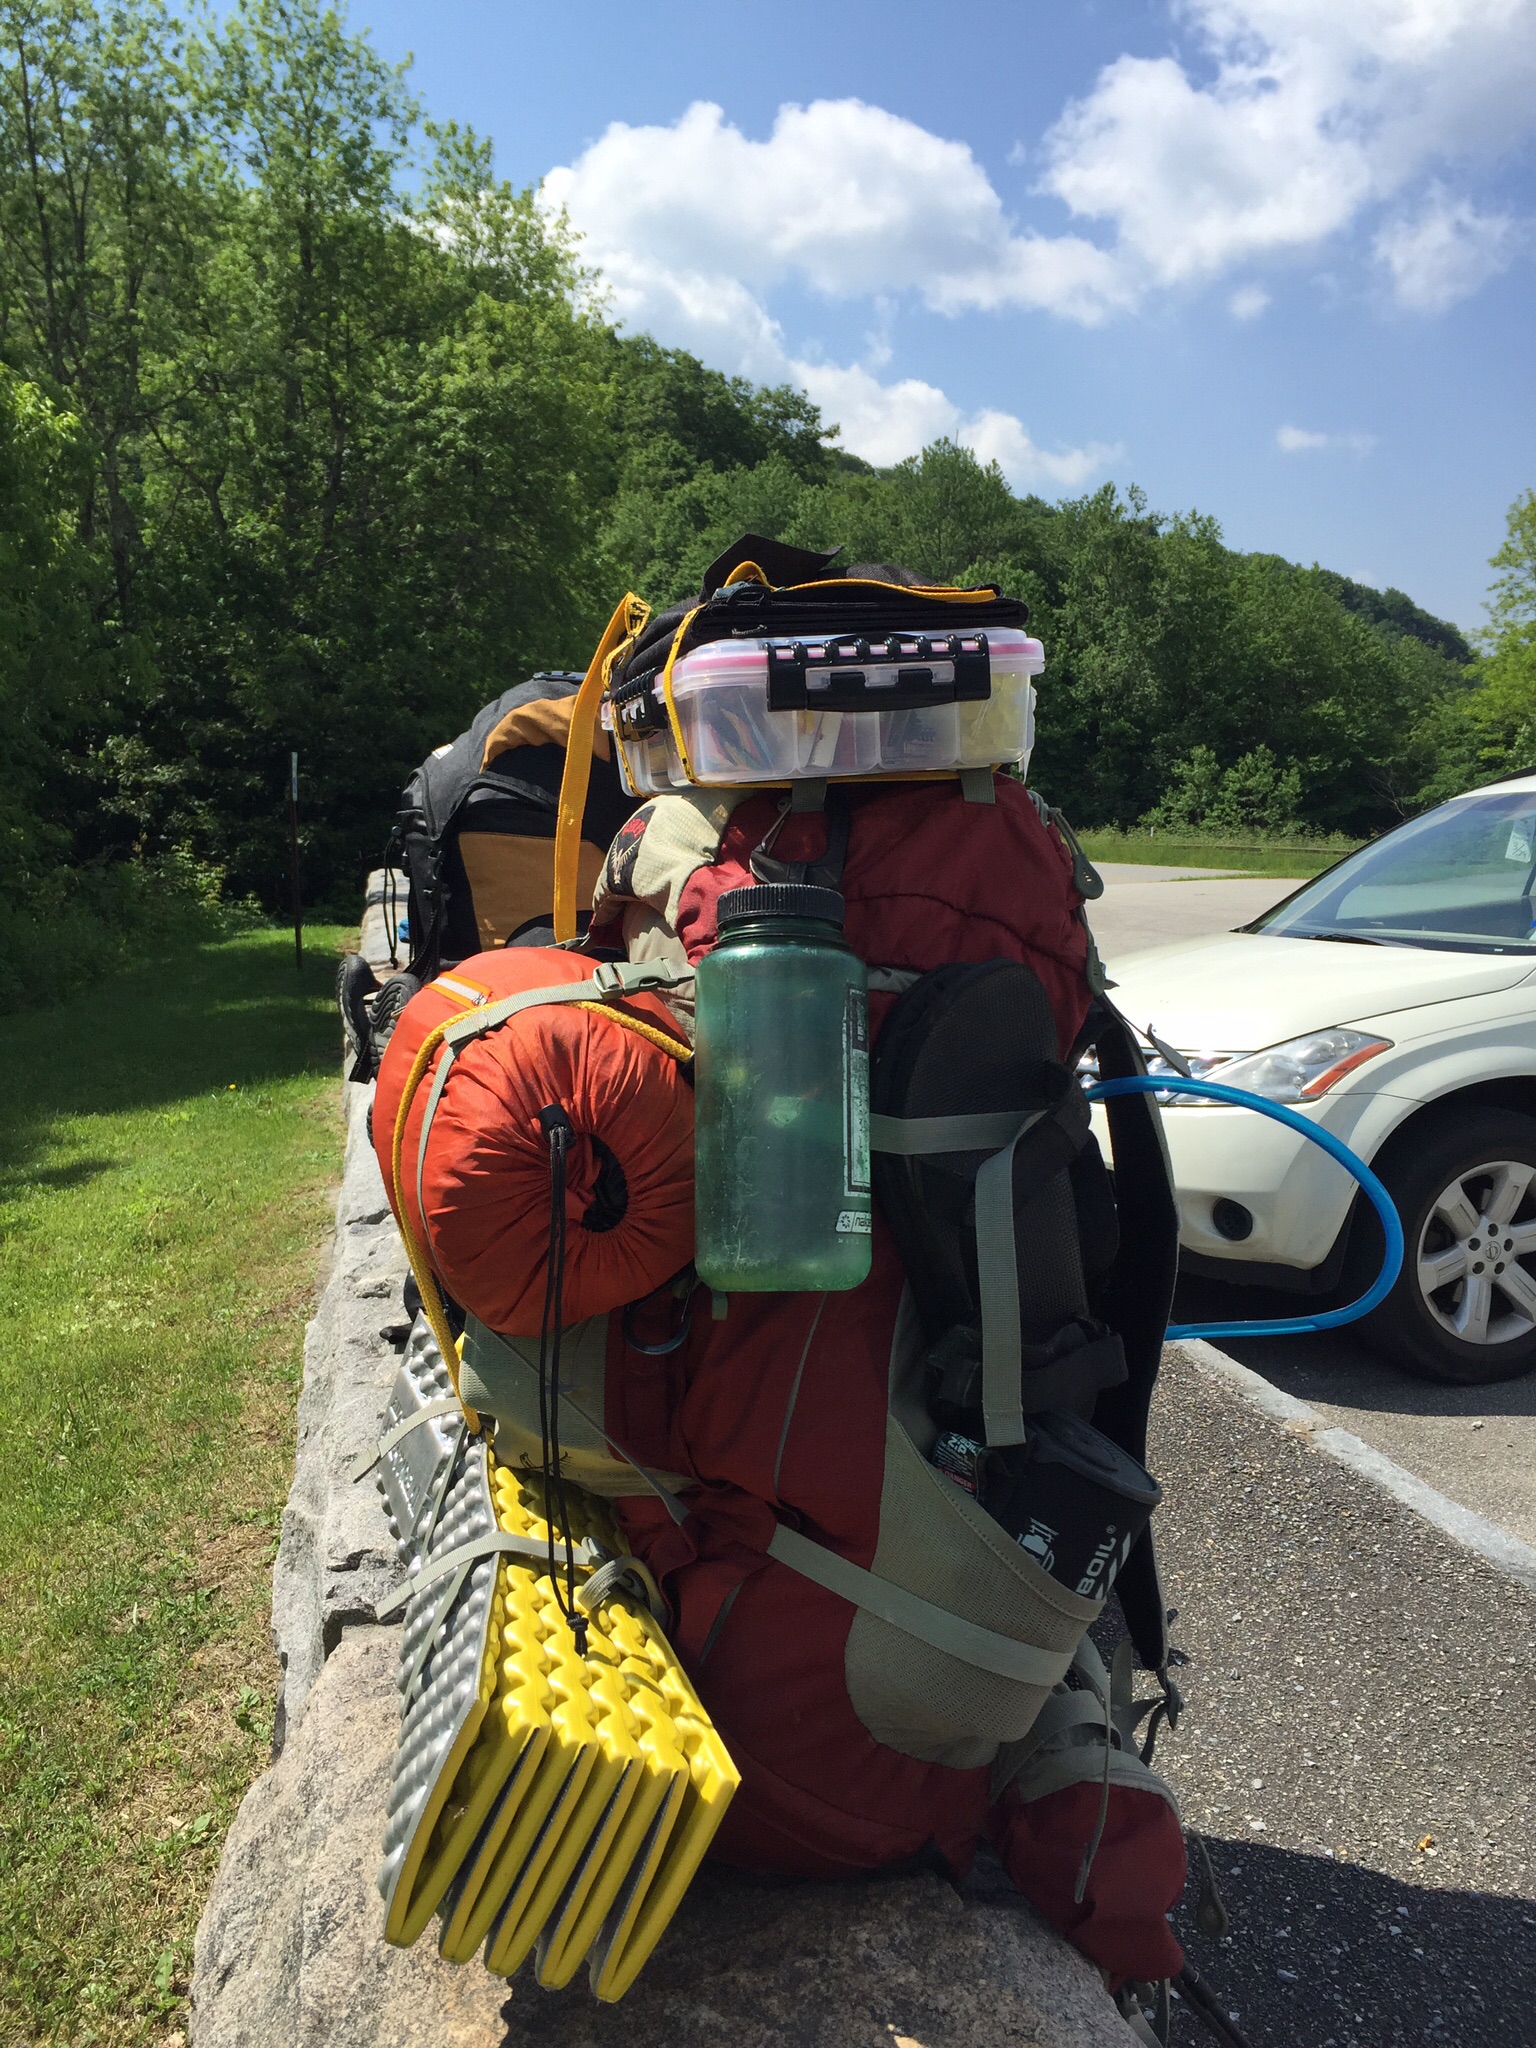
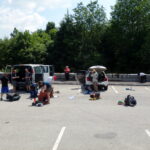
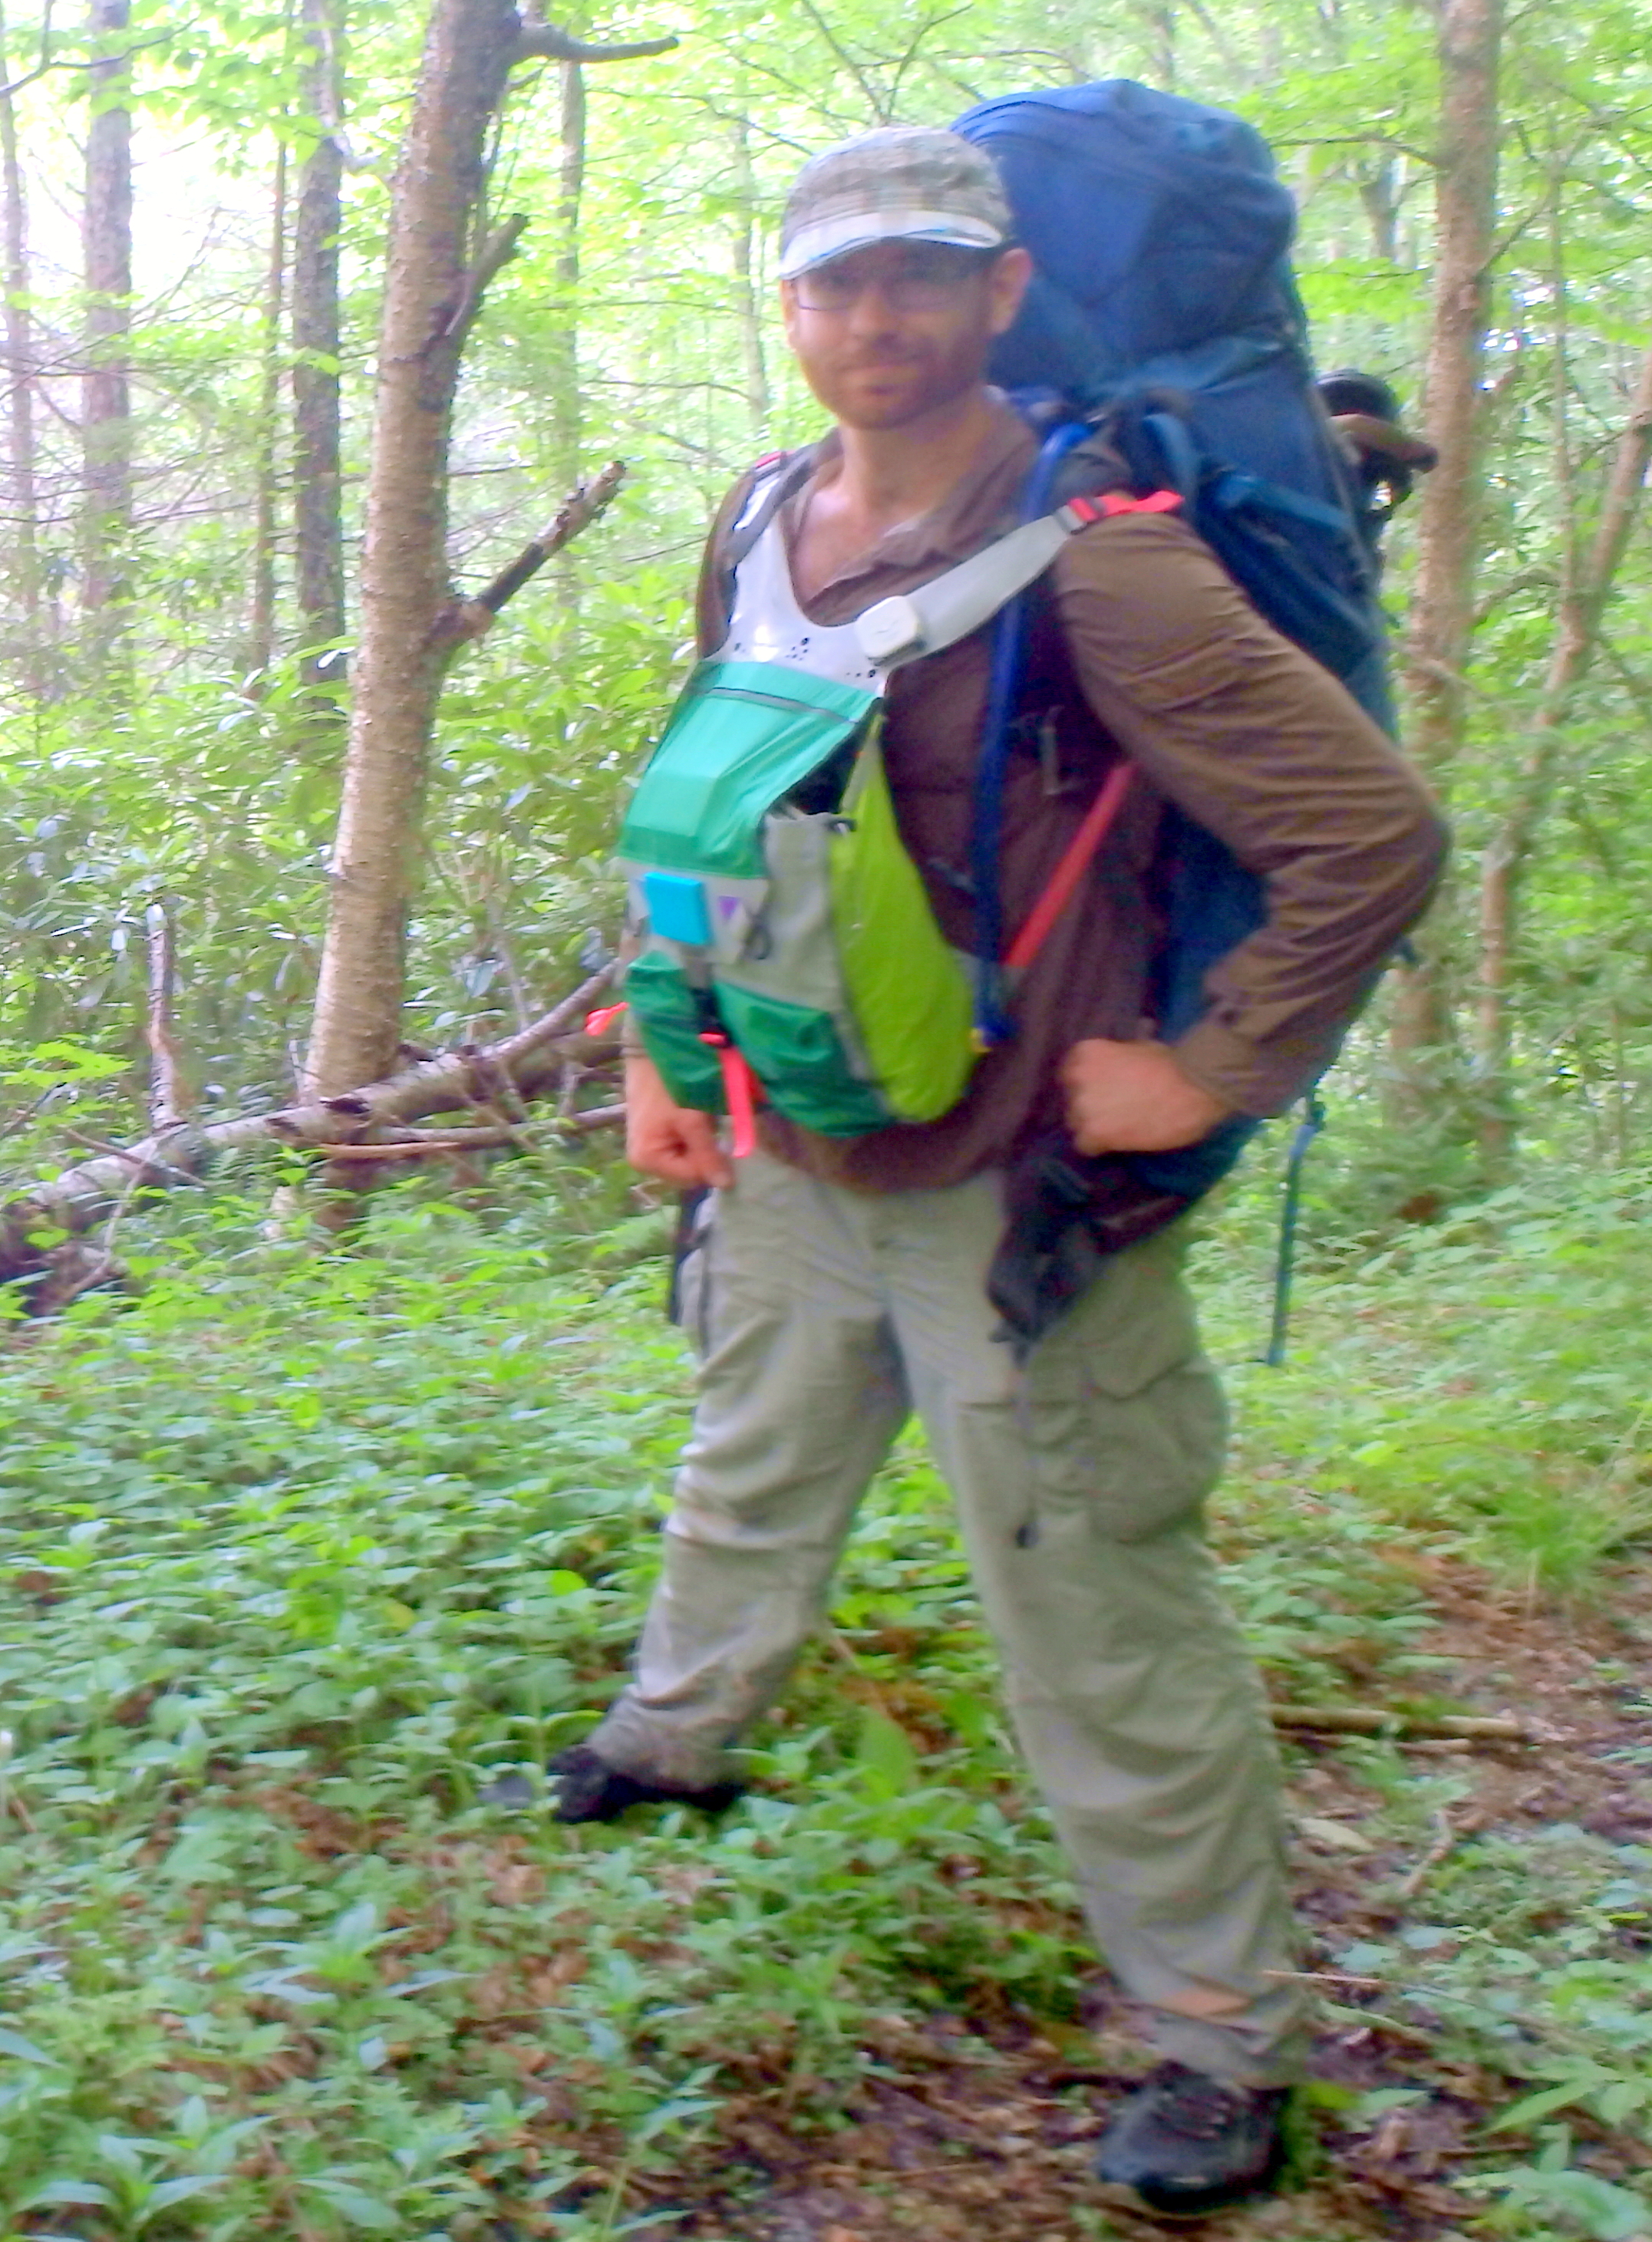
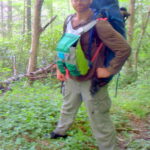
Everyone was already loaded to the gills with STUFF. The lightest packs were over 35 pounds (16kg), and most ranged around 18-23kg (40-50lbs) . Paul was pretty worried about us being overloaded, but I was feeling bizarrely terrific. So i tried to hide the fact that I was carrying a superfluous 50 foot fire hose and generator in my backpack. I had so little room I had to carry Hannah’s portable day pack on my front. My total load ended up being 36.8 kg (81 lbs).
Checking Maps
OLYMPUS DIGITAL CAMERA
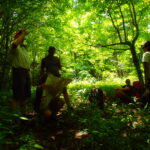
breaking in a glen
I was a bit worried. I had little sleep, and just 6 weeks before I had broken my left foot. But the weird thing was, i felt fantastic. My whole body just felt comfortable and strong tromping through the forest with all this gear. I think all the injuries and illnesses from the previous hiking hacks had torn my body down to rebuild it into a fantastic machine for carrying ridiculous amounts of potentially useless stuff.
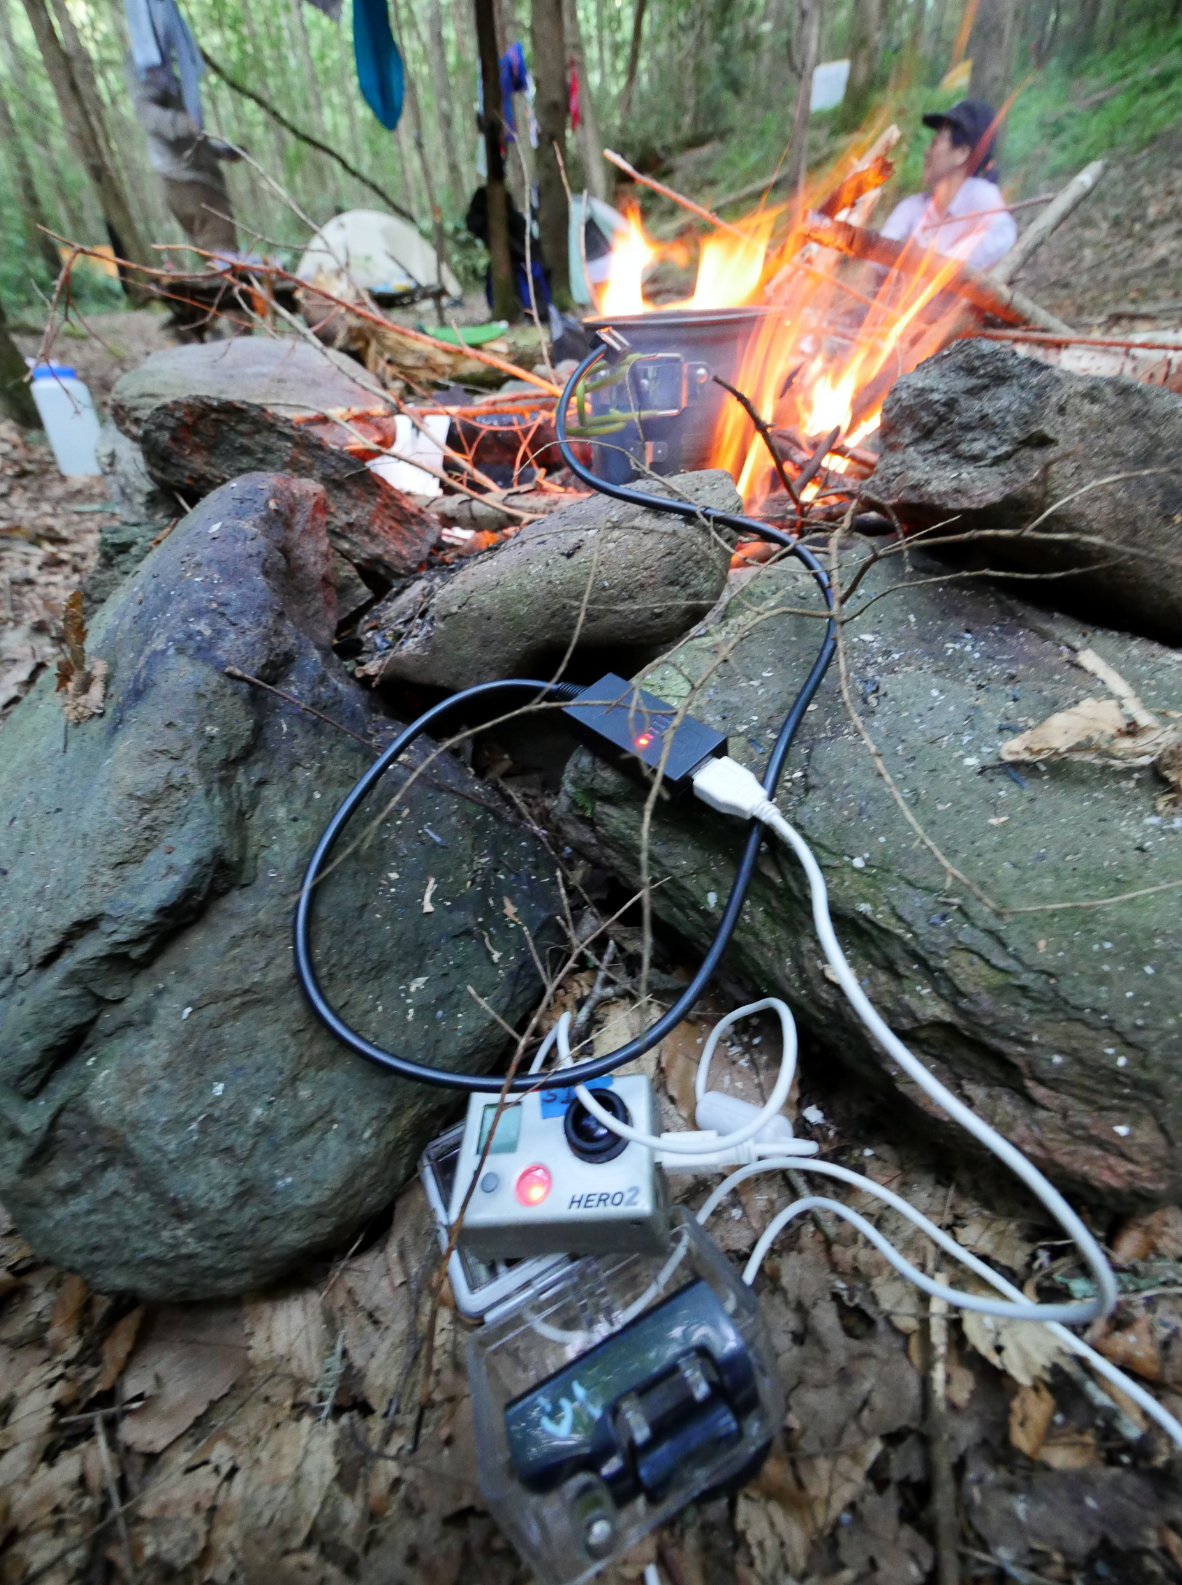
The first question we always get when talking about making electronics and computers in the wilderness is how to power all of our tools. During this trip we tested out numerous different ways of getting the electrical power our devices needed.
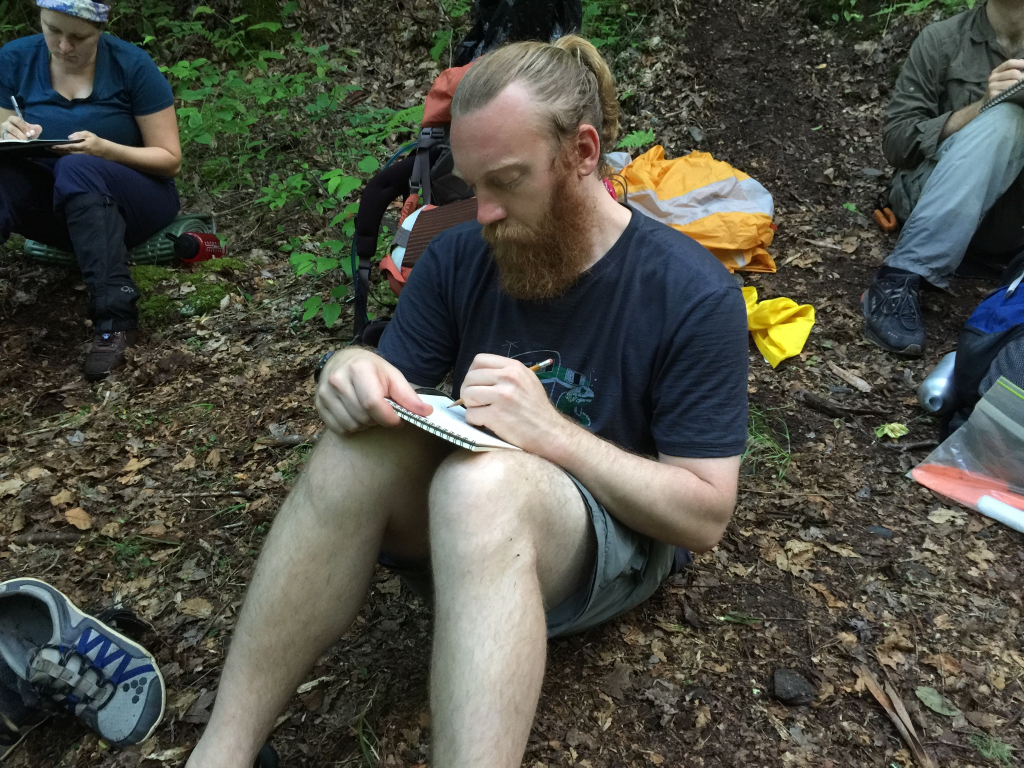
Coding around the Campfire
Needs
From extremely rough estimates of previous hiking hacks, we came up with a basic idea of what our electrical needs would be.
Where does the power go:
60% Documentation Gear (camera batteries)
20% Computer for programming
15% Lights (Headlamps, etc)
5% Powering microcontrollers
Total power needed (Based on the batteries we went through):
In Madagascar we recharged the biggest batteries about twice, and the smaller ones 1-2 times. In total I would estimate needing about 60+60+52+52+52+20+20 =~ 300 amp-hours of power total. This amount of power would help keep documentation cameras rolling, lights shining, computers programming, and microcontrollers booping-and-beeping for a full 7 days in the field.
Different strategies are available for supplying this power.
Just carry a bunch of batteries
This is the most fool-proof plan, and most important for shorter trips. Just charge up a bunch of power packs, and carry them with you. Obviously the major downside of this plan is all the additional weight.
Solar
Solar is terrific, but it tends to need much more direct bright sun than most people anticipate. The difference between a cloudy day and a clear day is greatly magnified when trying to charge off solar. You also might find yourself chasing patches of sun throughout the day if you are in a thick forest (like we were).
Pyro-Electric
Pyro-electric devices are starting to come out on the market. They use peltier devices which are little ceramic tiles that create an electric current when there is a large heat-gradient from one side to the other. Thus the key to making electricity is getting one side really hot, and the other side really cold. This type of electricity is generally quite inefficient, but the advantage is that you can forage for fuel. This form of power only really makes sense if you are going to be making fires every night anyway. The amount of power we got out of one fire, though seemed quite small. We could maybe charge 2-3 amp-hours of a battery over the course of a couple hours. You also need to be constantly paying attention to the position of your device in the fire.
Hydro-electric
This was one of the craziest forms we tried out in this recent trip. If you know beforehand that you will have easy access to a source of running water, you can try to tap into this resource. You will need a way to control or direct the water, and a way to generate power from it (turbine). Our technique was to carry a large (50 foot) firehose that could be attached to an electrical generator.
Our early tests with DIY hydropower still need much development. We were able to place the hose at two different spots in the flowing creek and get a decent flow of water. We were also able to find a generator that could get 3-5 volts and power and LED by spinning it. Unfortunately this generator needed a much higher pressure than was available from our hose. The hose also tended to collapse unless the flow was much better. Our homemade turbine (that we created from a vibration motor and a plastic cap), showed that we could generate power, but only in the 40-50 mV range.
Future designs will be made to more efficiently harvest energy from low-pressure systems.
Shakey or Crankey – Electric
We didn’t try this on the trips, but you could also generate power with your own body. They have those flashlights that you can shake or crank to make electricity. Such devices could come extremely in handy during projects that also featured addition transportation gear (like a bicycle when mountain biking).
The smallest things can make the biggest differences when you’re out in the field for long periods of time. After years of being a ground dweller in tents, I was ready to take to the trees and finally develop my hammock kit.
Since I got confirmation that I’d be going on this trip, I’ve spent hundreds of hours combing through hammock camping resources and making DIY modifications to my gear. Camping hammocks and accessories are largely driven by cottage industries and an active community of people trying, testing, and developing their own tools to get “the perfect hang”. There’s a wealth of knowledge on the Internet for people interested in getting into hammock camping.
Why choose a hammock over a tent?
They’re cooler in warmer temperatures
They can be lighter in weight and take up less pack space than a tent setup
They can be cheaper than a tent setup
You don’t have to worry about finding flat or debris-free ground
You don’t have to worry about flooding
No condensation issues commonly experienced in tents
Comfort!
Common hammock misconceptions:
You can’t lay flat – you can by laying diagonally!
You can’t sleep on your side – you can with asymmetrical designs!
They make you motion sick – once you’re in, you’re not moving unless you want to
It’s hard to find the right trees – this is rarely a problem and, in the worst case scenario, you can pitch a hammock on the ground as a bivvy
A basic hammock set-up consists of the following:
Camping hammock, with a built-in bugnet
Suspension
Tarp, guylines, and stakes
Bottom insulation (sleeping pad or under-quilt)
Top insulation (sleeping bag or top-quilt)
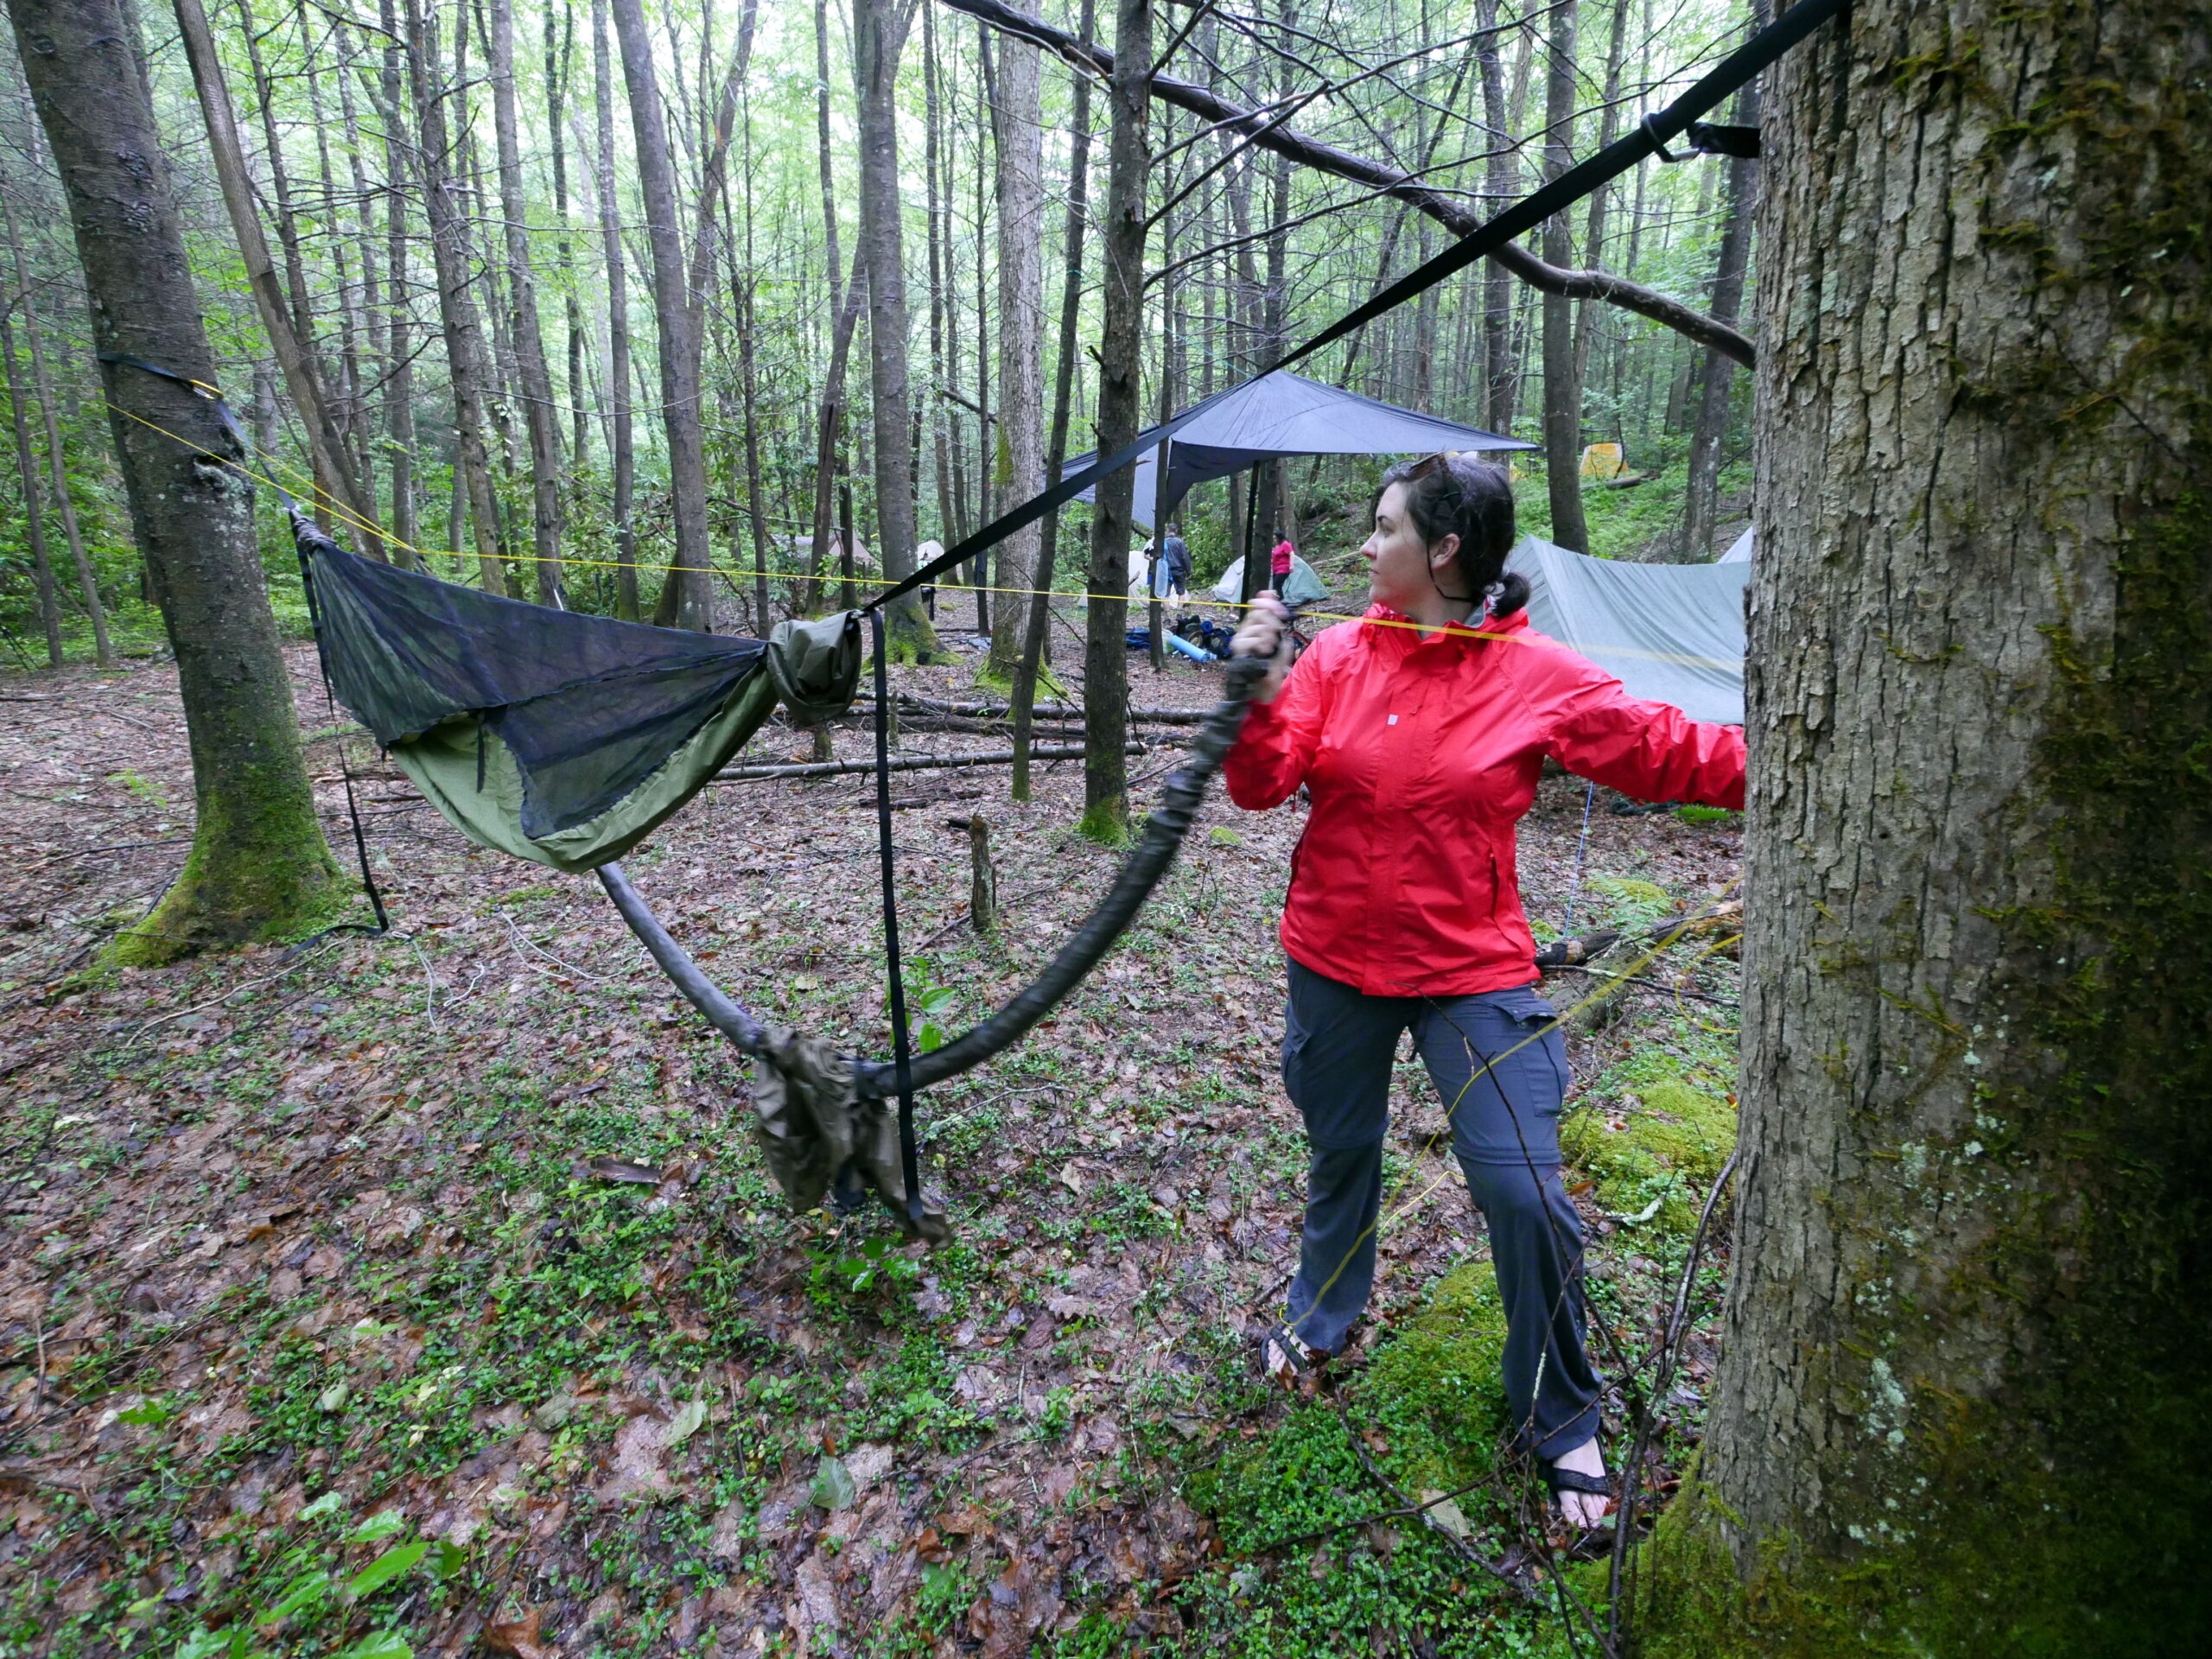
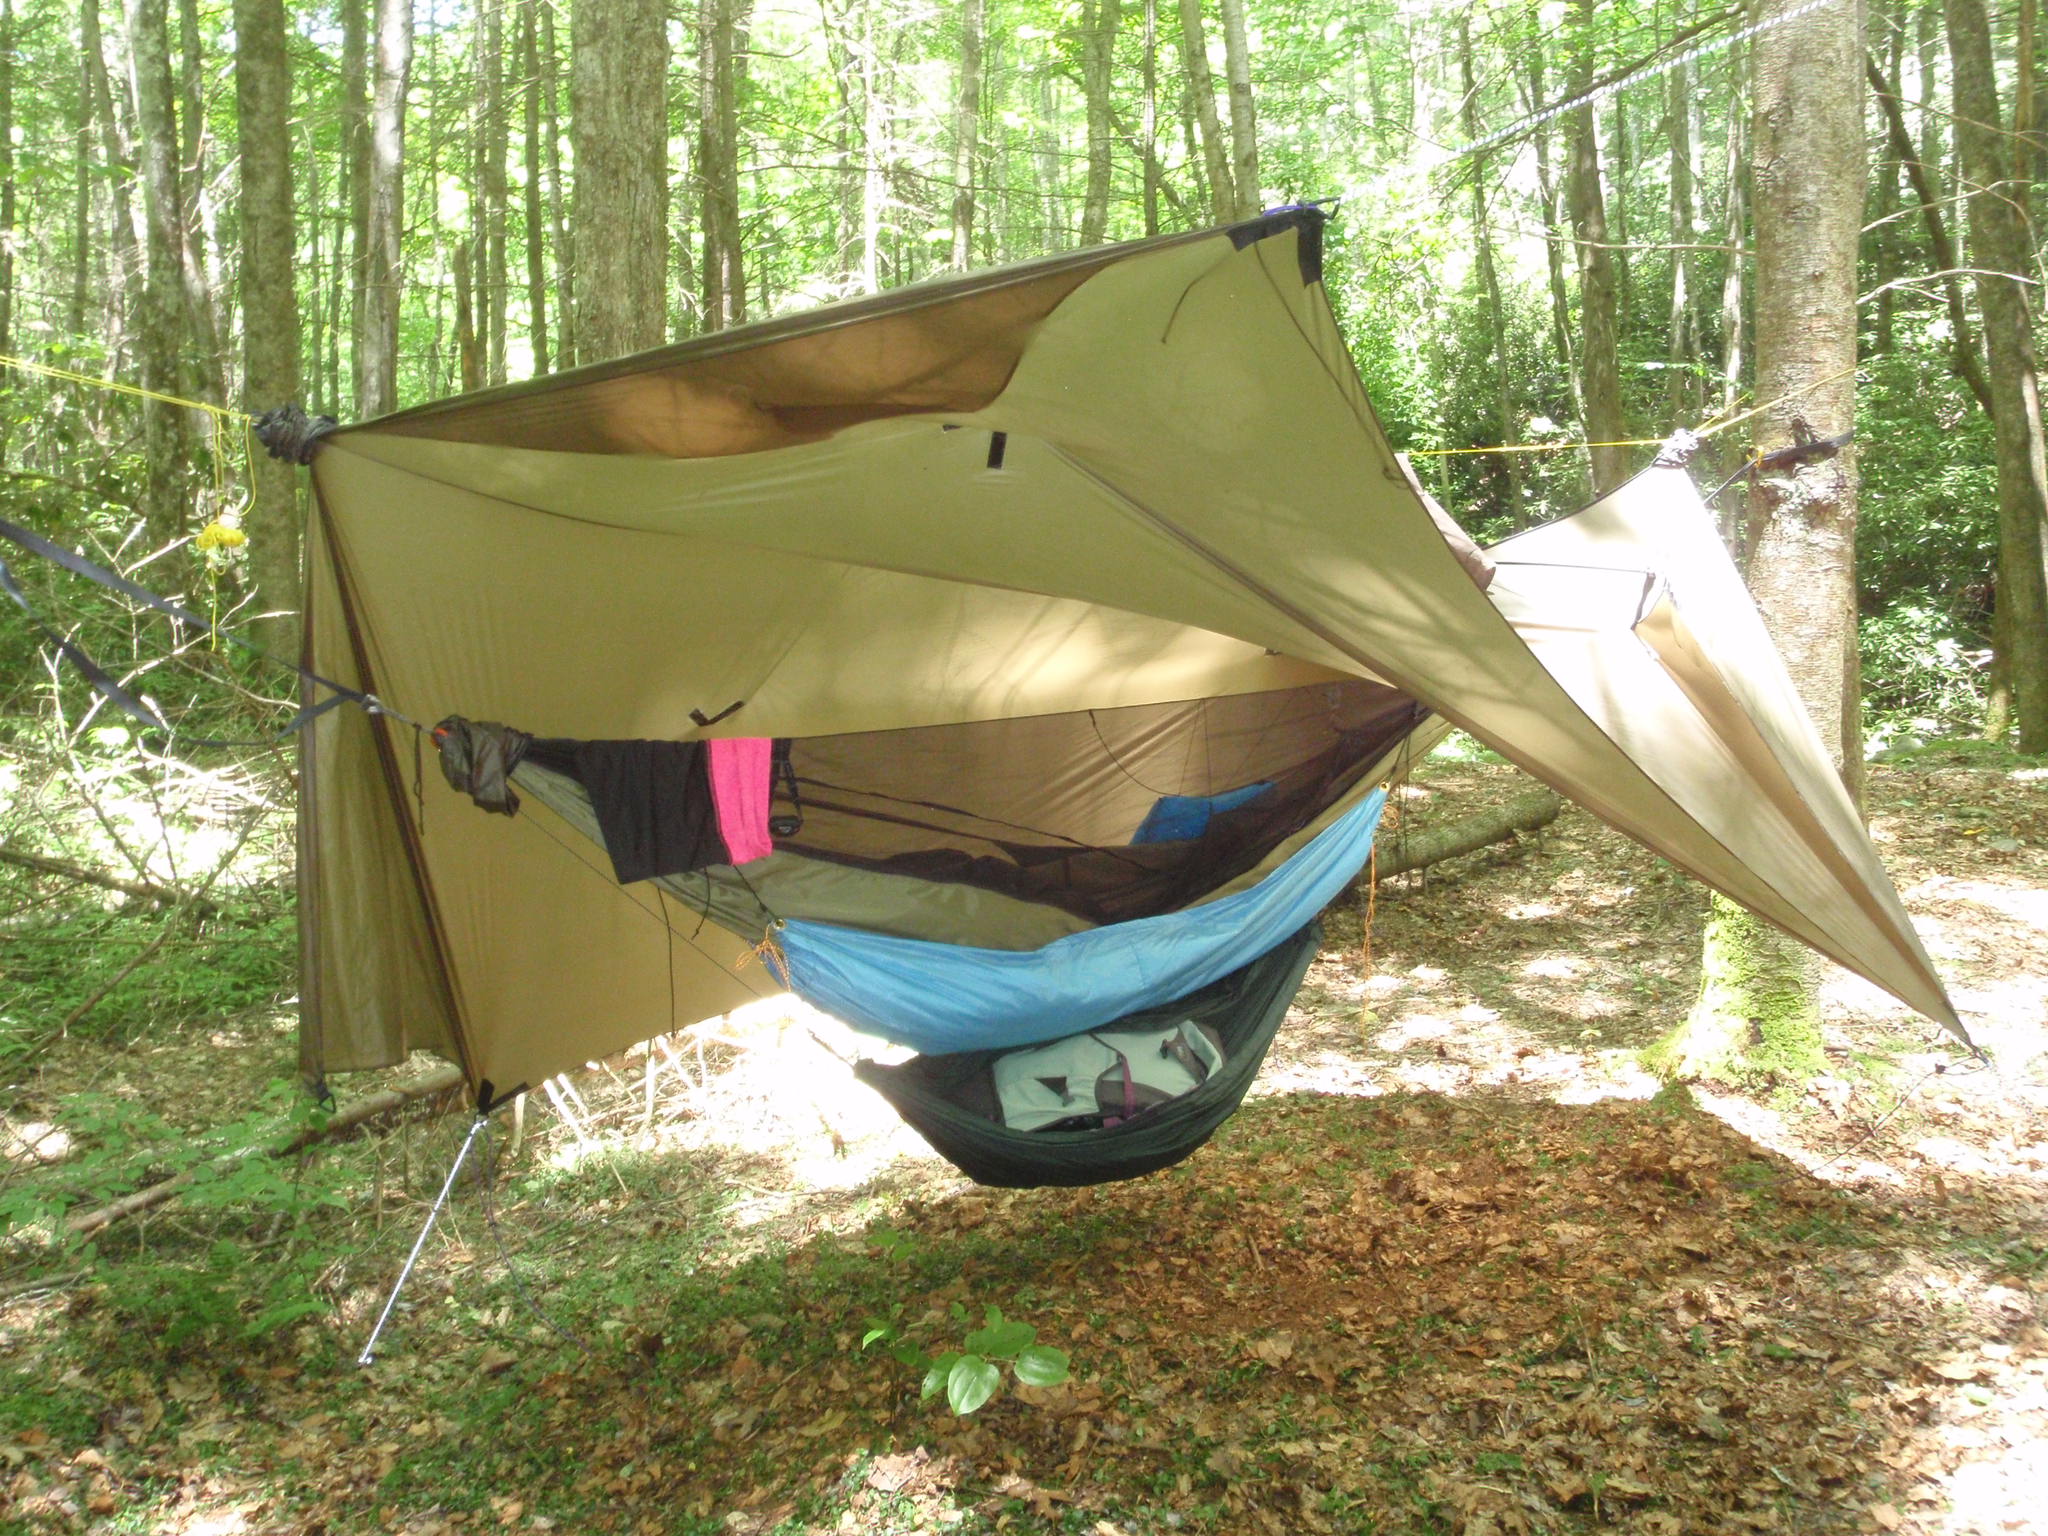
Camping hammocks are generally much longer (11-13 feet) than the standard ENO relaxing hammocks you see at the beach. This length is important in creating the diagonal flat laying position desired. Warbonnet Outdoors and Hennessy make excellent camping hammocks and were used by a few members during our trip. There are a few different suspension methods, but the most common is a simple cinch buckle with webbing looped around the tree and clipped to itself with a carabiner (see upper right of the photo below). It’s important that you use webbing of at least 3”, as thinner lines and webbing can cause damage by digging into trees and are actually not allowed in most national and state parks.
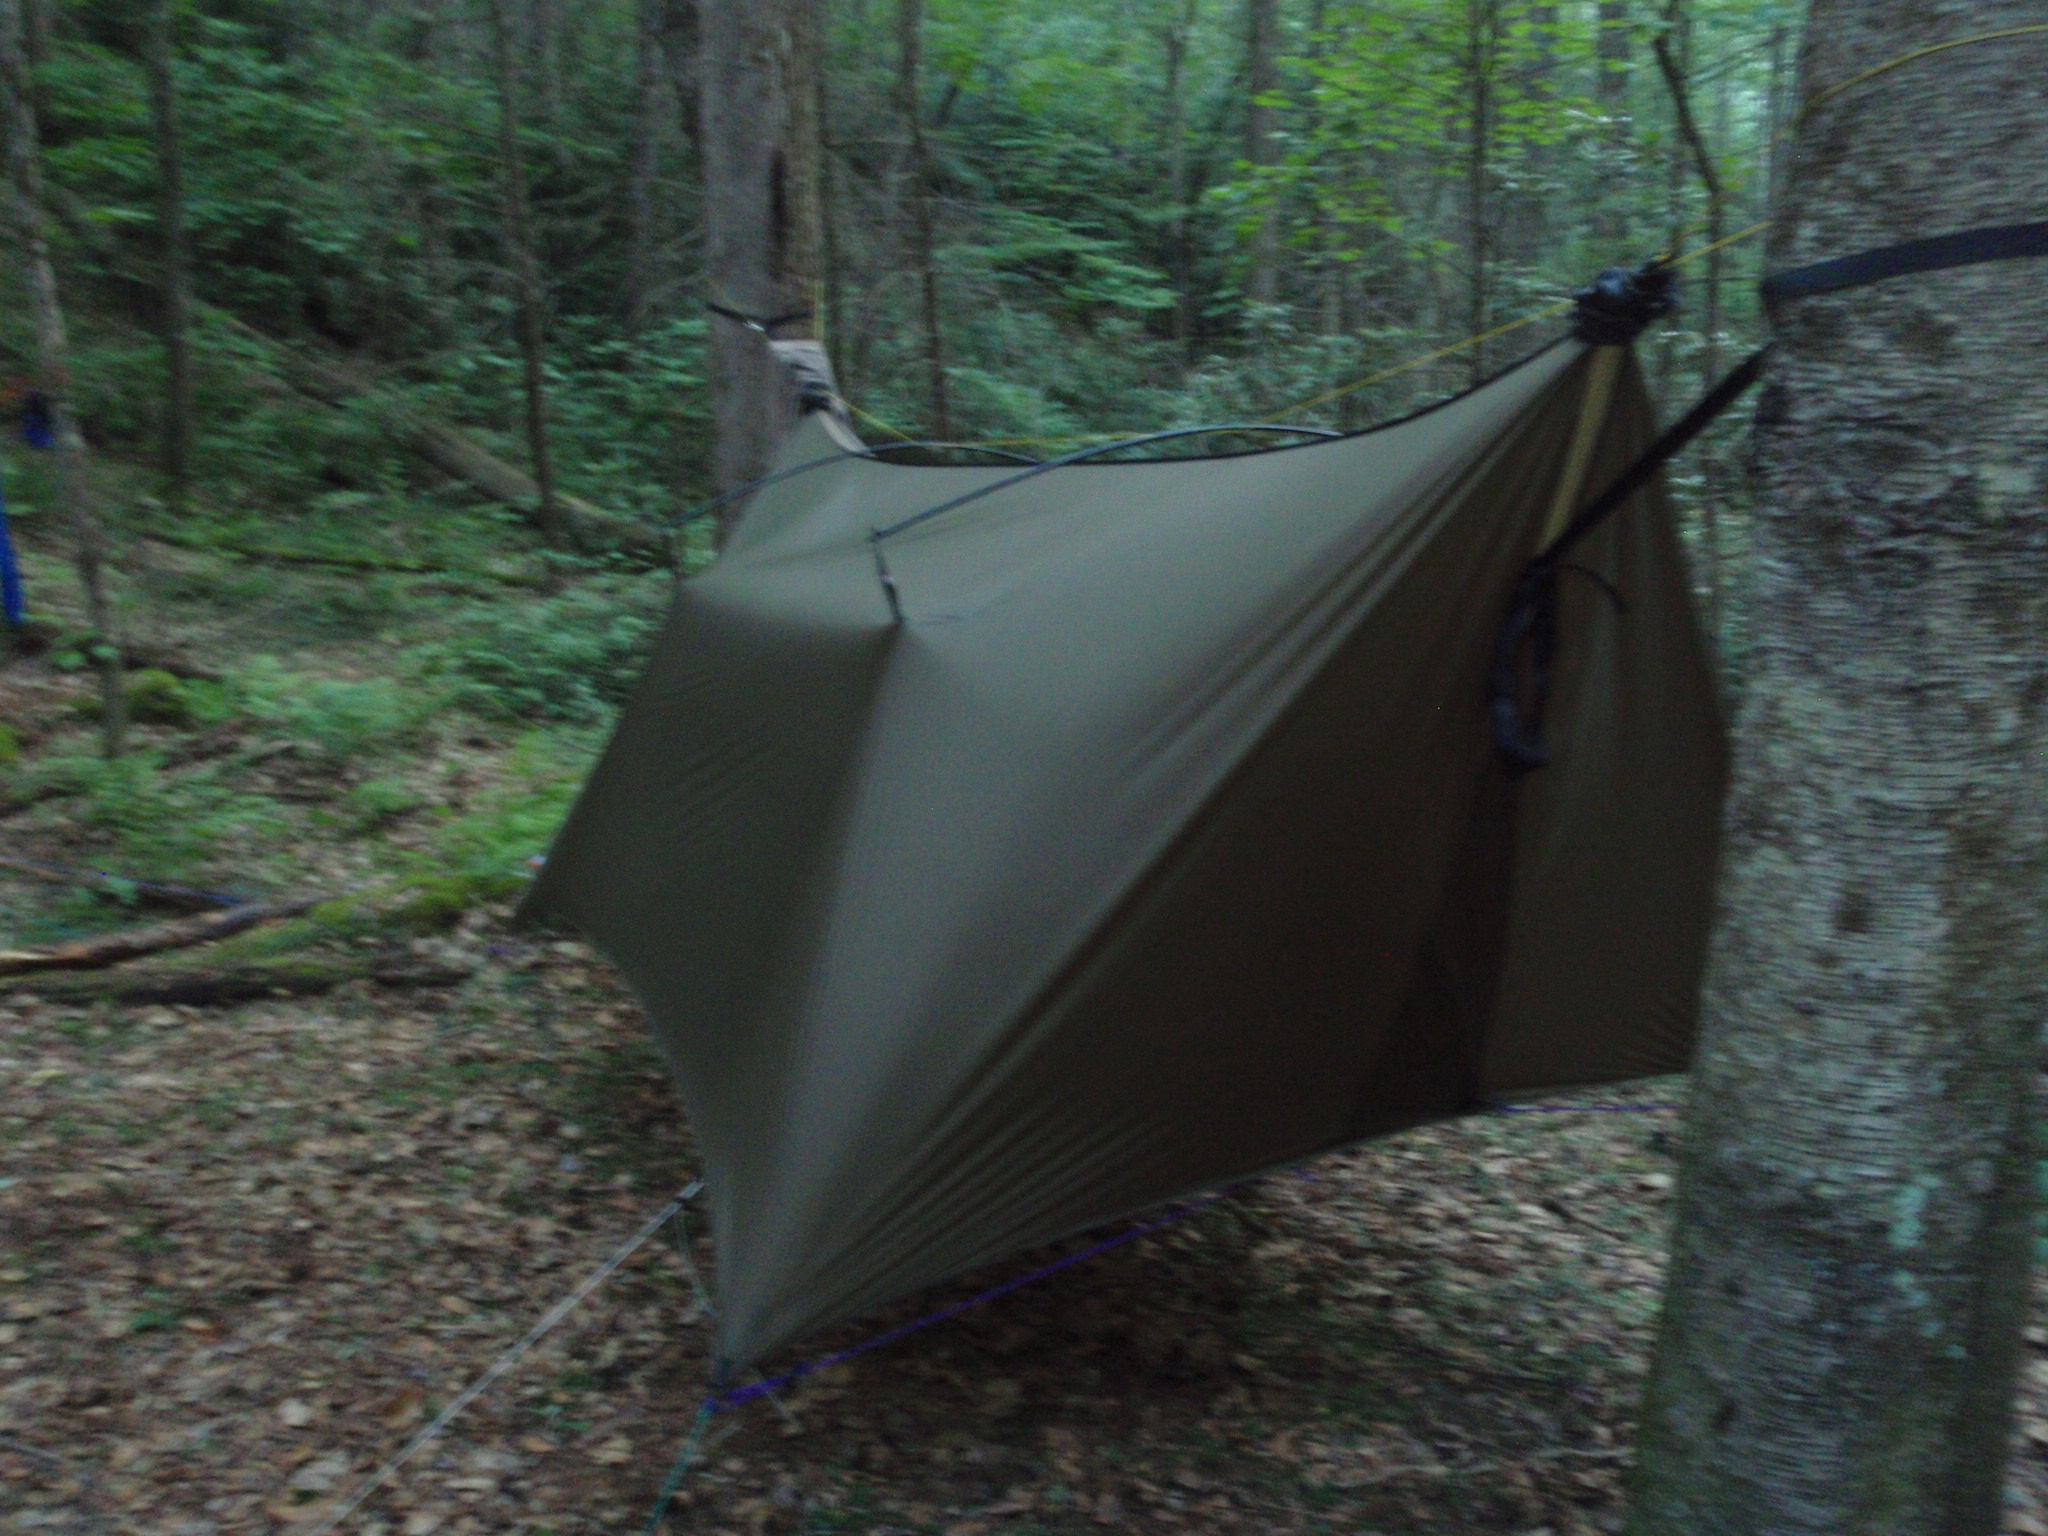
The tarp you use for rain protection should be longer than the hammock you’re sleeping in. The simplest diamond shaped tarps, like the Kelty Noah 9’, are great for all but the most severe weather. I use a tarp by Warbonnet called the SuperFly, which is cut to provide doors that protect from heavy downpours and also provides privacy. Basically, the setup becomes a floating tent!
Here, I’m using a continuous ridgeline so I can perfectly position my tarp over my Warbonnet Blackbird hammock without running back and forth from tree to tree
This tarp with built-in doors looks like a floating tent, once staked down. I’ve added a couple of DIY short tent poles to pop out the tarp wall tie outs and this gives me more headspace inside.
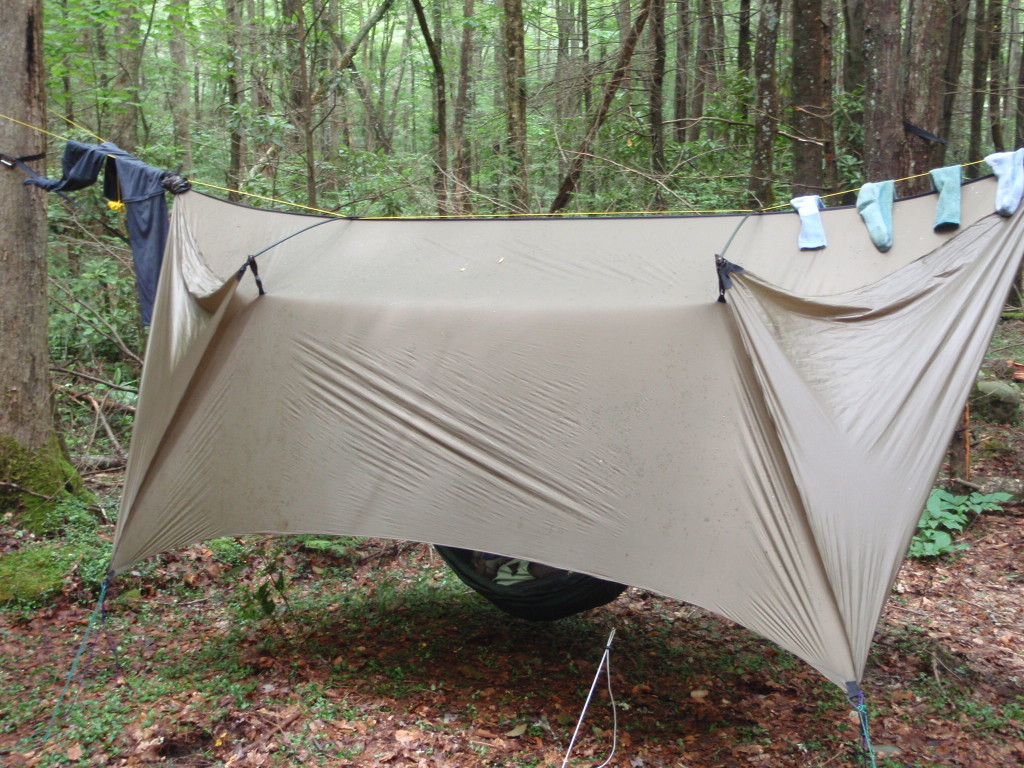
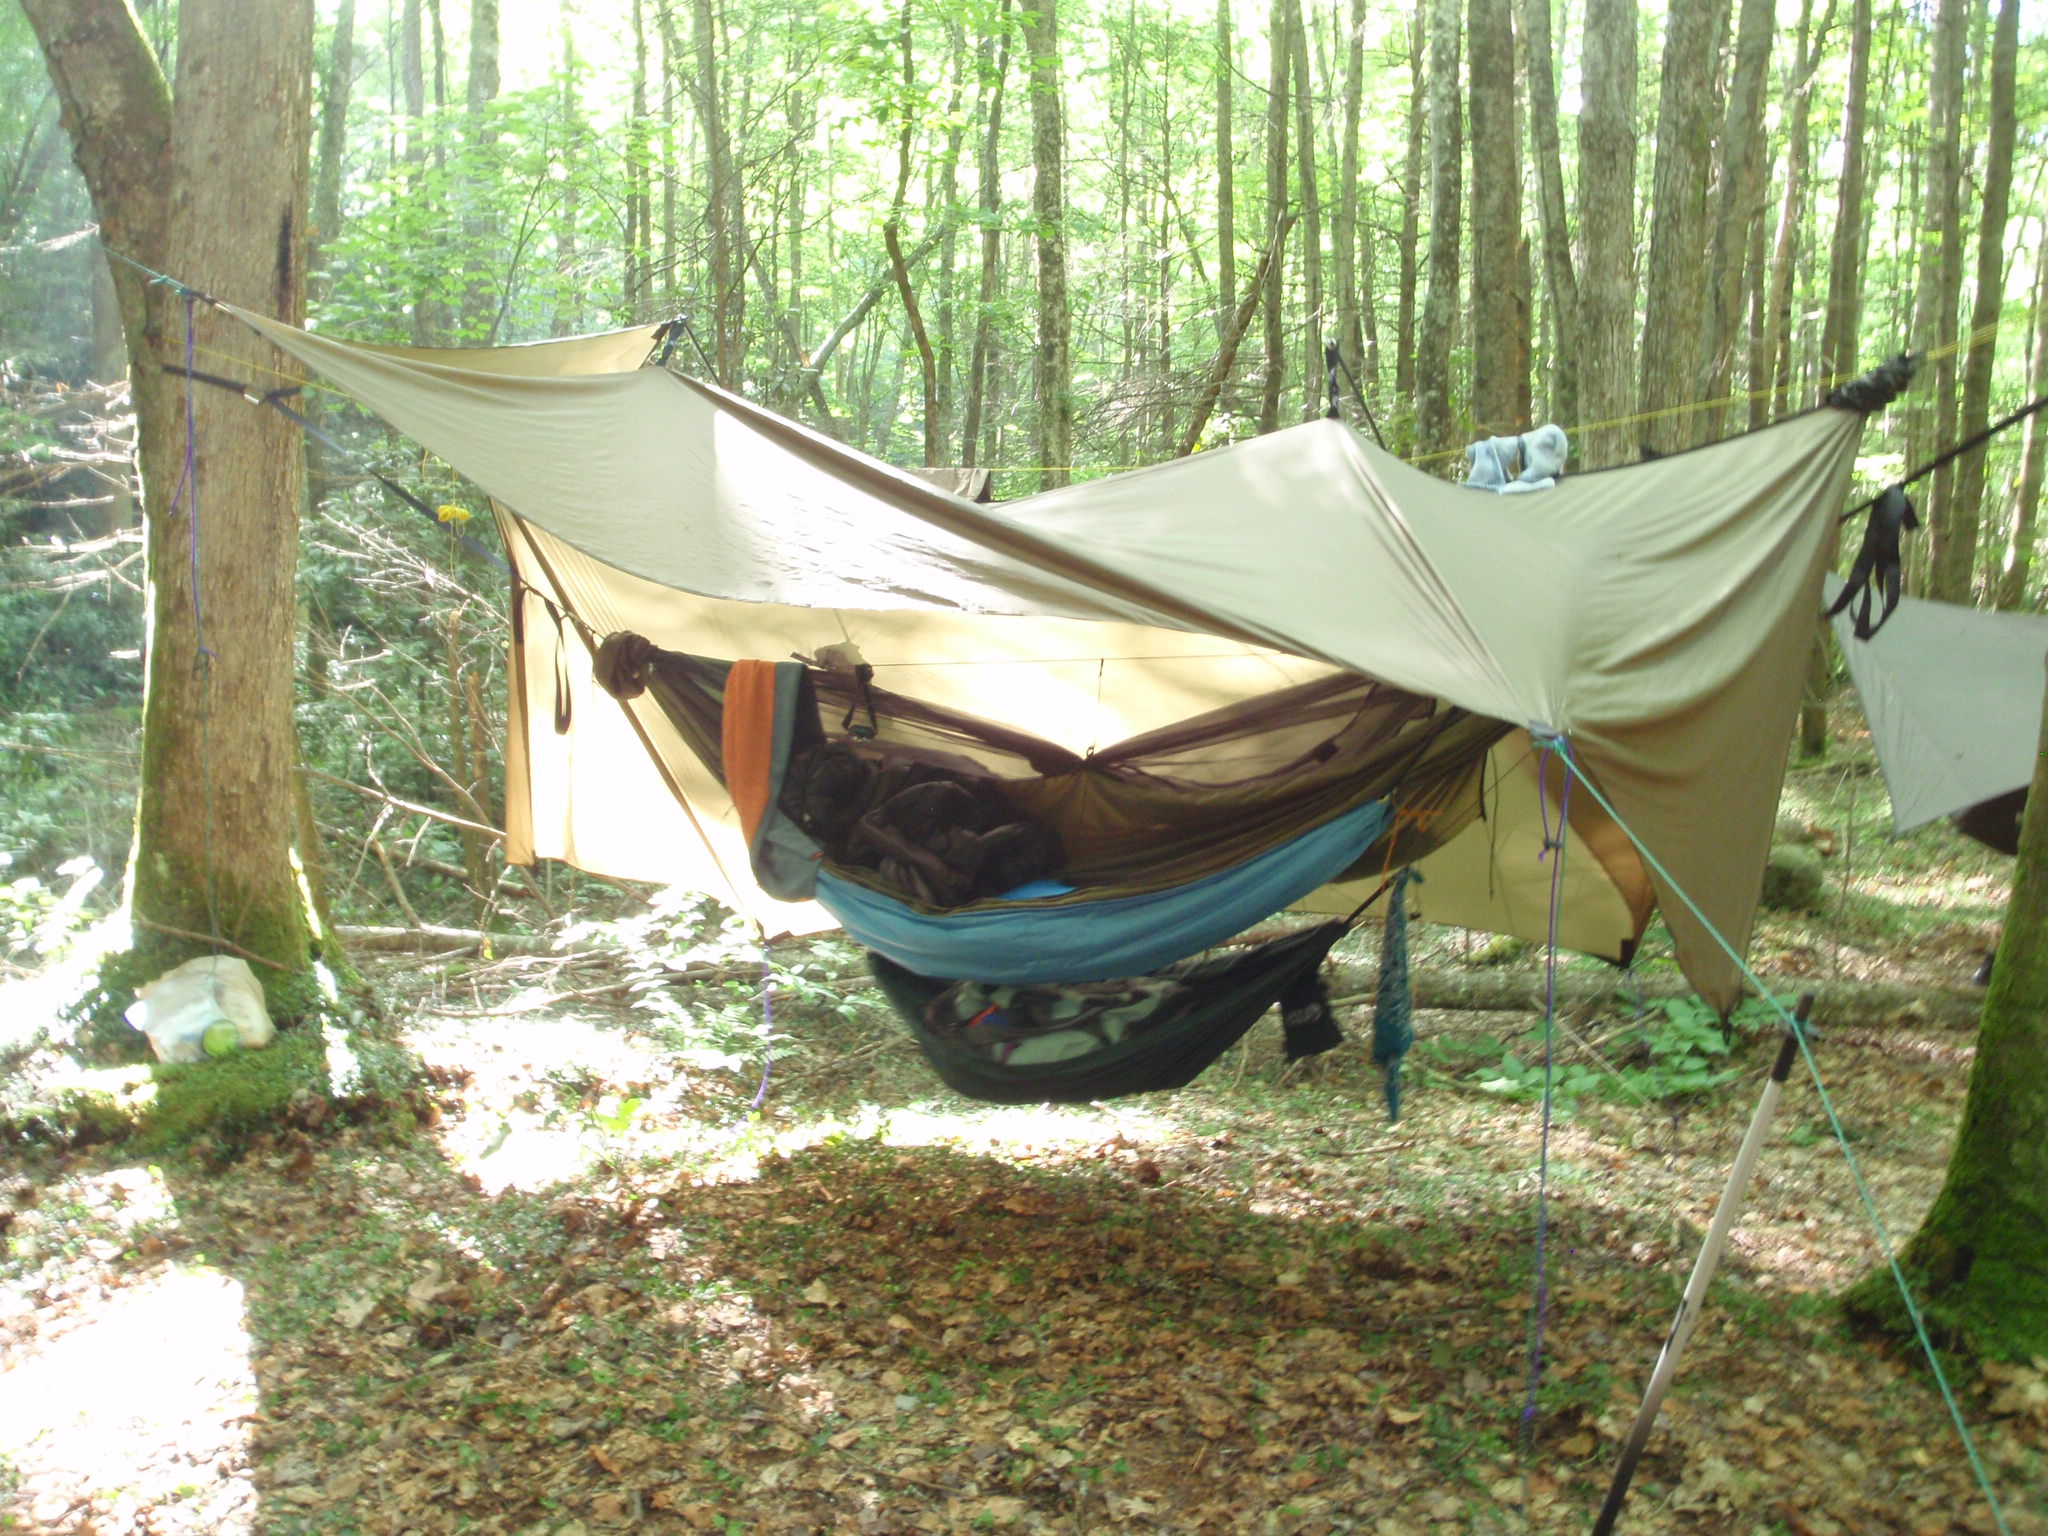
The tarp ridgeline also makes a great drying line for wet clothes!
Tying up the corners puts your tarp in “porch mode” – a great way to get ventilation and views
A unique consideration in hammocks over tents is insulation. Hammocks are great for use in warm climates (particularly hot, muggy, tropical locations) because air flowing under you keeps you breezy and cool. However, most people suffer from what is known as “Cold Butt Syndrome” (CBS) in temperatures under 75F if they are not using bottom insulation. This bottom insulation could be as simple as a sleeping pad put in the hammock, but those can slip around and negate the natural comfort of having the hammock yield to your body shape. I prefer using an under-quilt, which is a rectangular quilt that hangs flush under the hammock. It’s important that this be under the hammock, because if you compressed it between yourself and the hammock then the quilt would lose its insulation properties and you’d get CBS.
The blue quilt is my underquilt that kept me warm and comfortable on the coldest of our nights
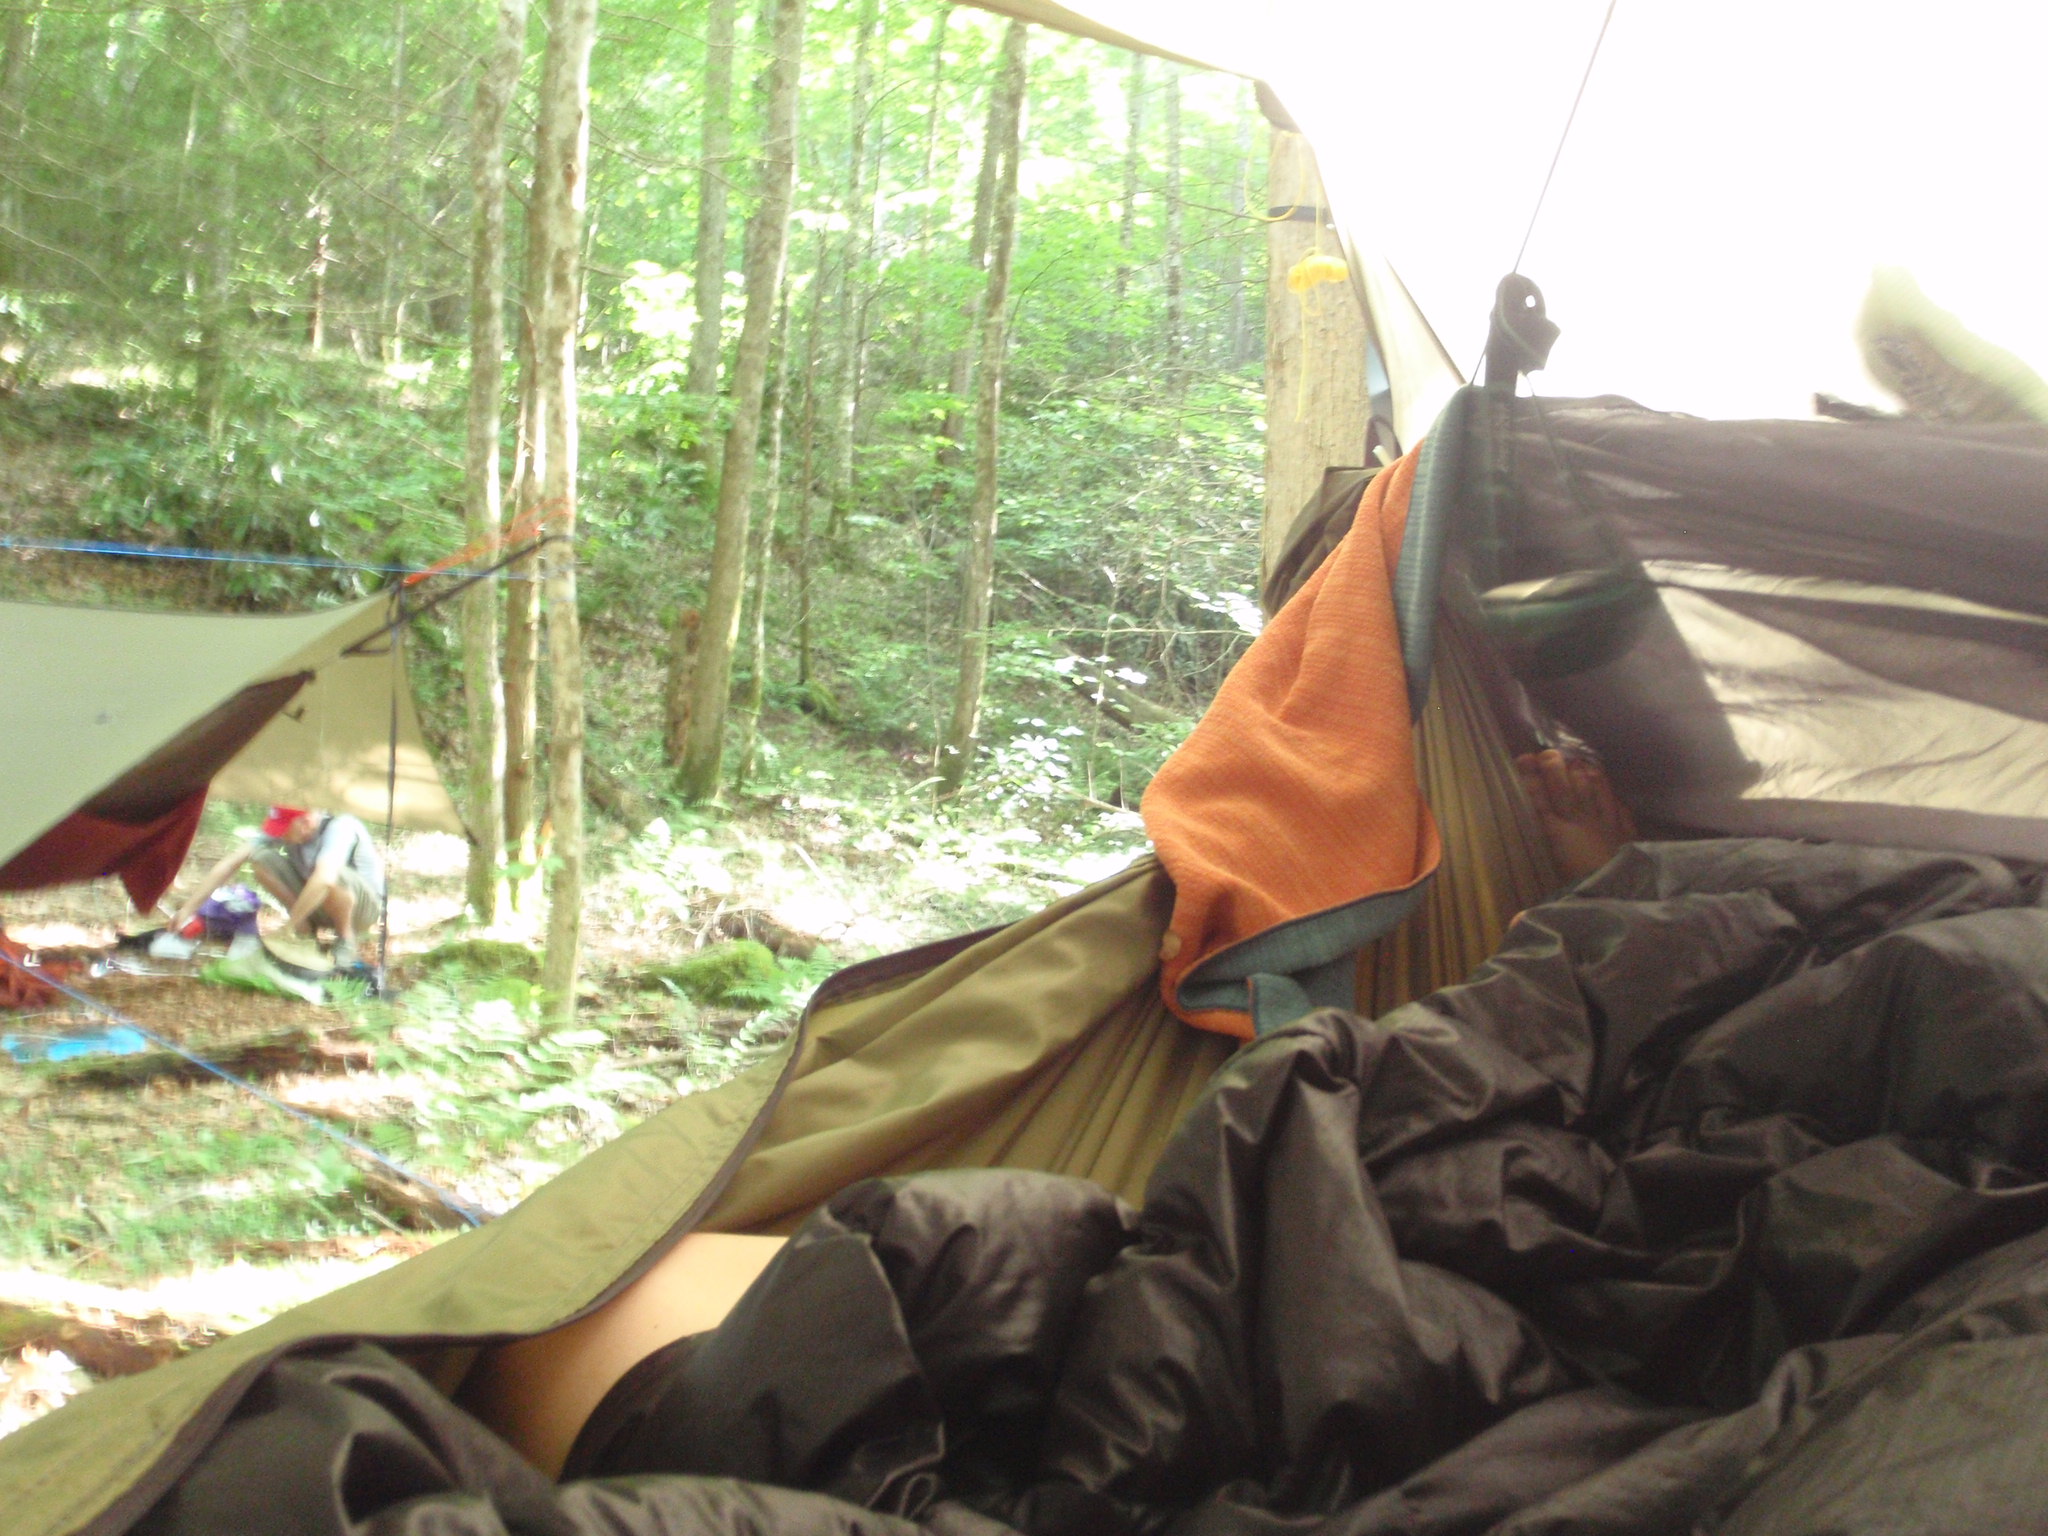
For top insulation, I use a down top-quilt with a cinch footbox at one end. Sleeping bags can also be used as top insulation, however, note that it’s easier to use them as a blanket rather than climbing into them (difficult to do while laying in a hammock). On the warmer nights of our trip, I found that I didn’t need the topquilt as the underquilt provided the only warmth I needed to be comfortable.
The black topquilt in this photo is stuffed with down and has a durable water proof protection that kept me toasty all week
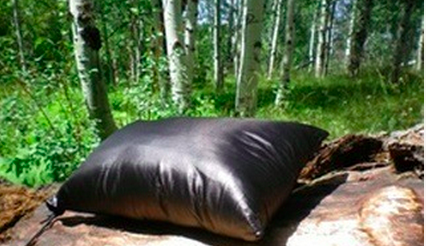
My last luxury item was a little pillow, though I probably didn’t need it because the hammock gave my head and neck great support.
Packs up small and the synthetic down kept my head warm
That’s the basic setup, but the real fun comes in tweaking your gear to match your kind of camping. After a week spent in the hammock, I won’t go to ground willingly again!
Here are some great resources if you are interested in getting your hammock setup together:
During our initial workshops we brainstormed about different gear and superpowers we wanted to bring with us into the field. The targets were for digital, wearable devices that could help us explore the environment or interact with other living creatures.
We batted around ideas covering a broad assortment of topics, and these then we loosely grouped to find interesting categories that emerged. Some of these basic categories consisted of augmented means of navigating, obtaining the extranormal senses of animals, and new ways of capturing the rich multimodal experiences we were likely to enjoy.
Our group opted to try to build two initial devices from our assortment of interesting new ideas.
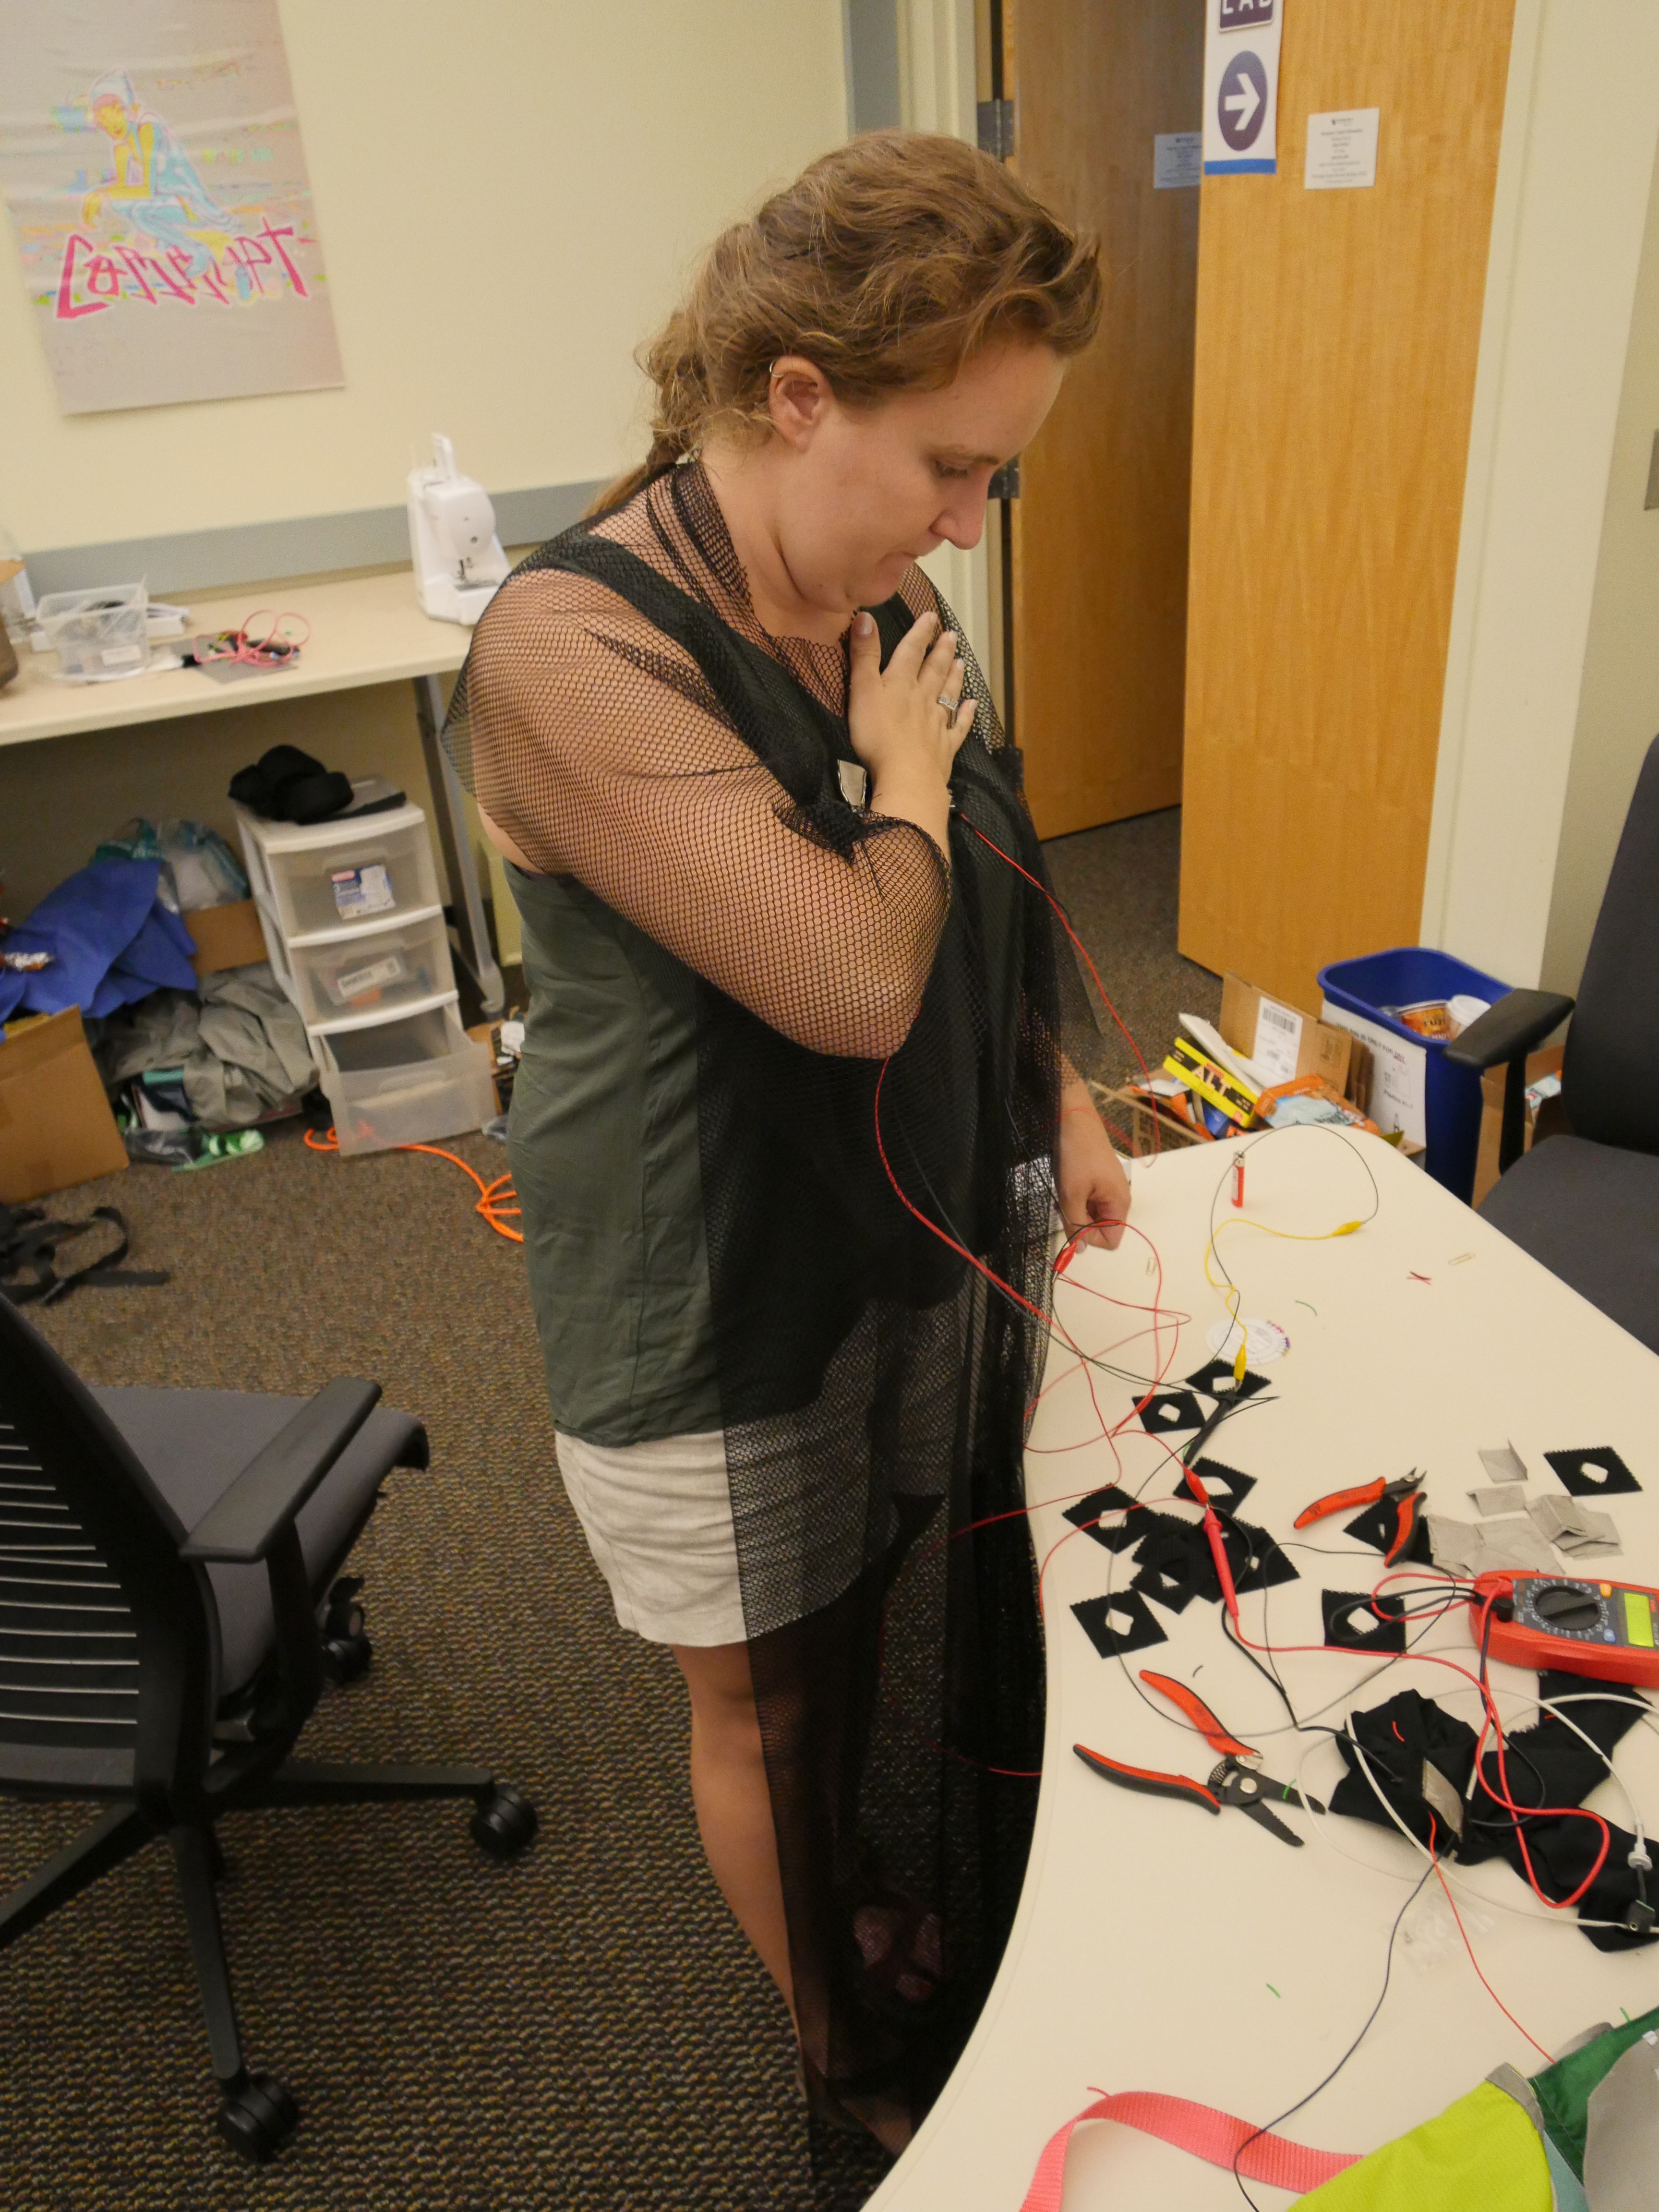
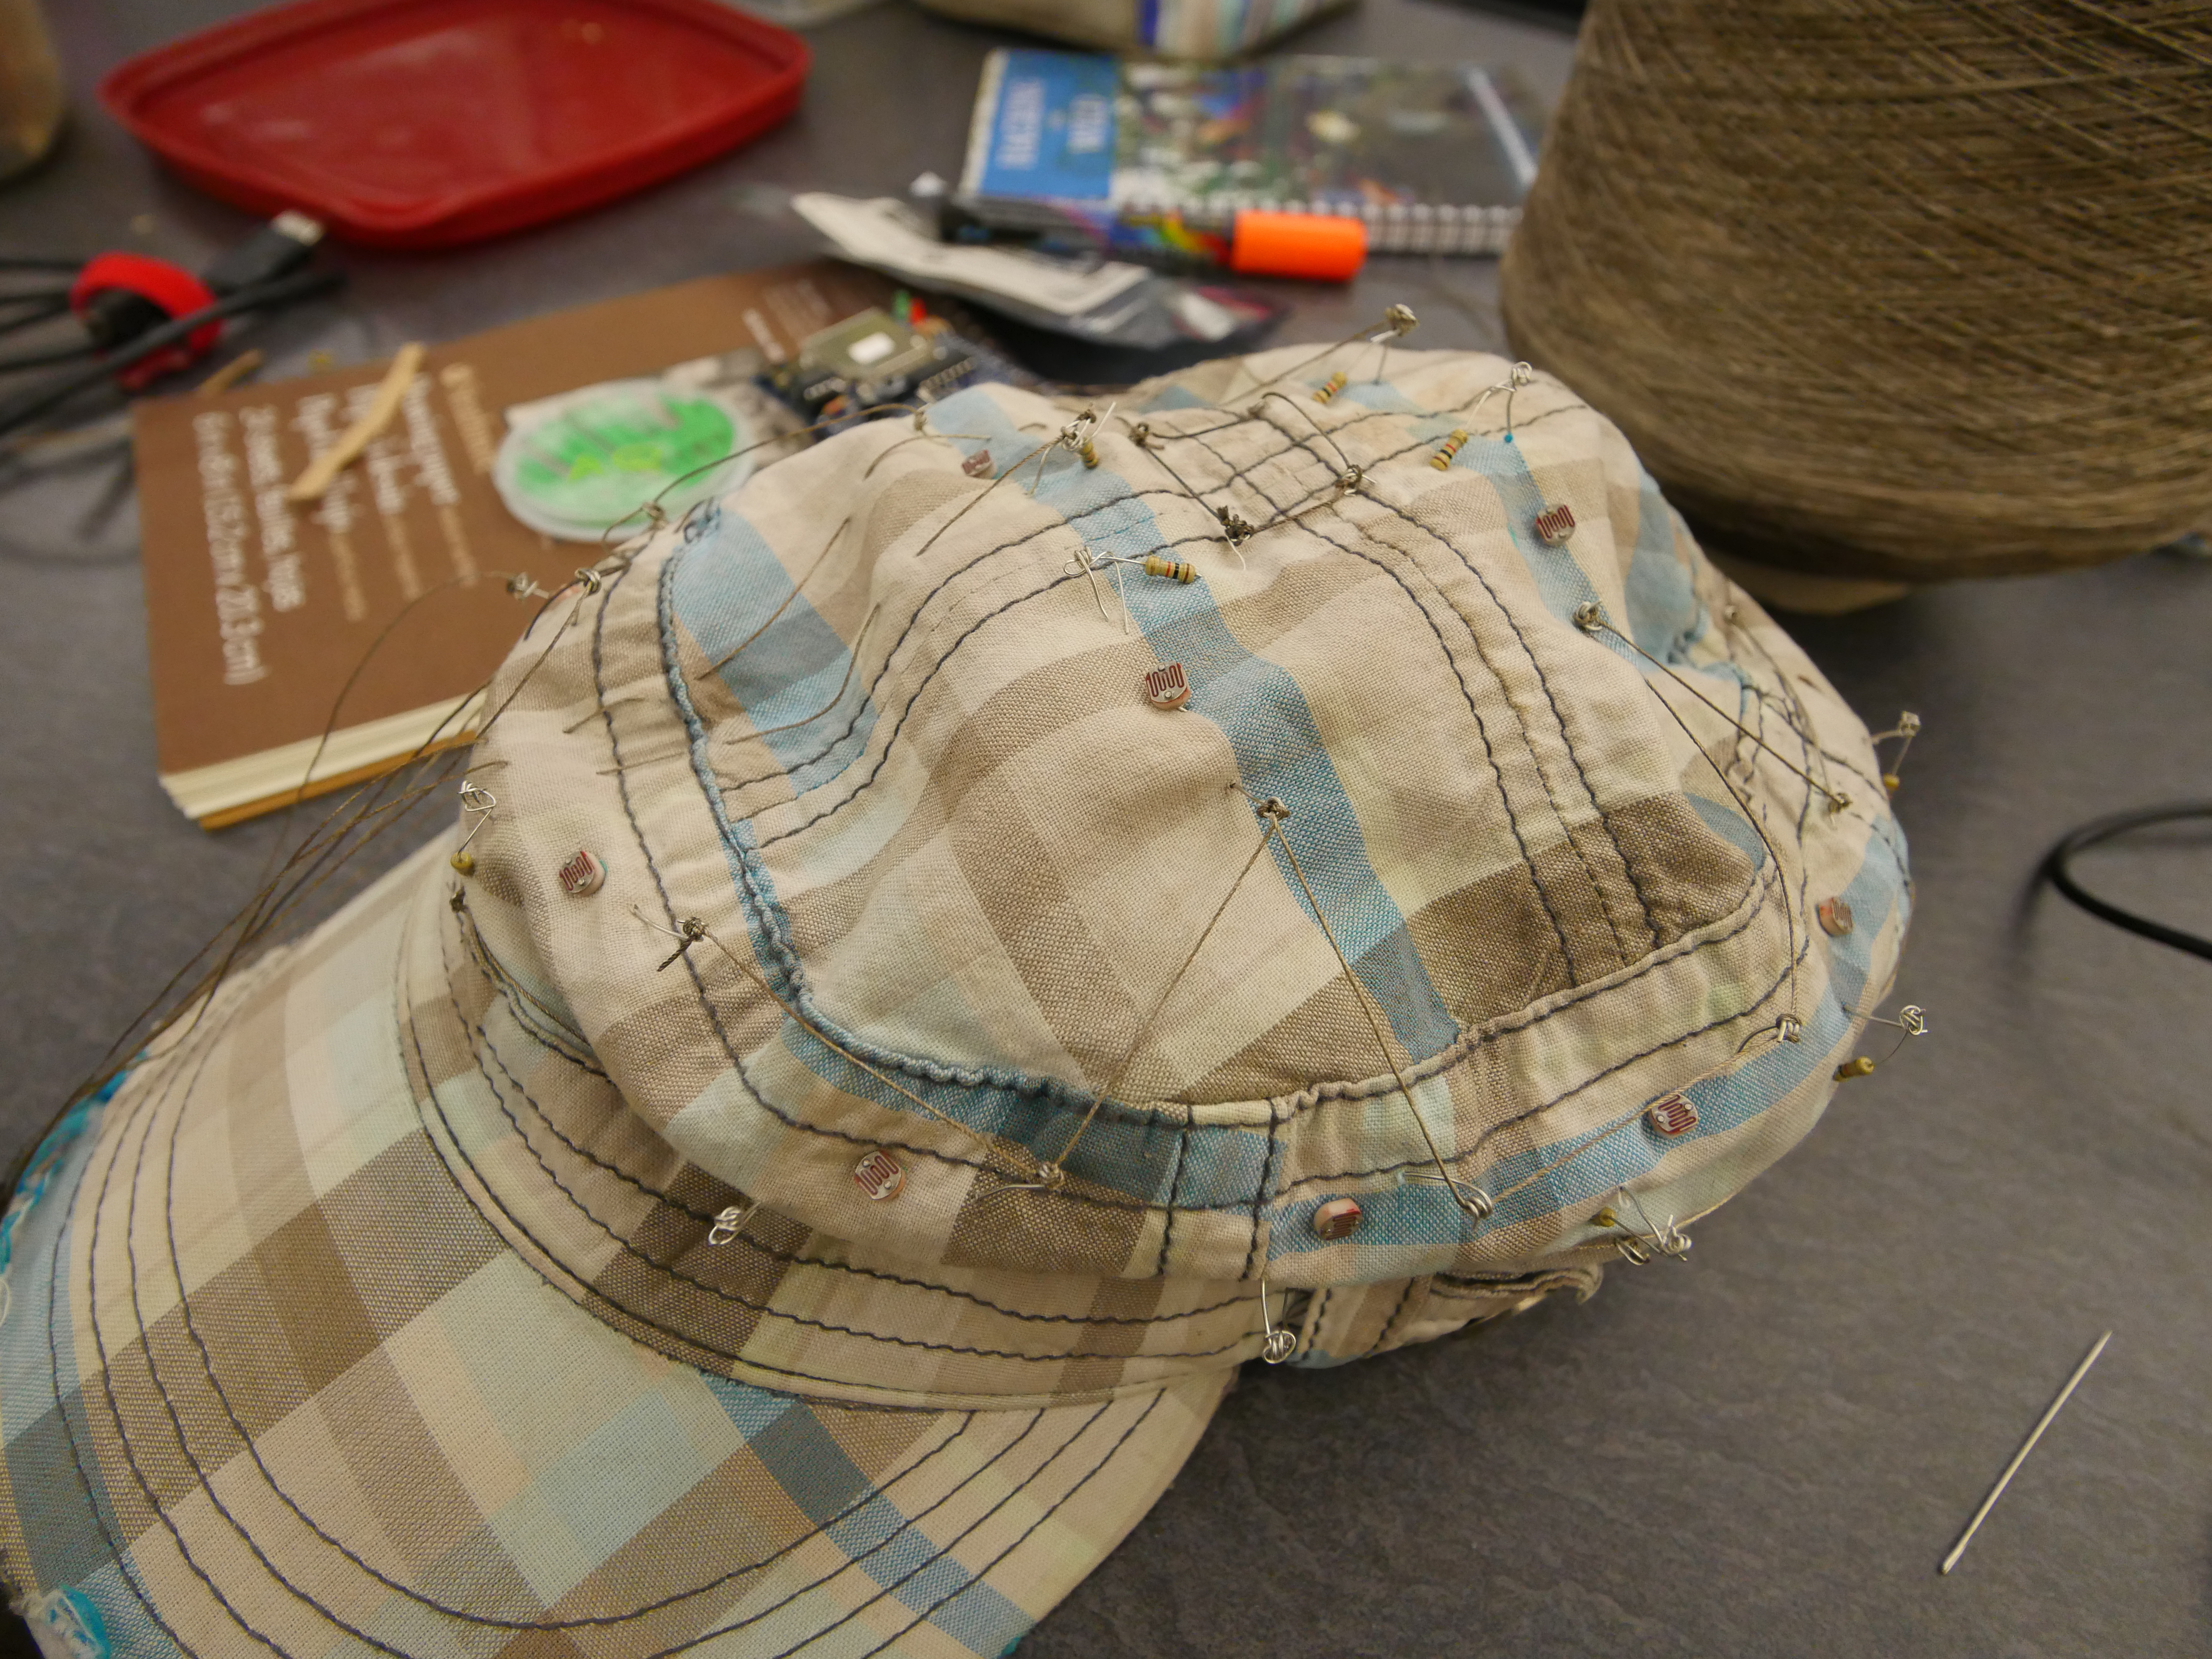
embodied ethogram machine
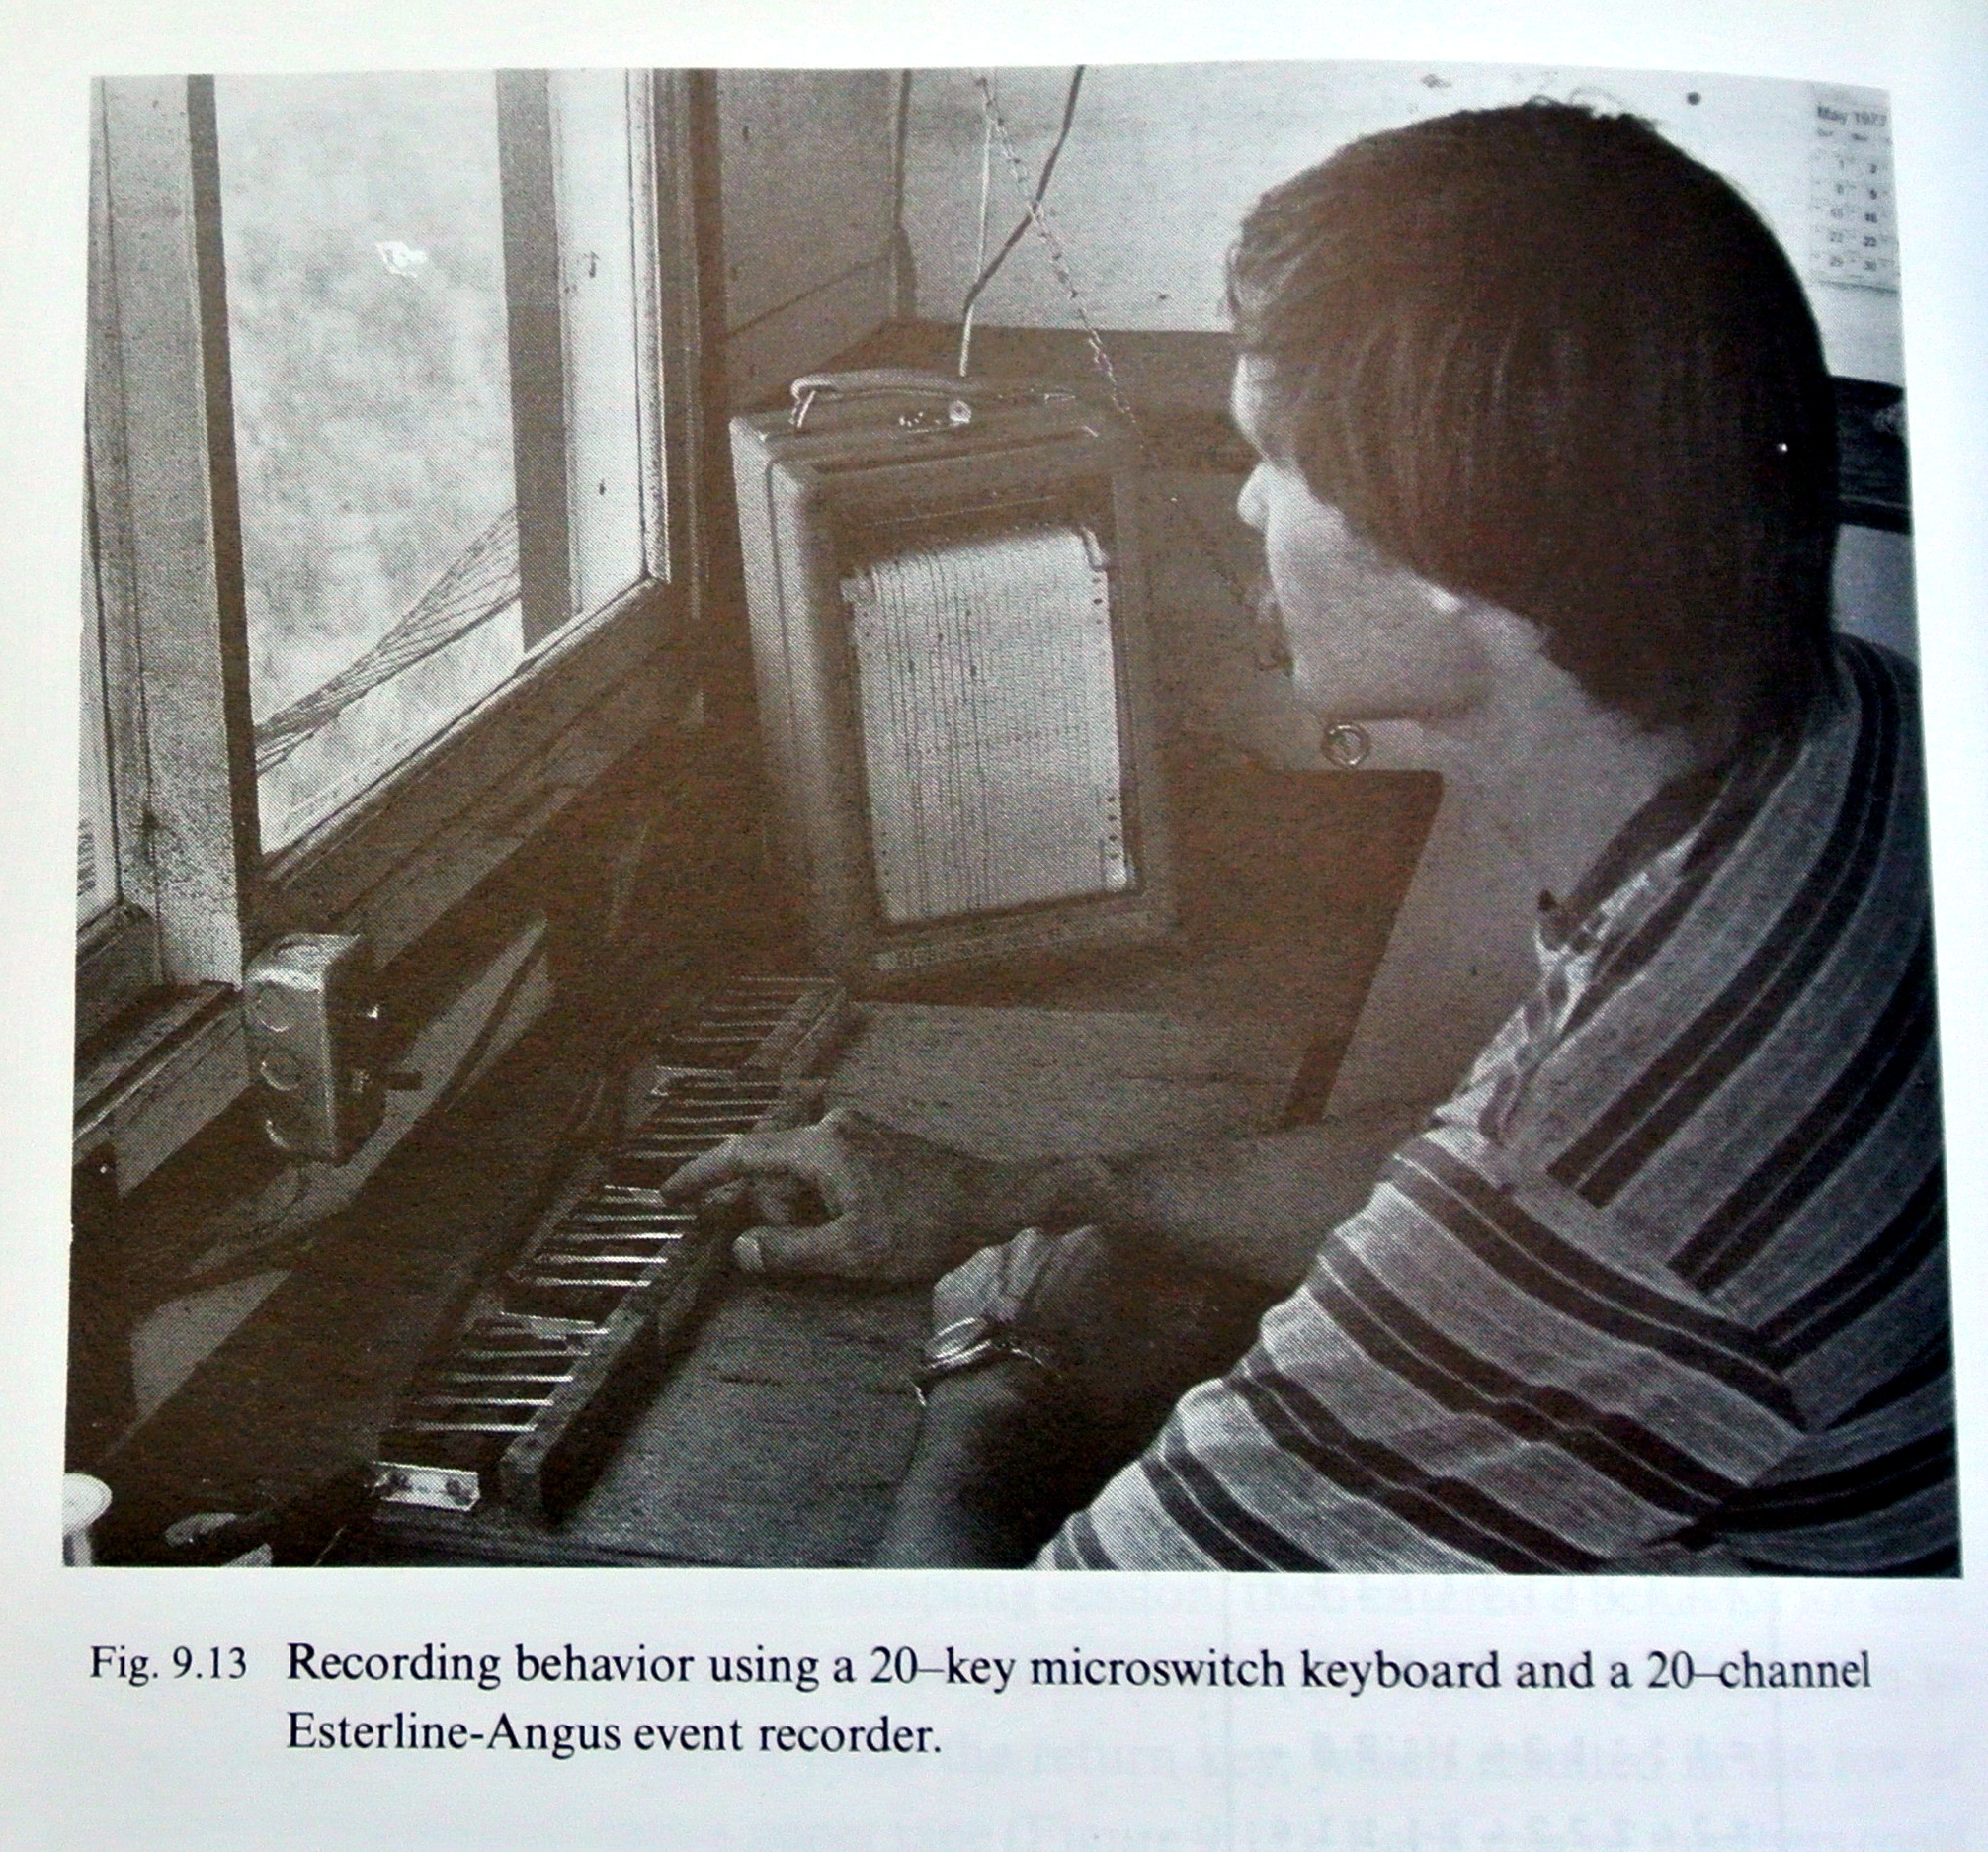
A traditional Ethogram machine
The first device was an embodied tool for creating ethograms. Ethograms are long lists of observed animal behaviors, and they are usually made by meticulously logging the actions of the animals for a specific time period in a notebook or computer program. This process can get boring, and somewhat divorce the researcher from the world around them. By making an embodied suit, the participant could map actions and animals to actions performed by her or his own body. It could not only improve the researcher’s memory of what happened, but also make the experience more enjoyable and fun!
The other device we worked to create before heading into the field was the Photosphere. Big arrays of cameras are gaining in popularity for capturing immersive environments (such as Google’s streetview). These are super expensive though. Matt Swarts had an idea to make an array of cheap photoresistors that we could wear into the field which could capture a 360-degree sphere of the changing light as we walked through the forest. These experiences could then be inexpensively re-created by mapping onto a dome with similarly placed LEDs.
Both of these projects were further developed when we got into the field.
This latest hiking hack is the most organized one to date. Lessons learned from the magnificent experiences in Panama and Madagascar left me prepared to tackle the many obstacles standing in the way of prototyping digital equipment in the wilderness.
This is also the first funded hiking hack thanks to Georgia Tech’s wearable Computing Center which gave us nearly $5,000 to run this expedition. It’s amazing how far this little bit of money can go!
The weeks leading up to this expedition were full of the millions of little tasks always needed before any big trip. We have to purchase supplies, figure out food, scout locations, and work out meetings between everyone’s schedules.
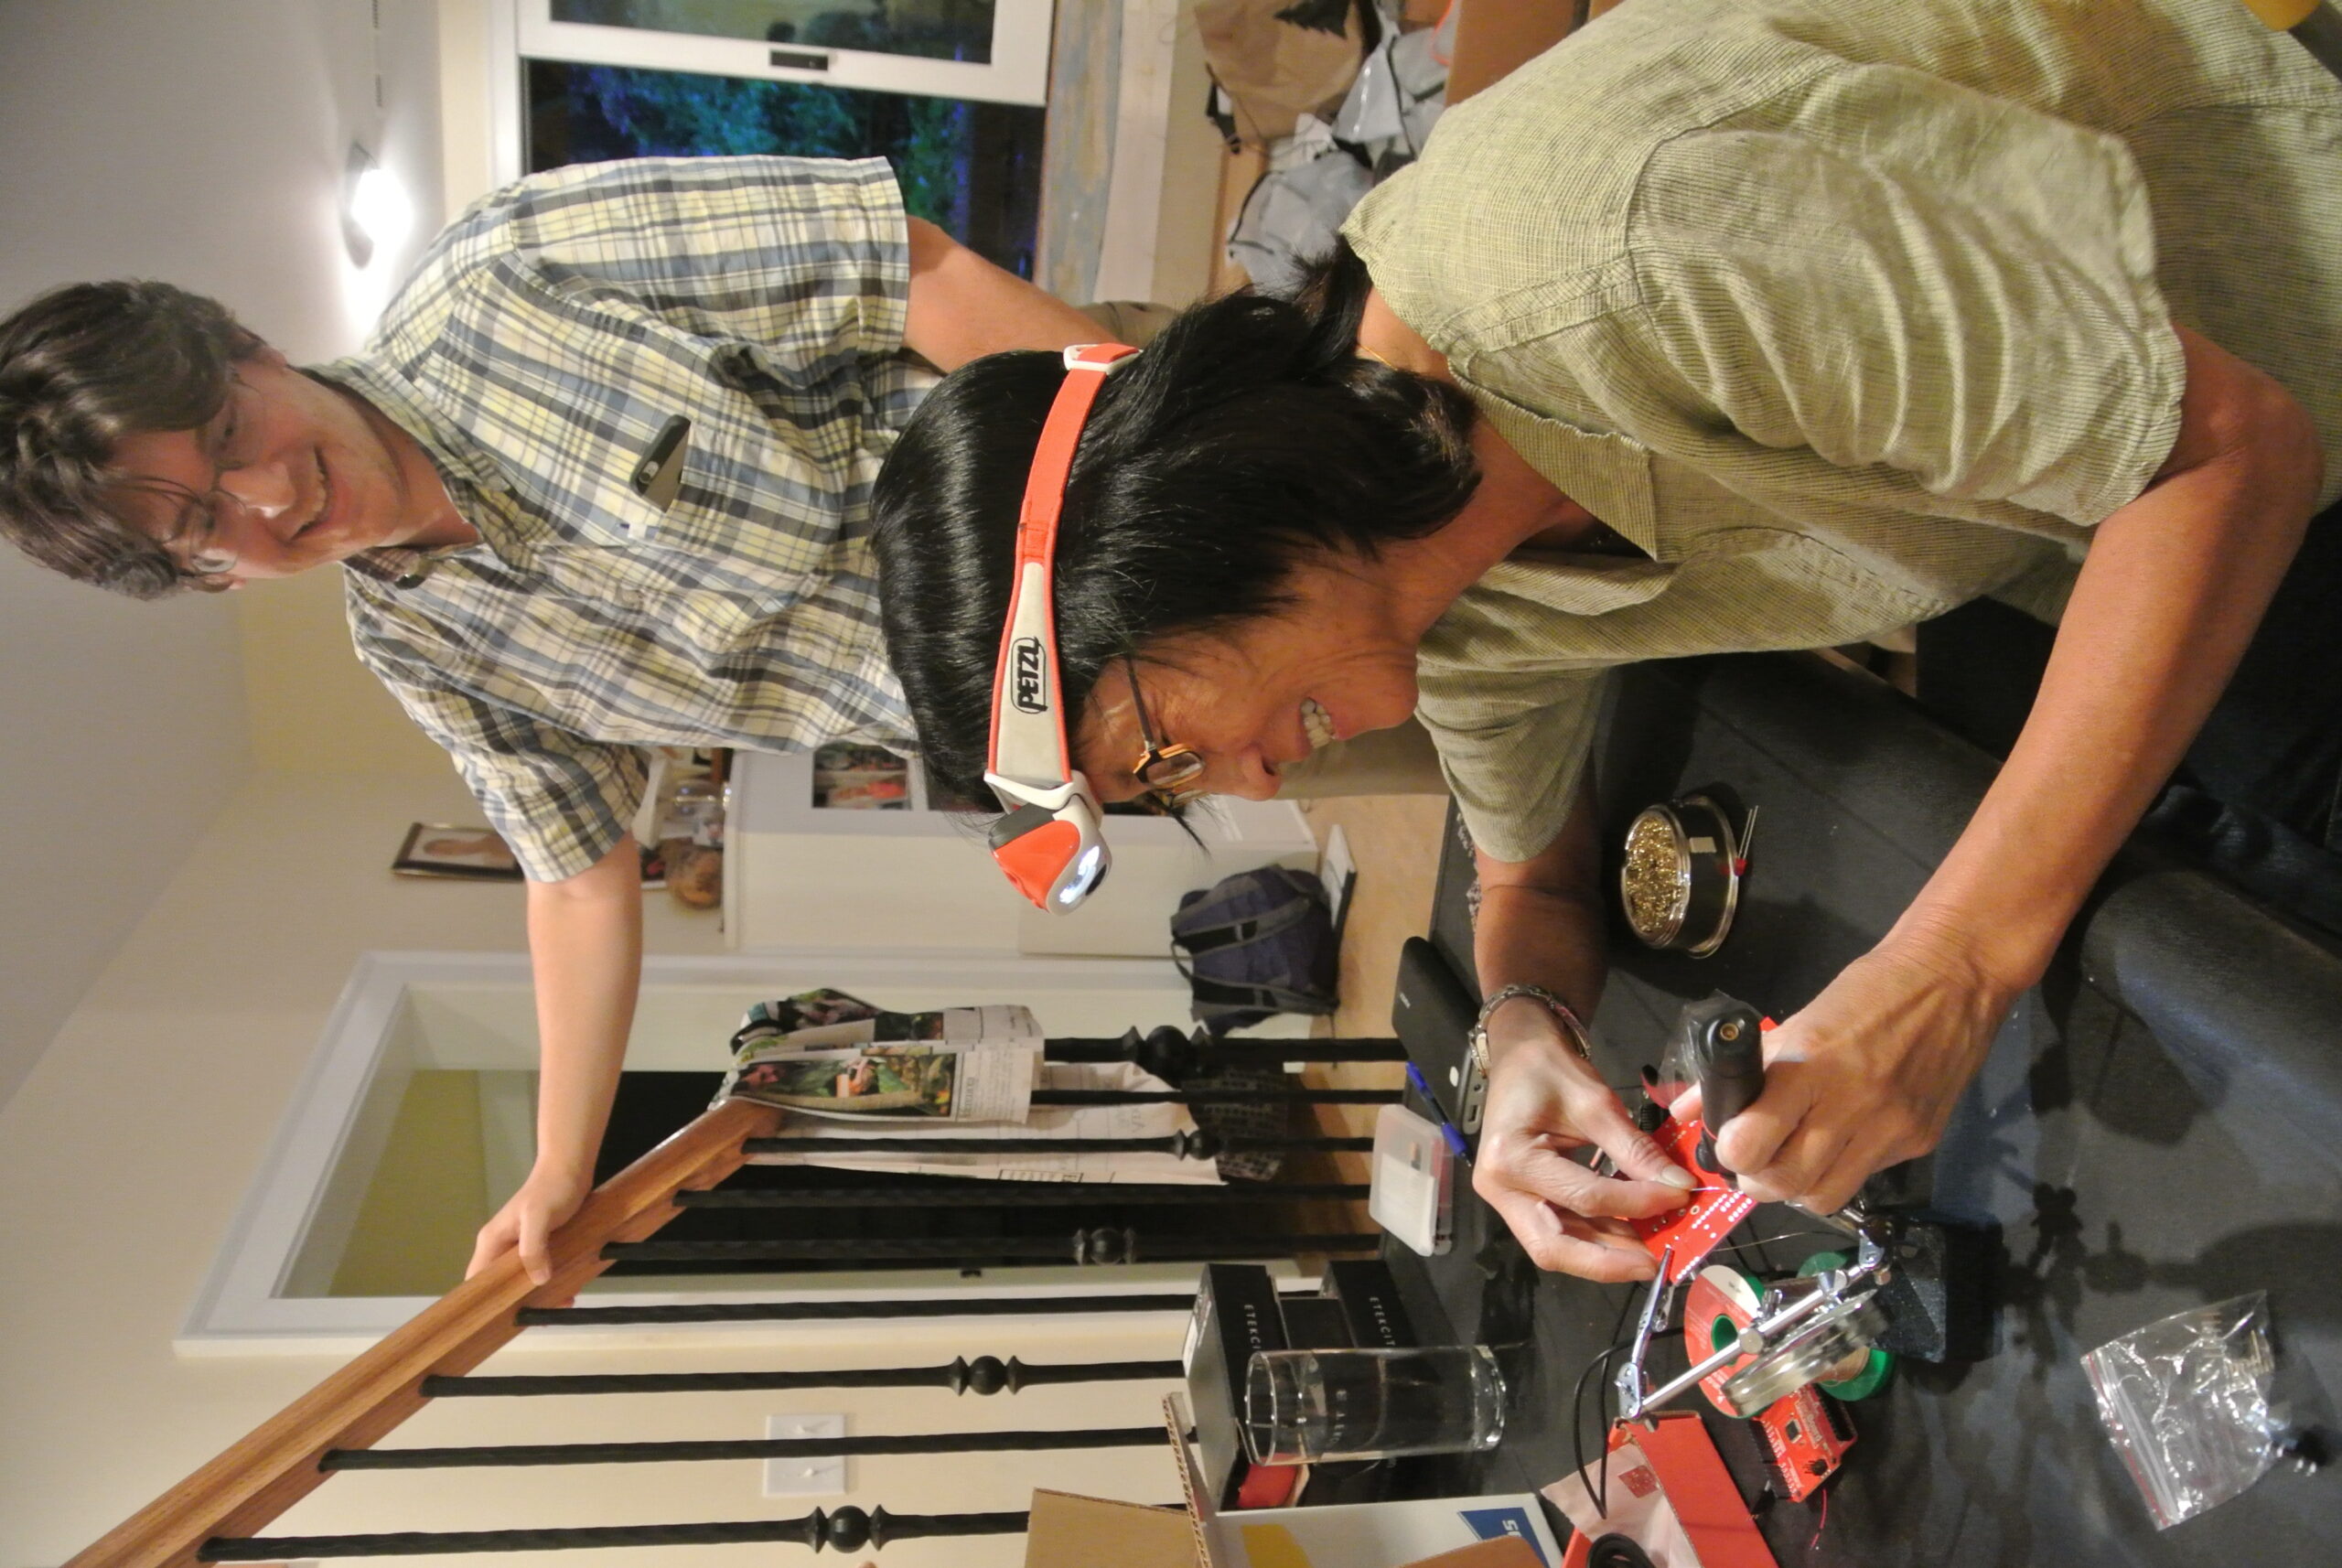
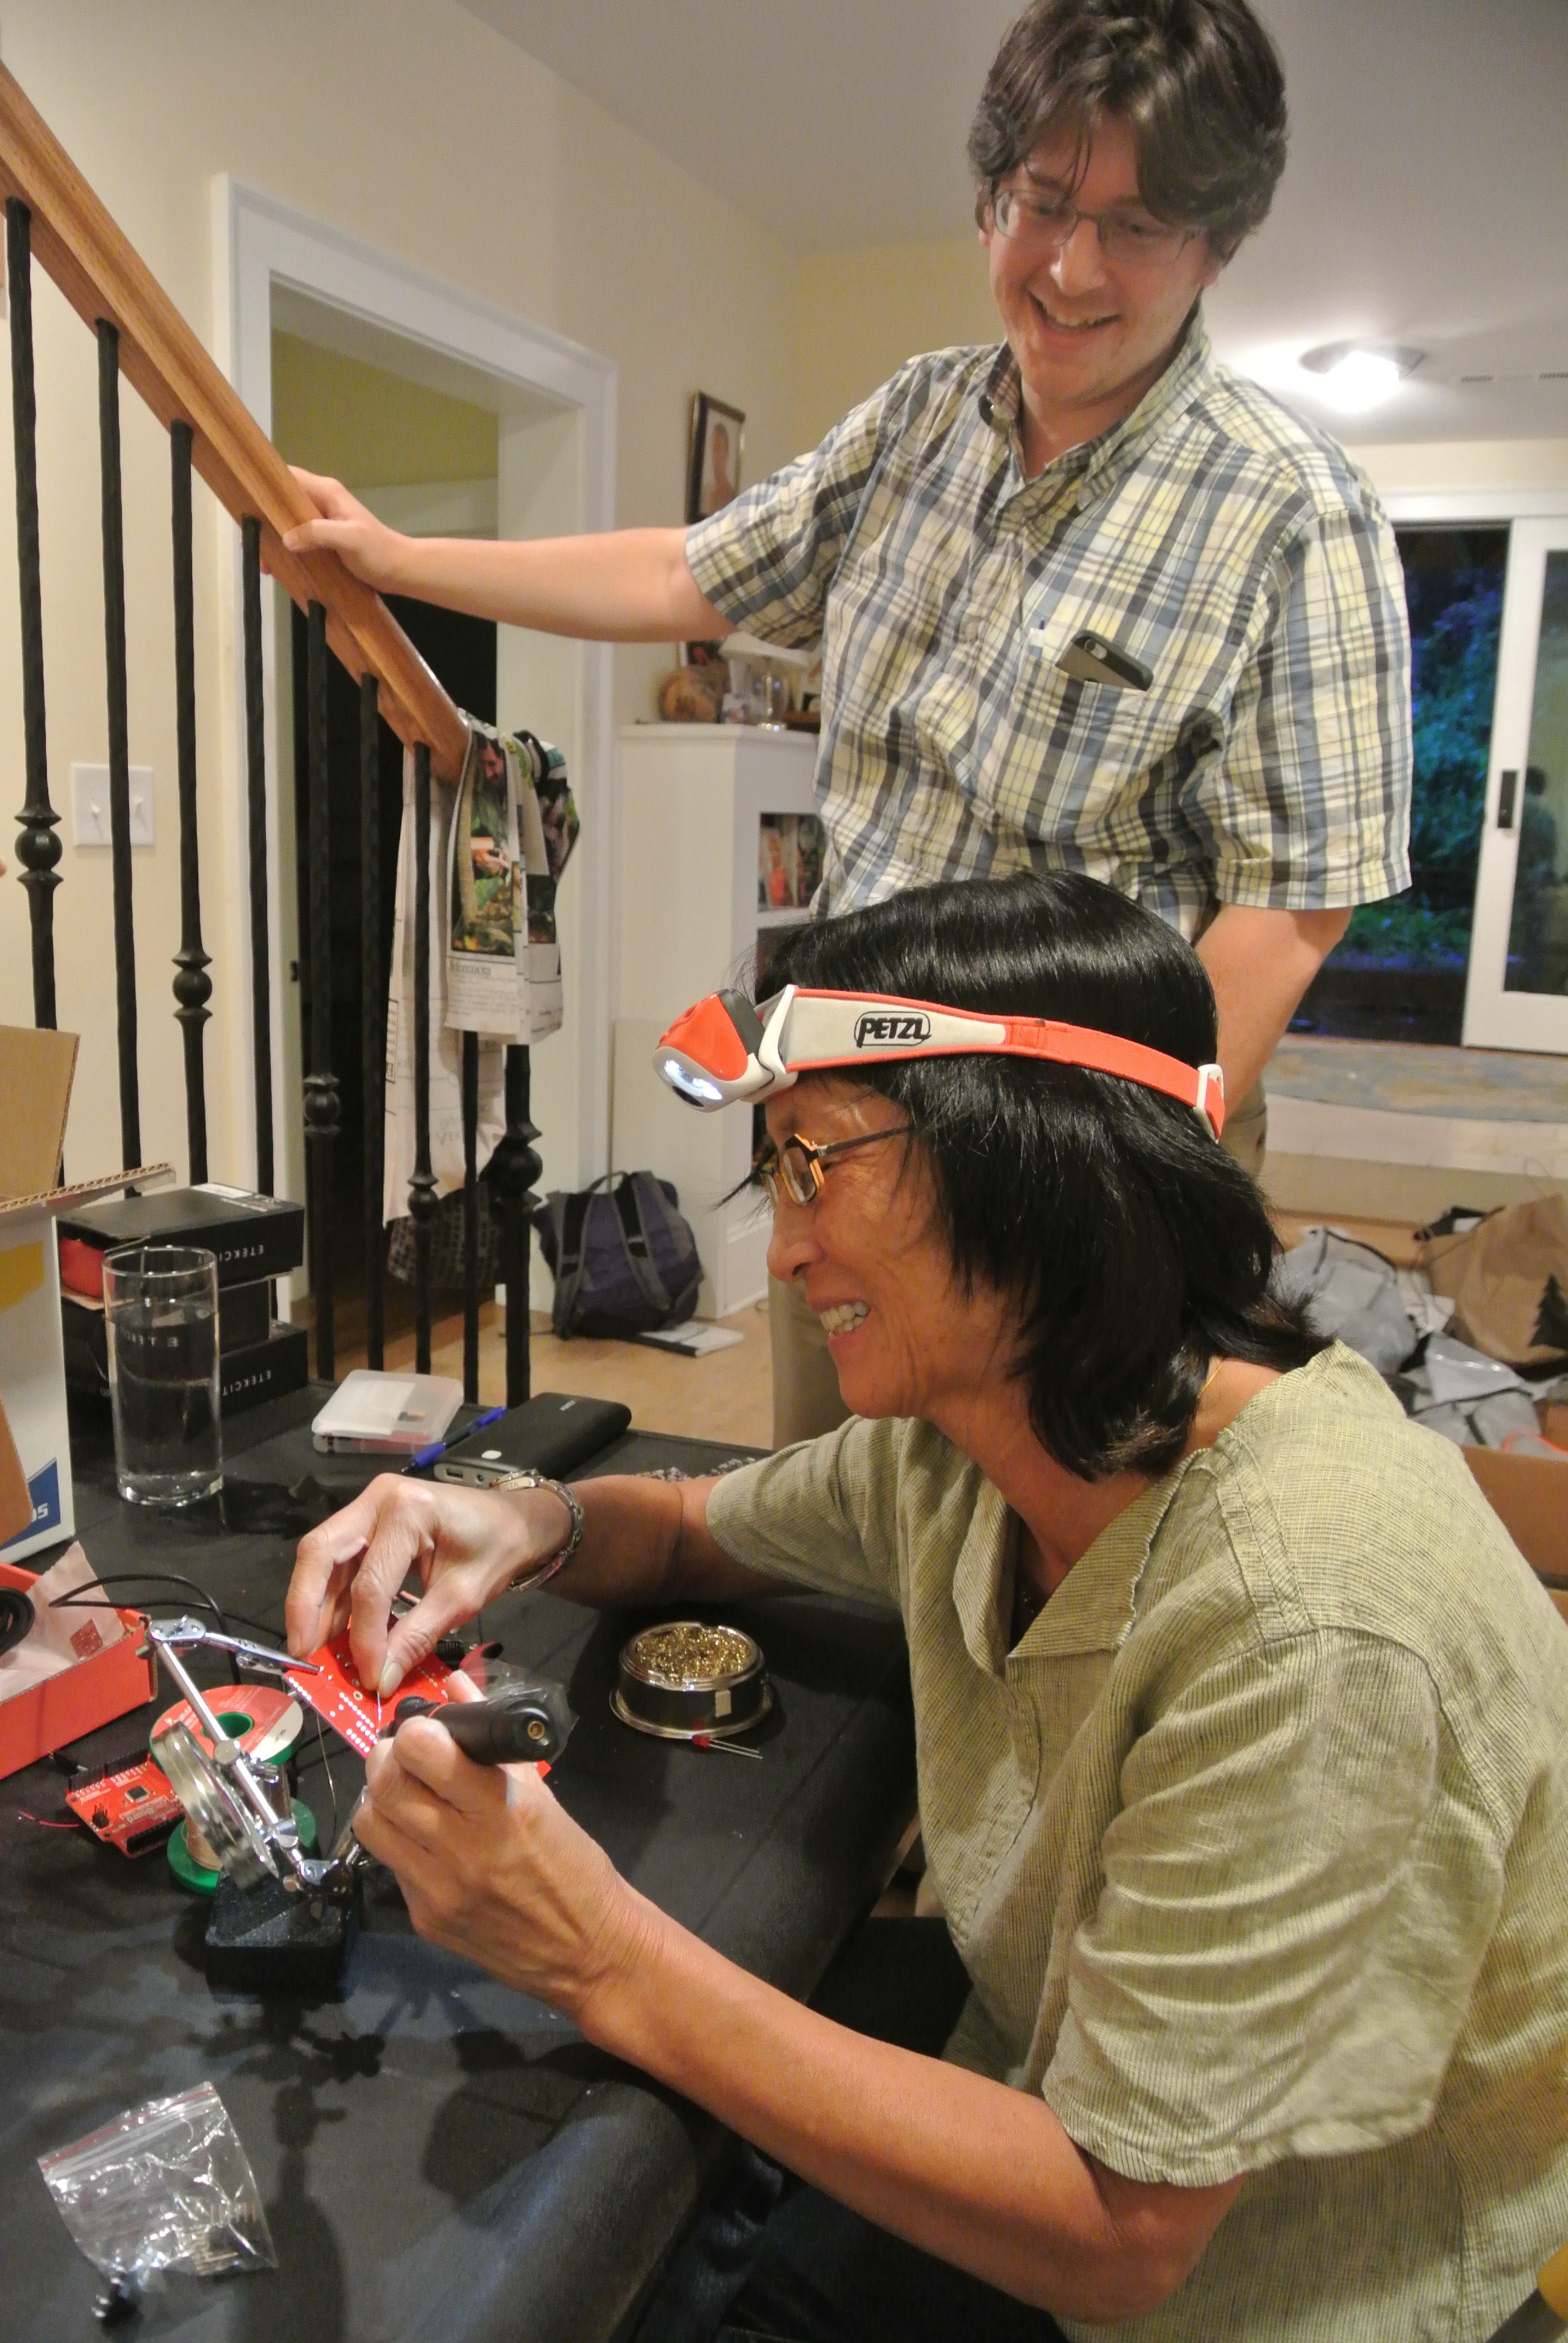
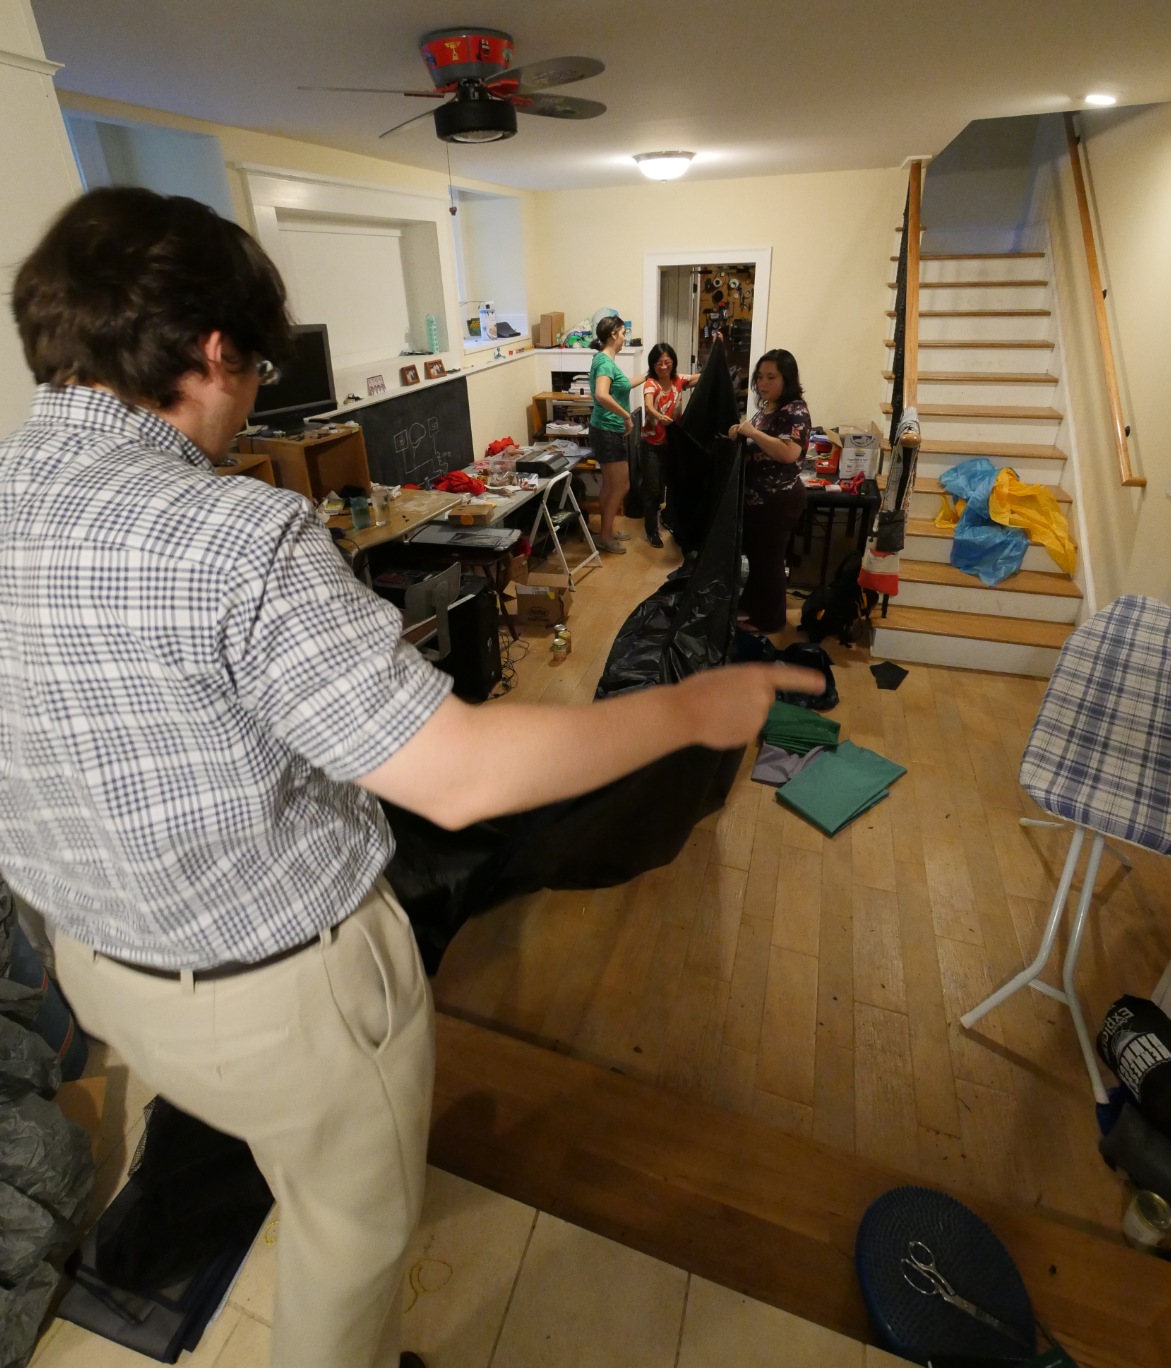
I held informal building-stuff workshops just at my house throughout april and may. We got some of the participants up to date in learning basic electronics and soldering skills, and we also built some of the major infrastructure for the project, such as sewing and sealing our own custom tarps.
We bought lots of our supplies from a great site called Diygearsupply.com, where they have lots of materials perfect for outdoor crafting and weatherproofing. For instance we could purchase huge lots of silnylon, which is an silicone infused, ultra-light, ultra compact-able material for making waterproof tents and tarps. Usually these tarps are extremely expensive, and a >20×20 foot tarp could cost well over $200. Instead we purchased silnylon “2nds” which have imperfections in their coloration, so they are discounted in cost, but are stuff waterproof and light! Working together we, sized, cut, and sewed the french seams of the fabric into a massive tarp within just a couple hours. Most importantly these early workshops helped us to get to know each other and understand our backgrounds and strengths.
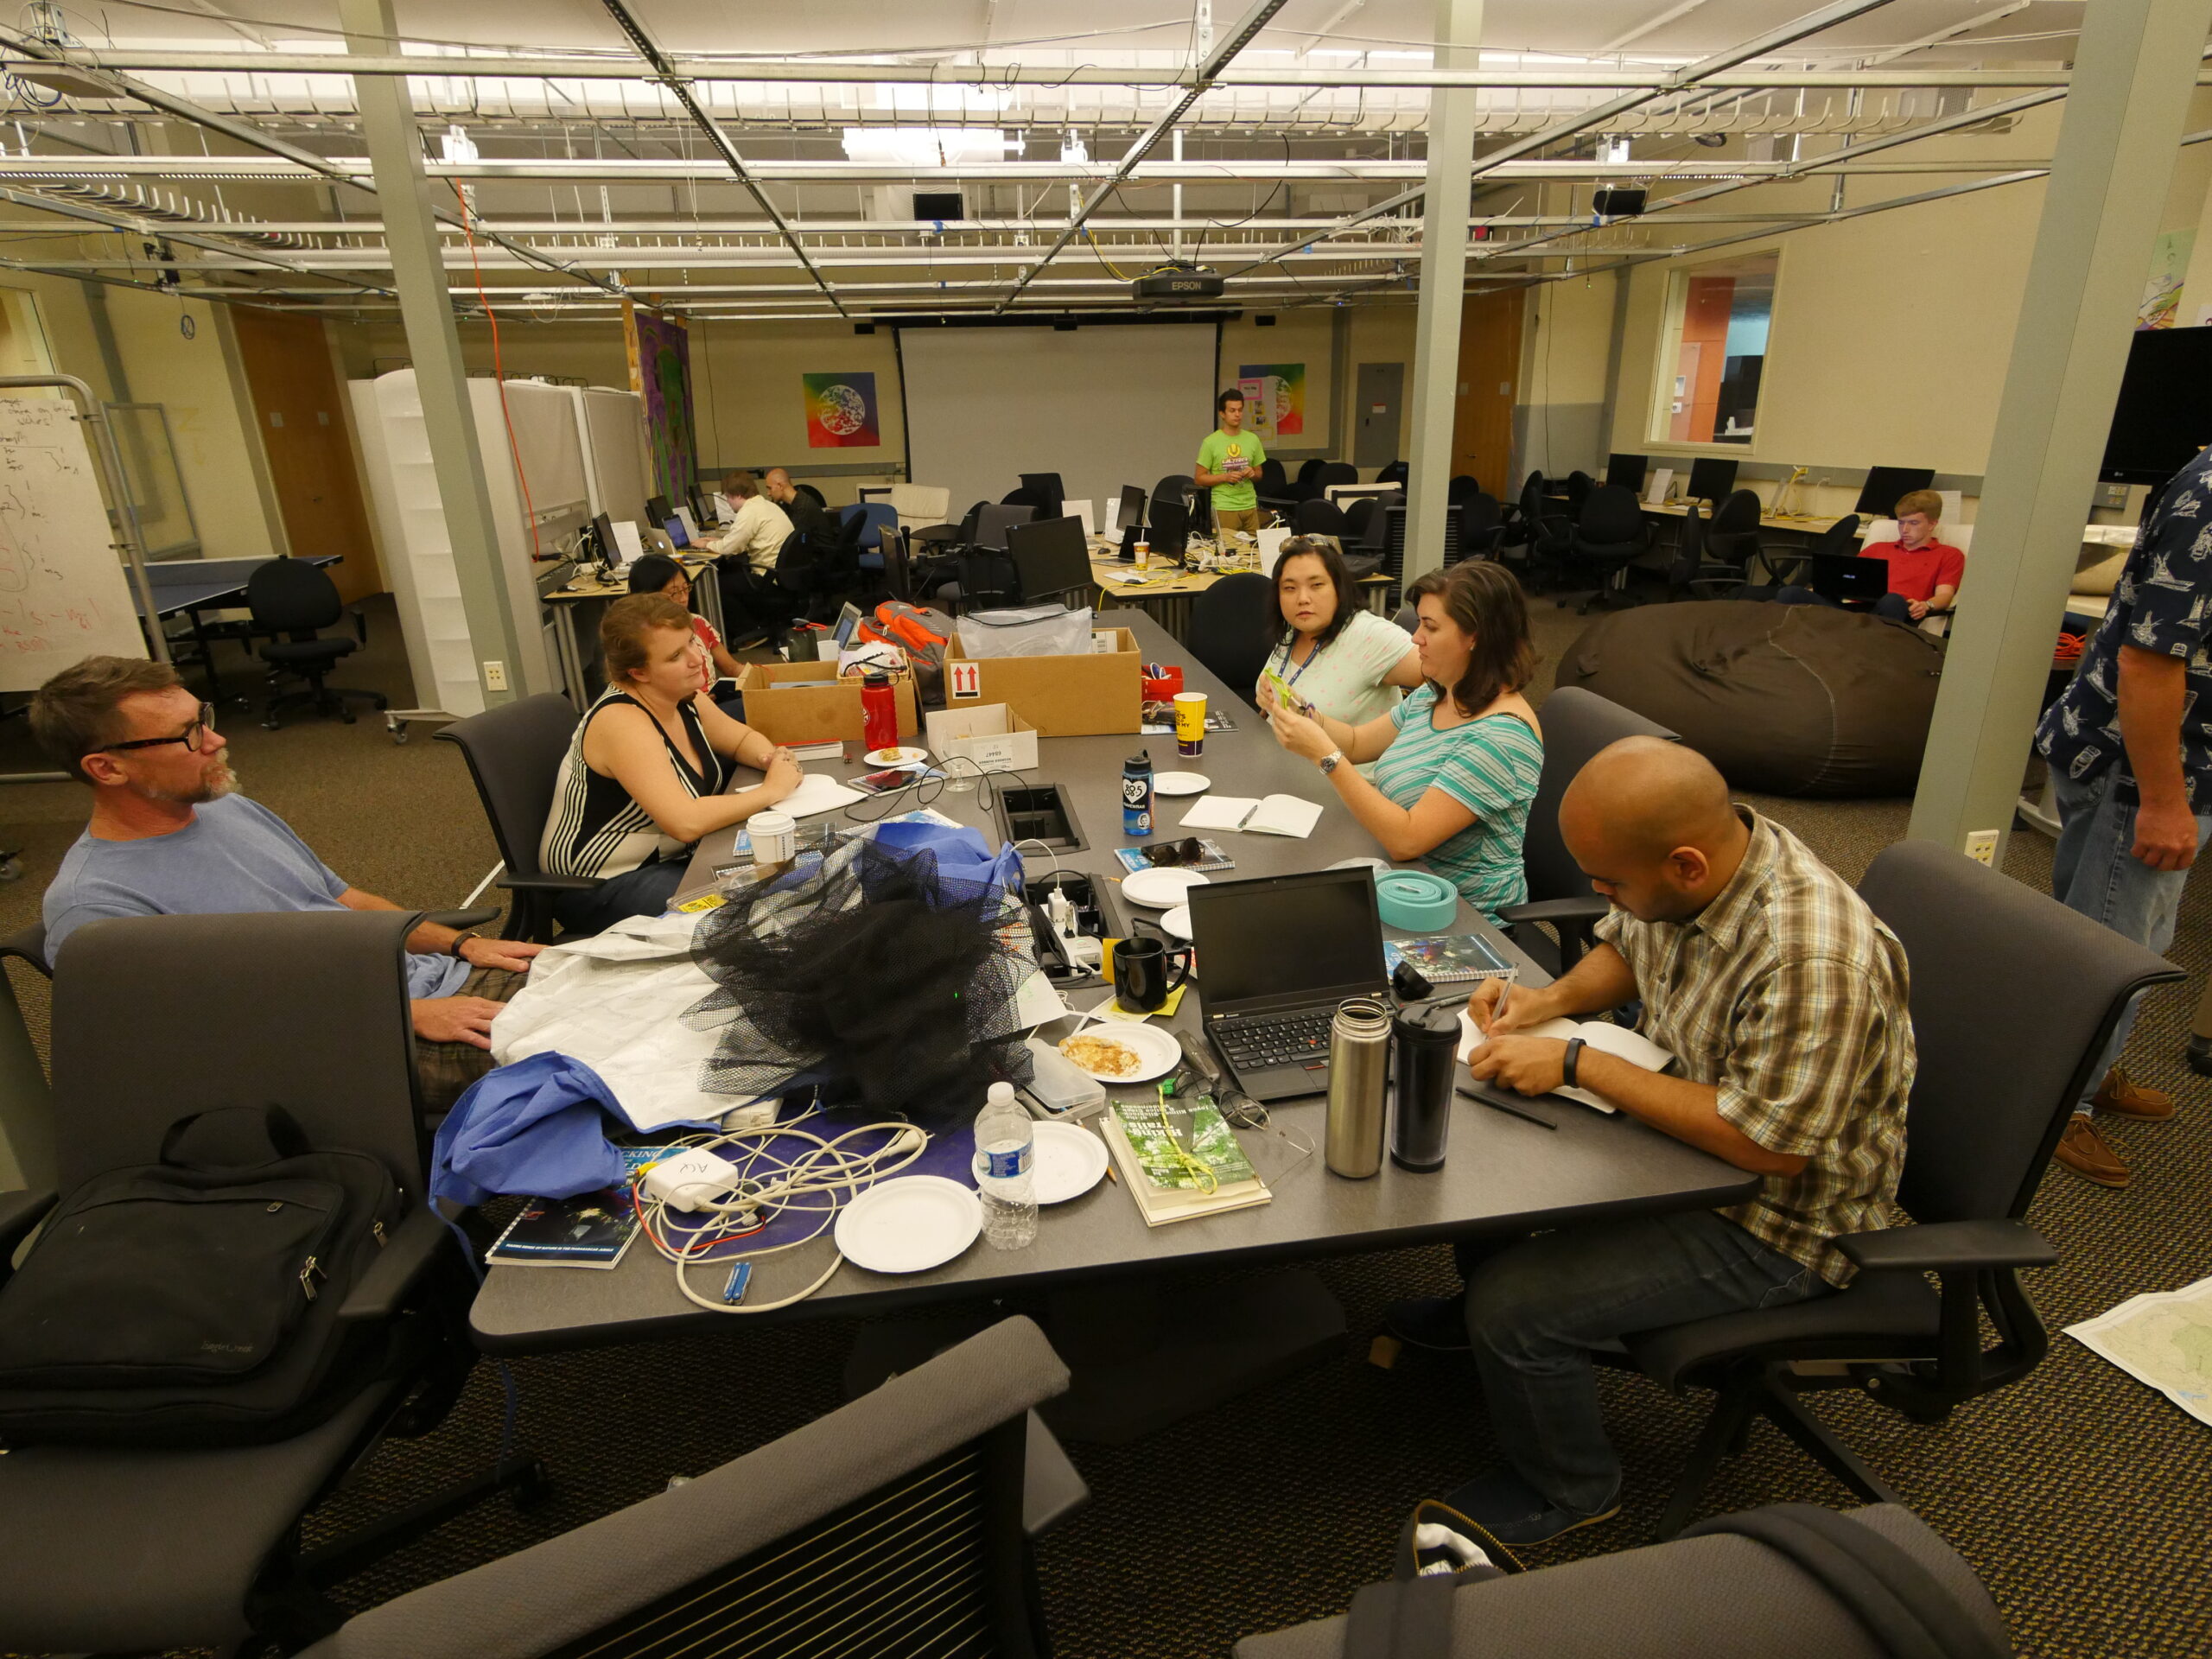
The first two days of the workshop were held at Georgia Tech’s App Lab. We brainstormed ideas for wearable devices that could solve problems we expected to encounter in the field. We came up with many ideas (which ill describe more in posts tomorrow!)


