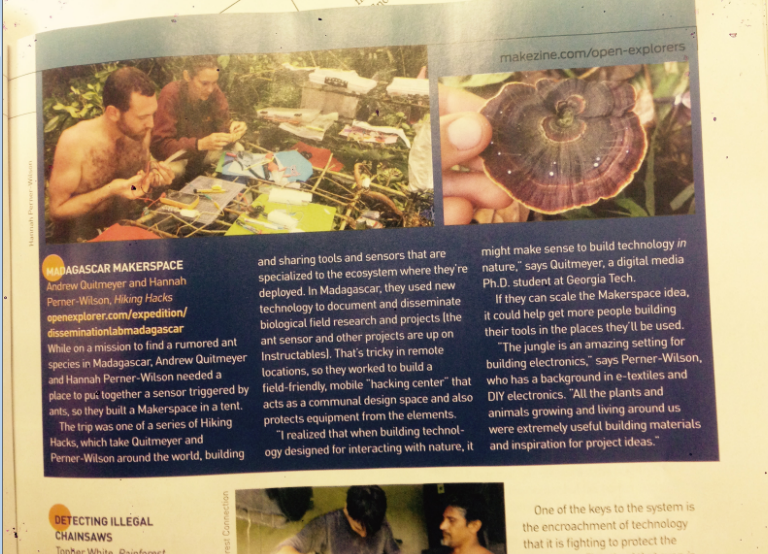
Our Madagascar Hiking Hack was highlighted in the recent Make Magazine article about Makers and Explorers .
Full online article here: http://makezine.com/2015/10/20/4-ways-amateurs-are-advancing-maker-style-exploration/

Our Madagascar Hiking Hack was highlighted in the recent Make Magazine article about Makers and Explorers .
Full online article here: http://makezine.com/2015/10/20/4-ways-amateurs-are-advancing-maker-style-exploration/

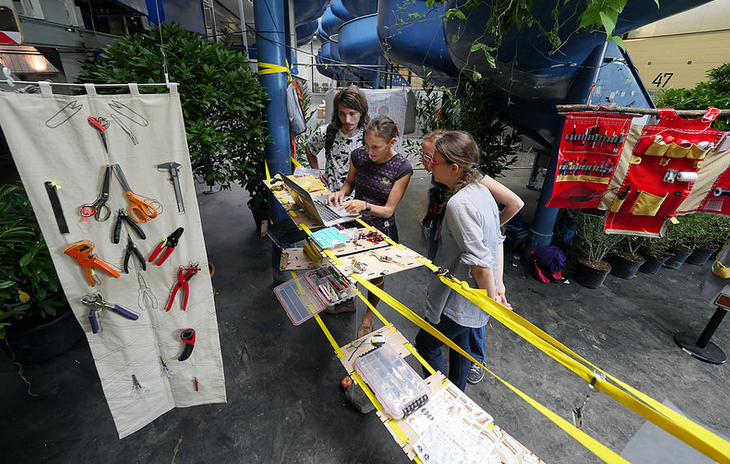
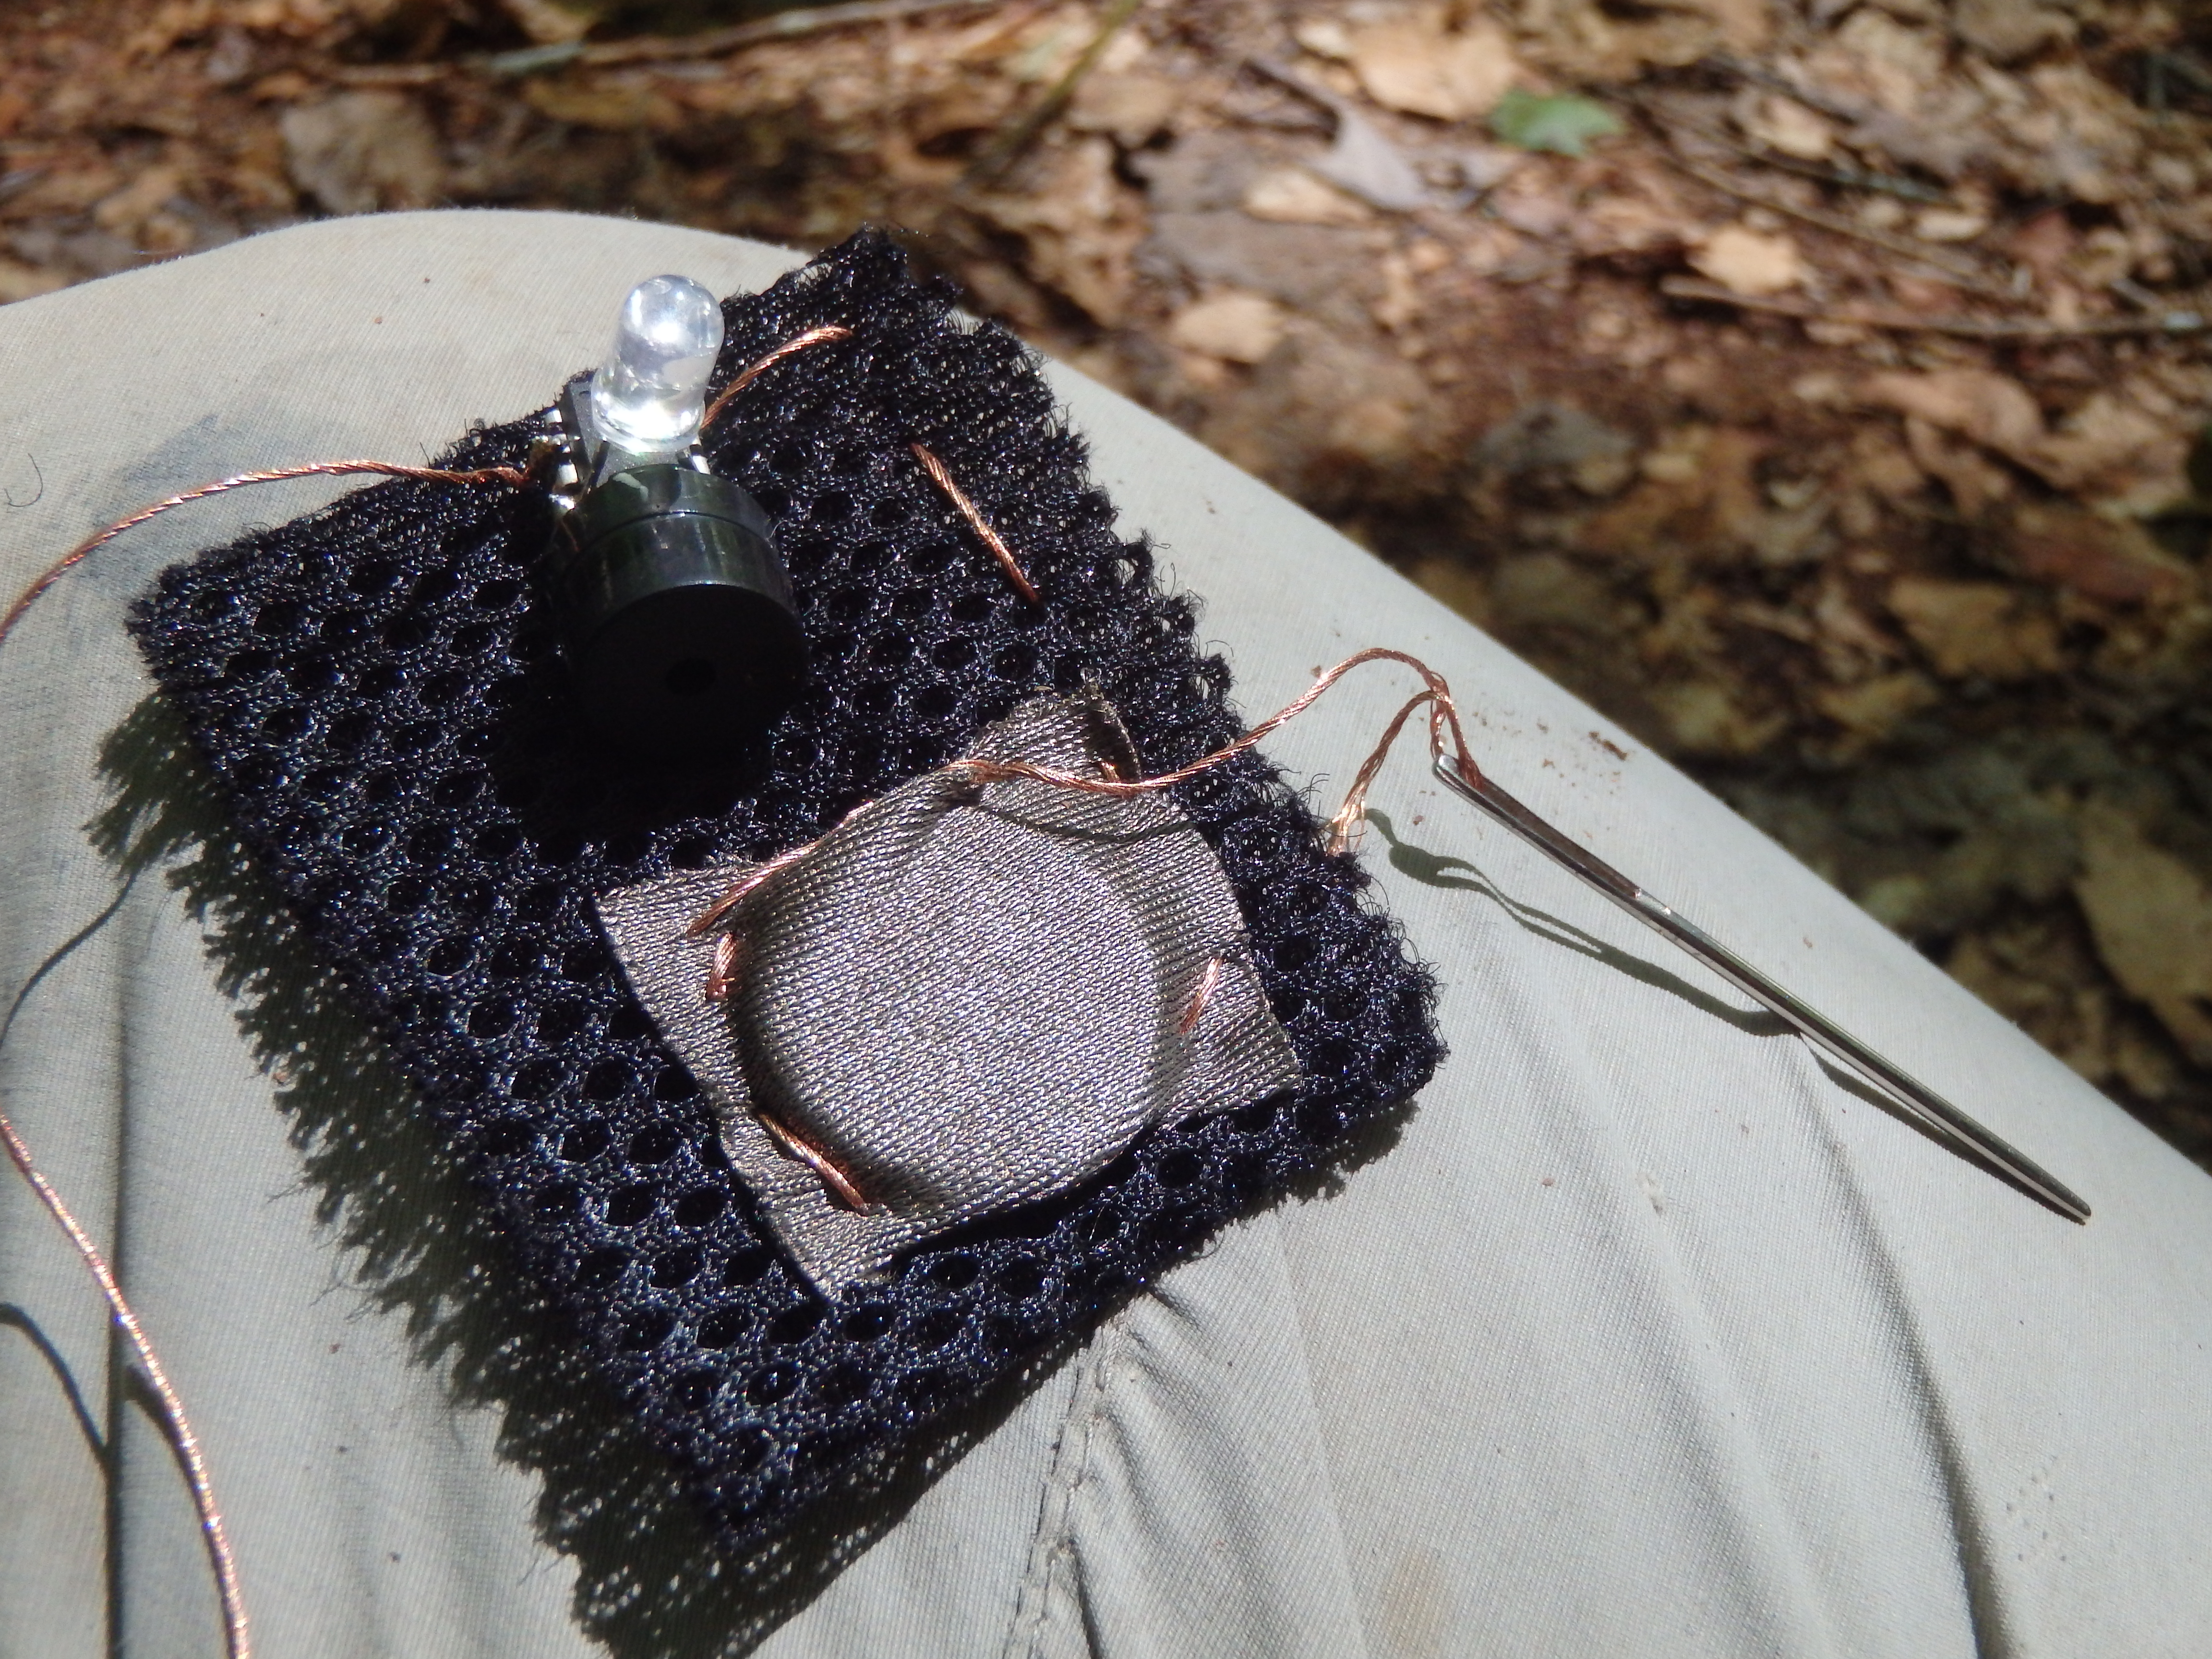
From our experiences hacking in the wild, Hannah Perner Wilson and I have started building wearable portable infrastructure for hacking.
Some quick examples we presented at Ubicomp 2015 and exhibited at Ars Electronica
More details right now on her post: http://www.plusea.at/?p=5385

My original idea the hiking hack was a very practical, very serious soil testing shoe attachment, but my brain took a direction 180° from my initial thoughts – finger puppets! What could be more practical and serious than finger puppets, right?

Although finger puppets may not seem utilitarian, potentially they can serve an educational purpose, enhance cognitive development, stimulate creativity, and increase finger dexterity. Kid wearables are an area that hasn’t been explored much beyond child-tracking safety devices. They offer an interesting opportunity to capitalize on younger generations’ affinity for technology in order to address what Richard Louv has deemed “nature deficit disorder.”
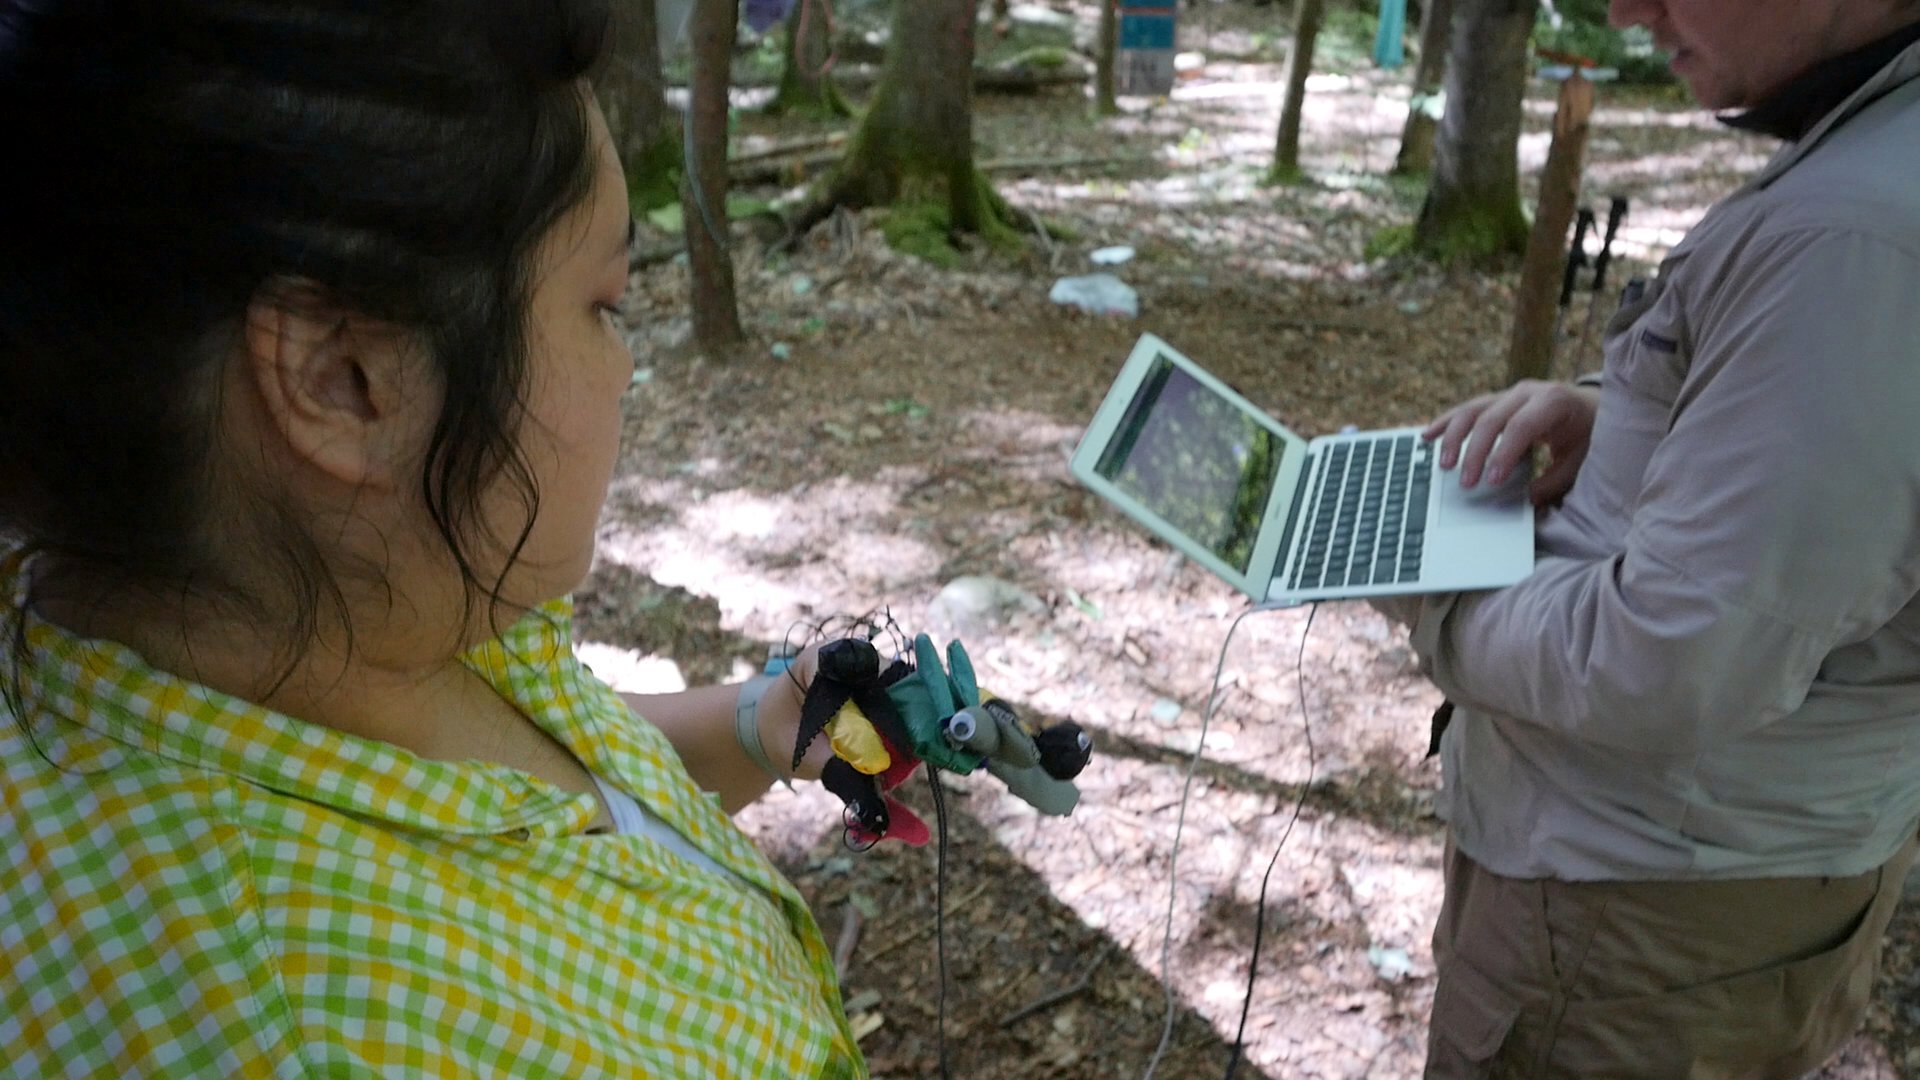
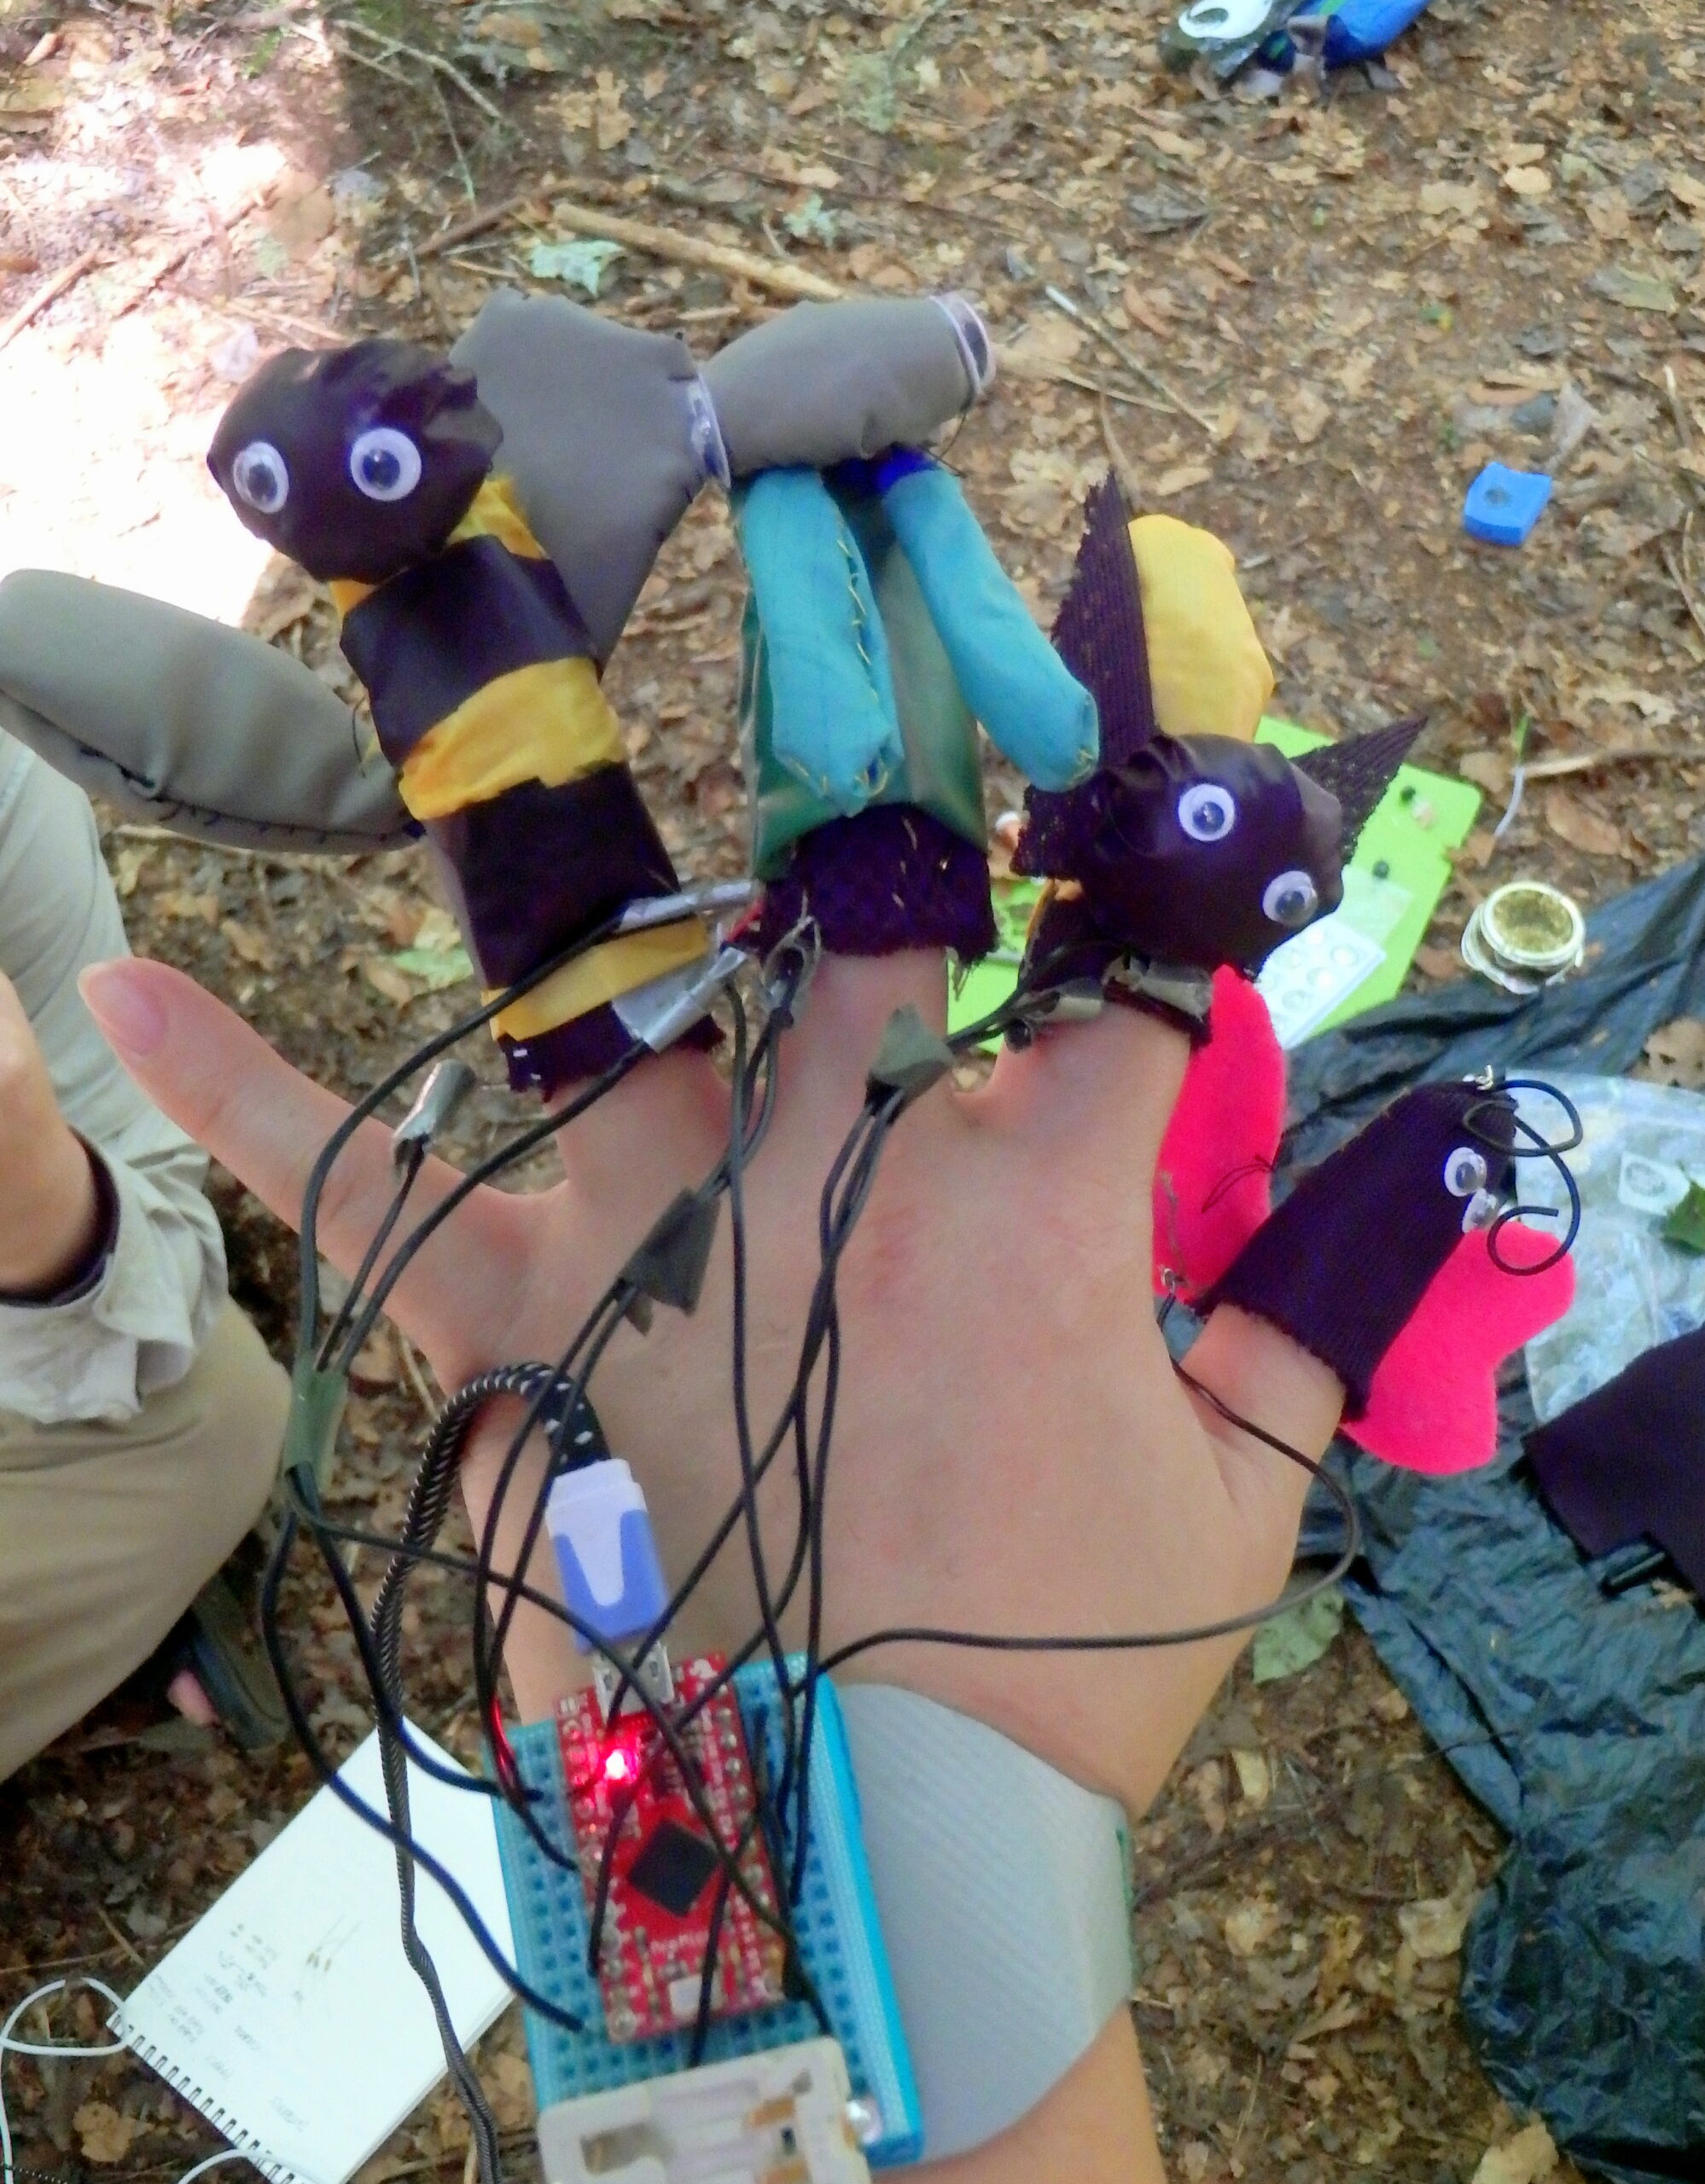
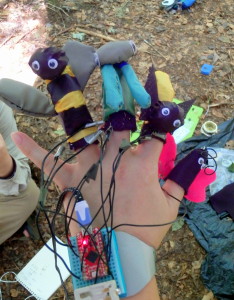
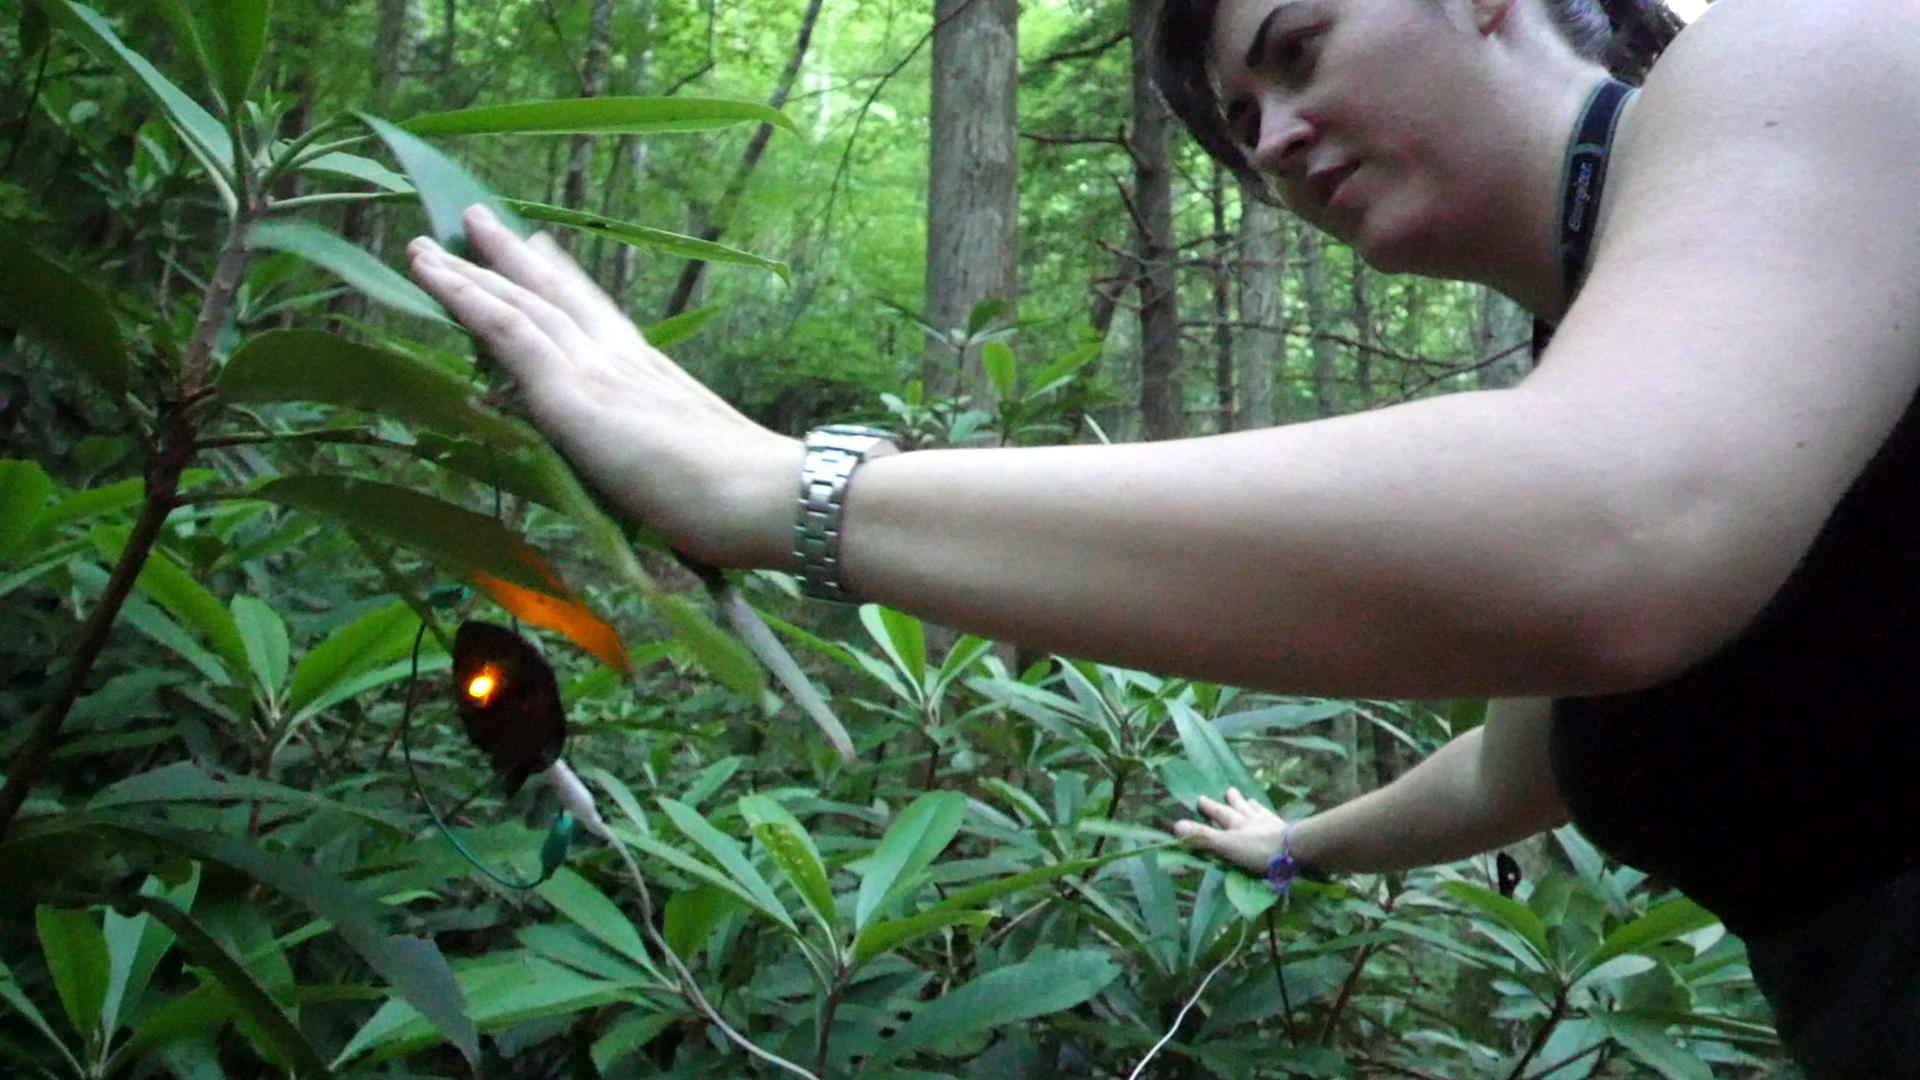
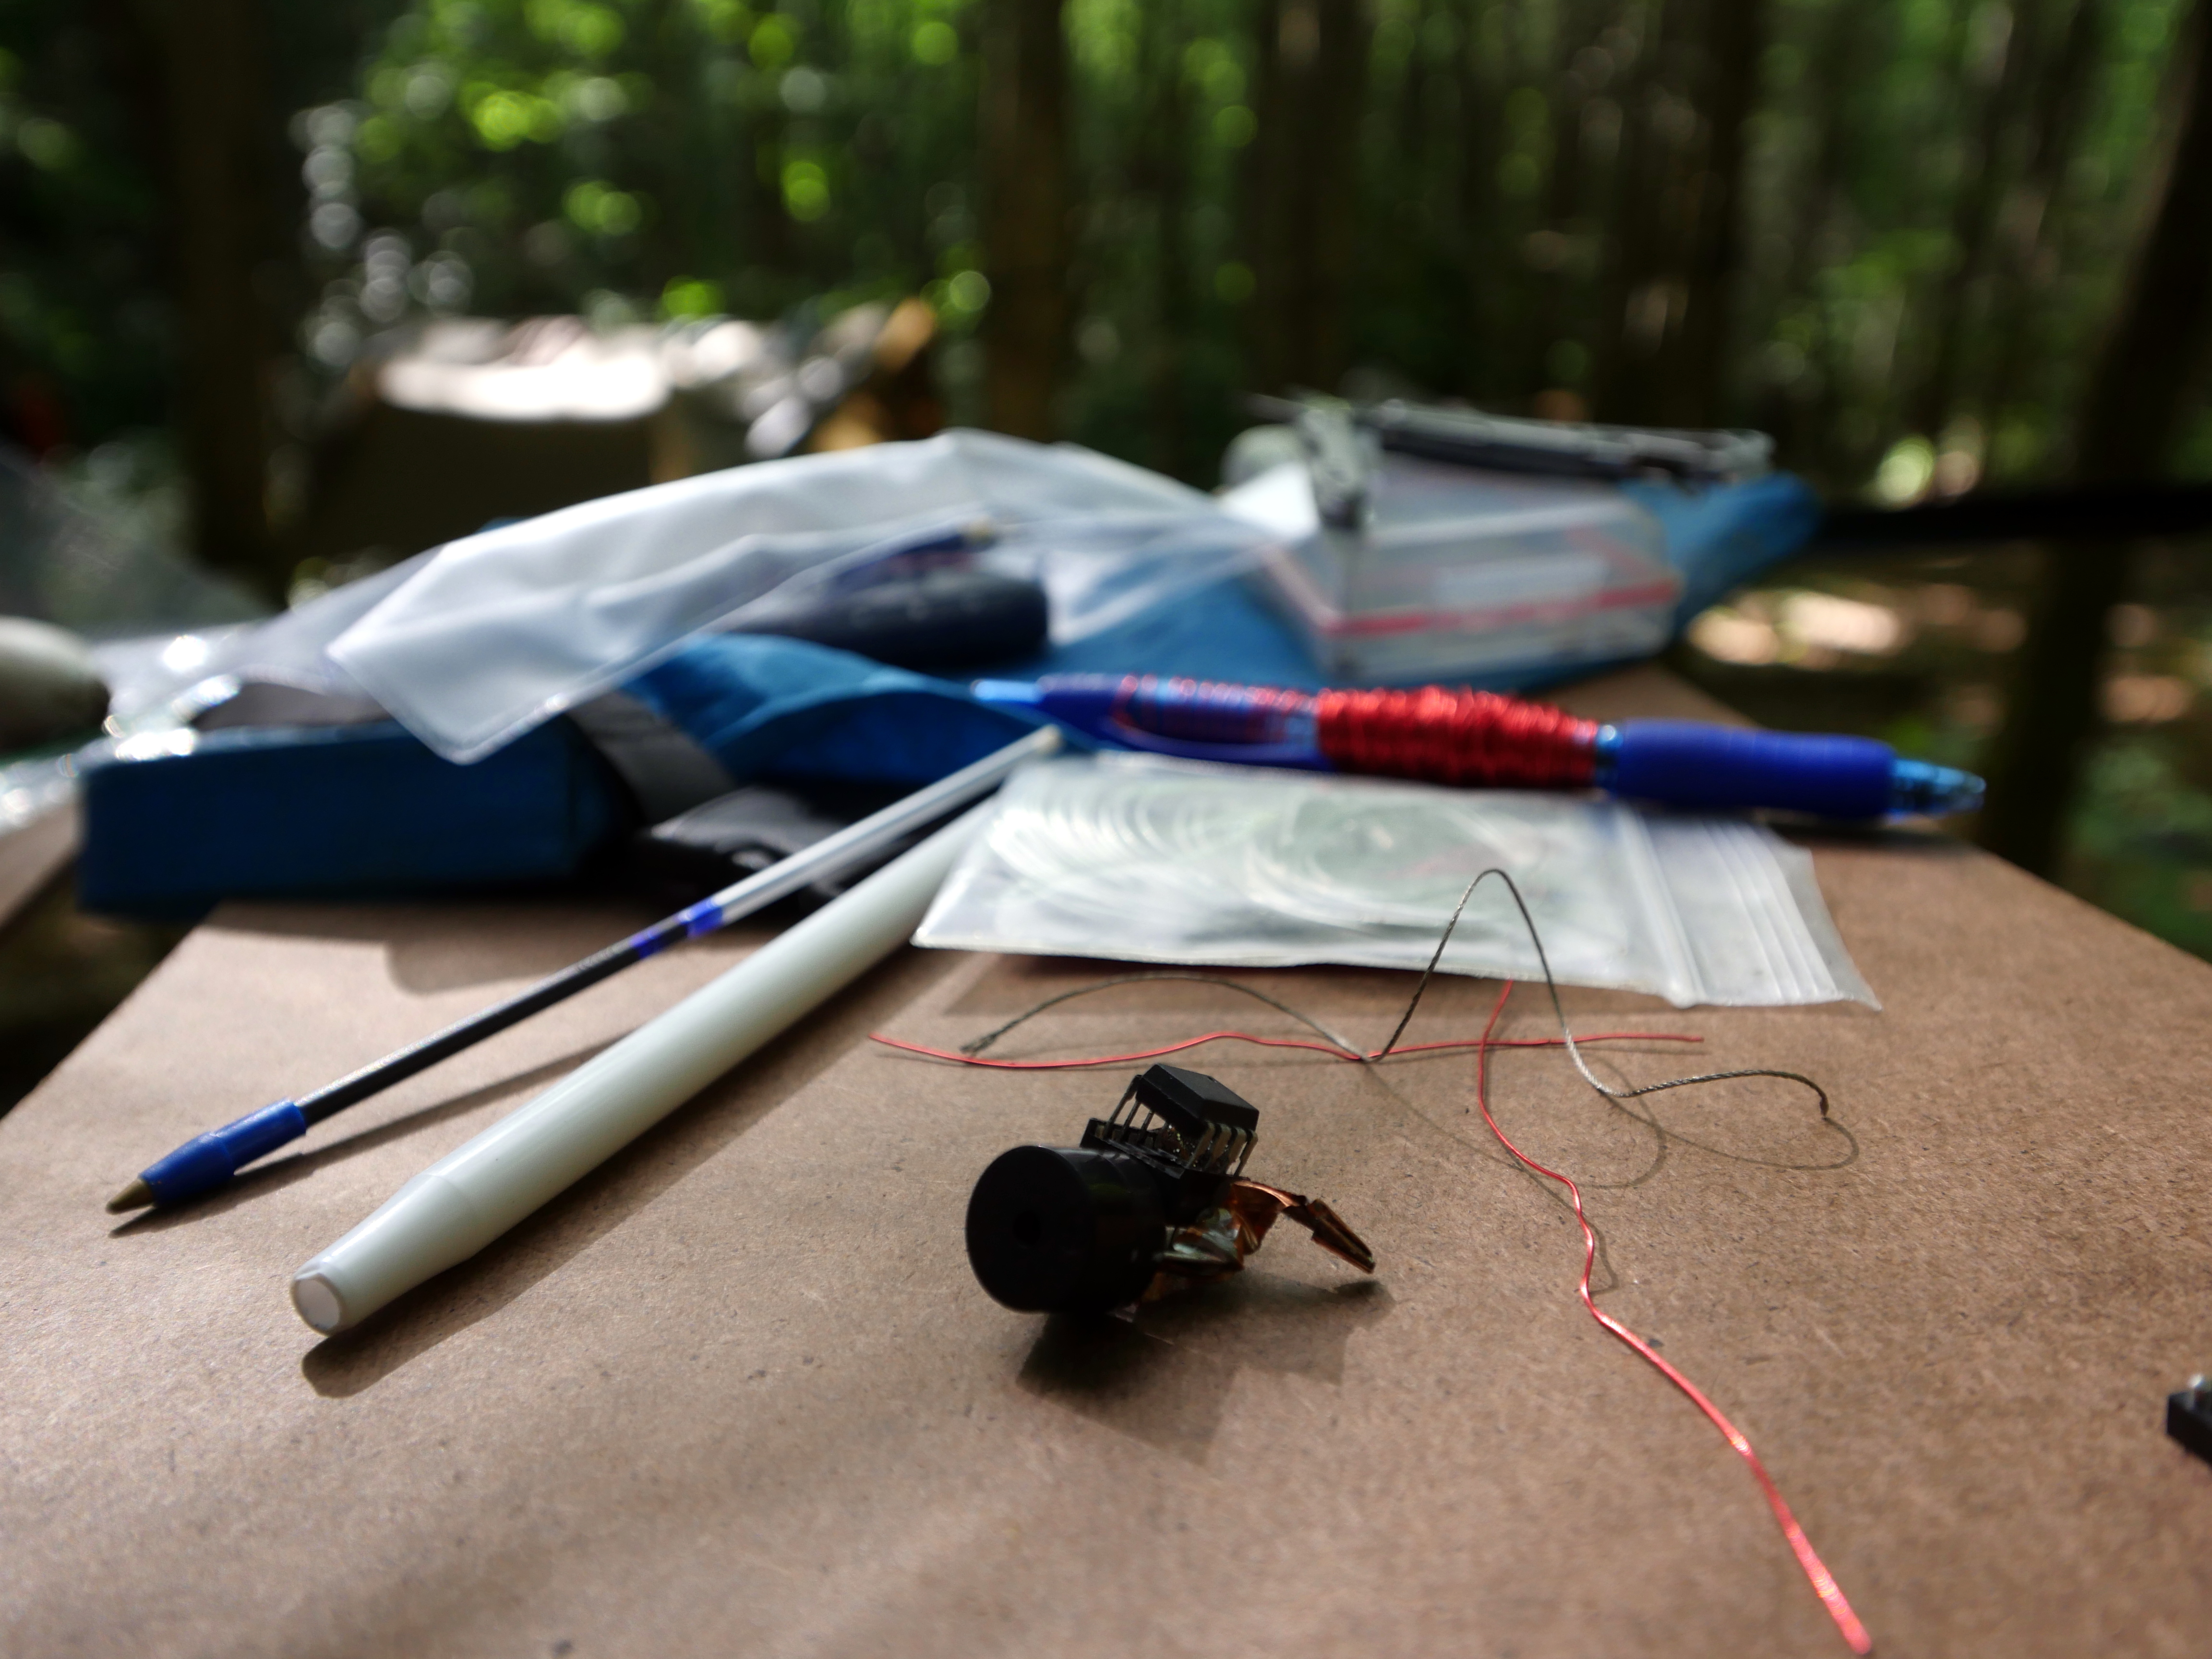
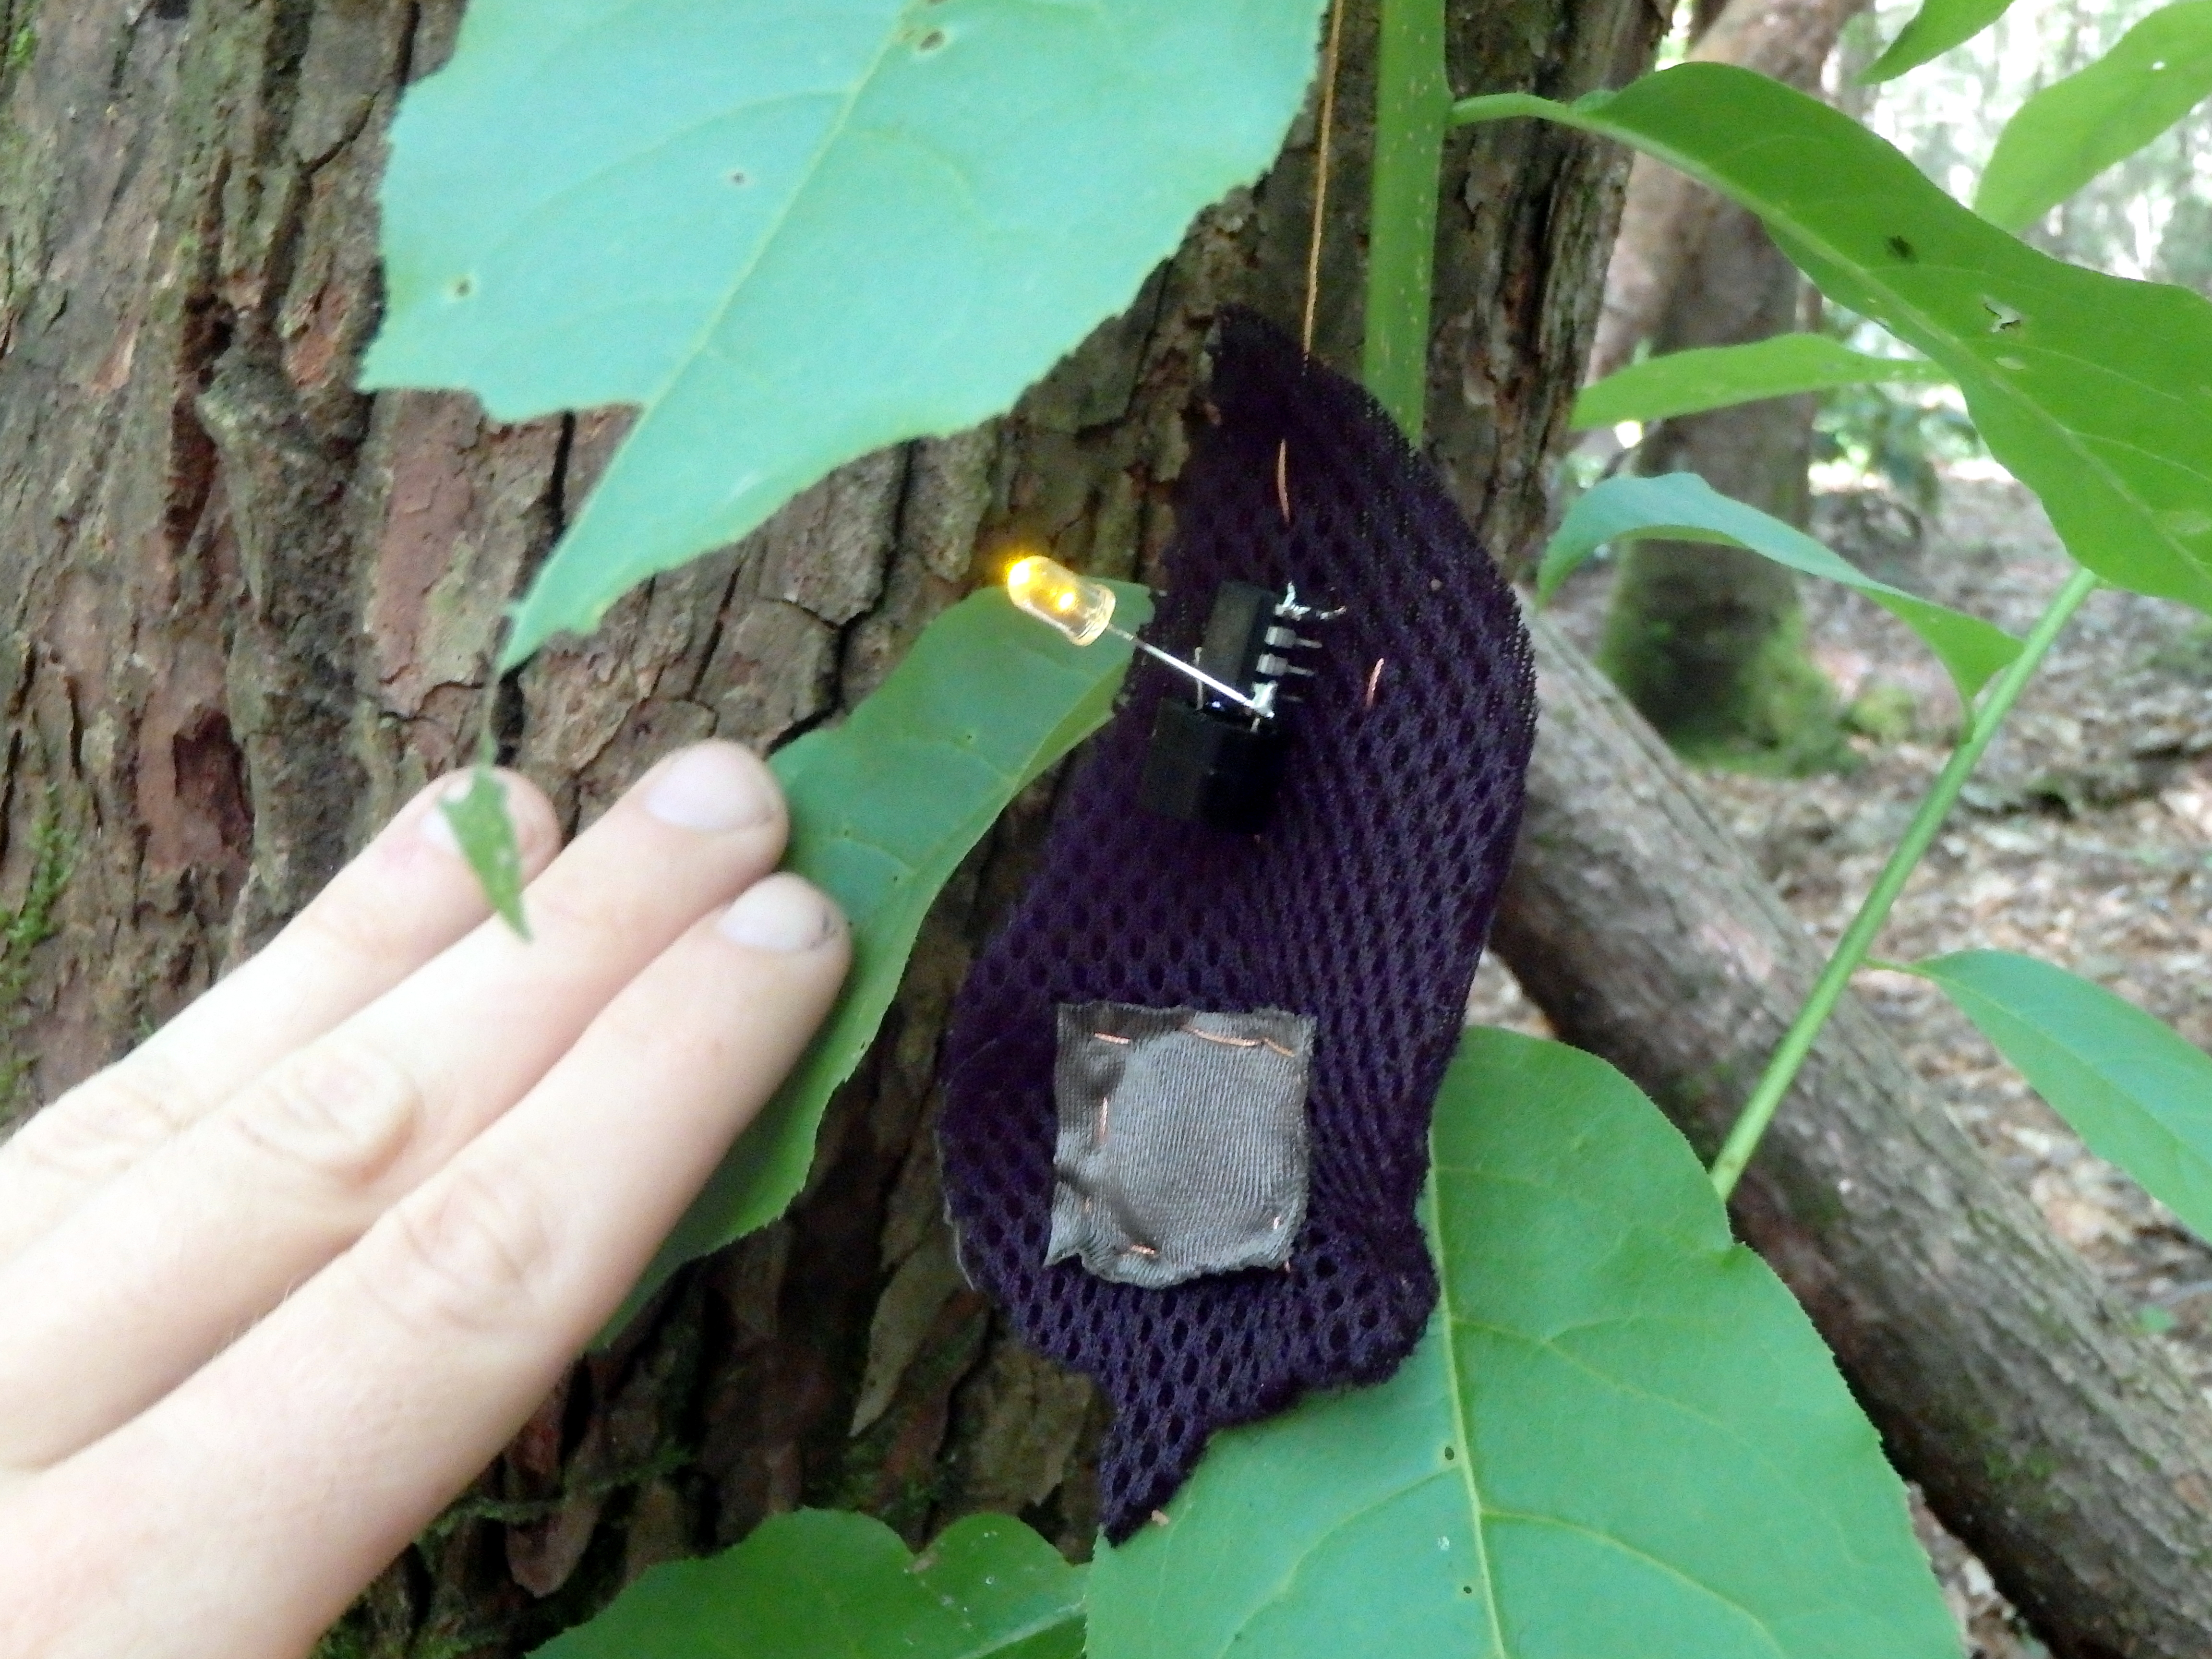
With the help of my more technically inclined teammates, I created finger puppets that light up, make noise, and vibrate. They can be stimuli for interacting with wildlife or characters for fanciful play. For my presentation to the hiking hack team, the puppets became a flashing flirtatious firefly, a chirping cicada with “Wilderness Idol” aspirations, a buzzing modern feminist honeybee, and a butterfly searching for greater meaning in life.
Matt and I have even brainstormed about creating interactive books with more kid-friendly themes to accompany interchangeable puppets. Is this the next step for Bug Buddies?
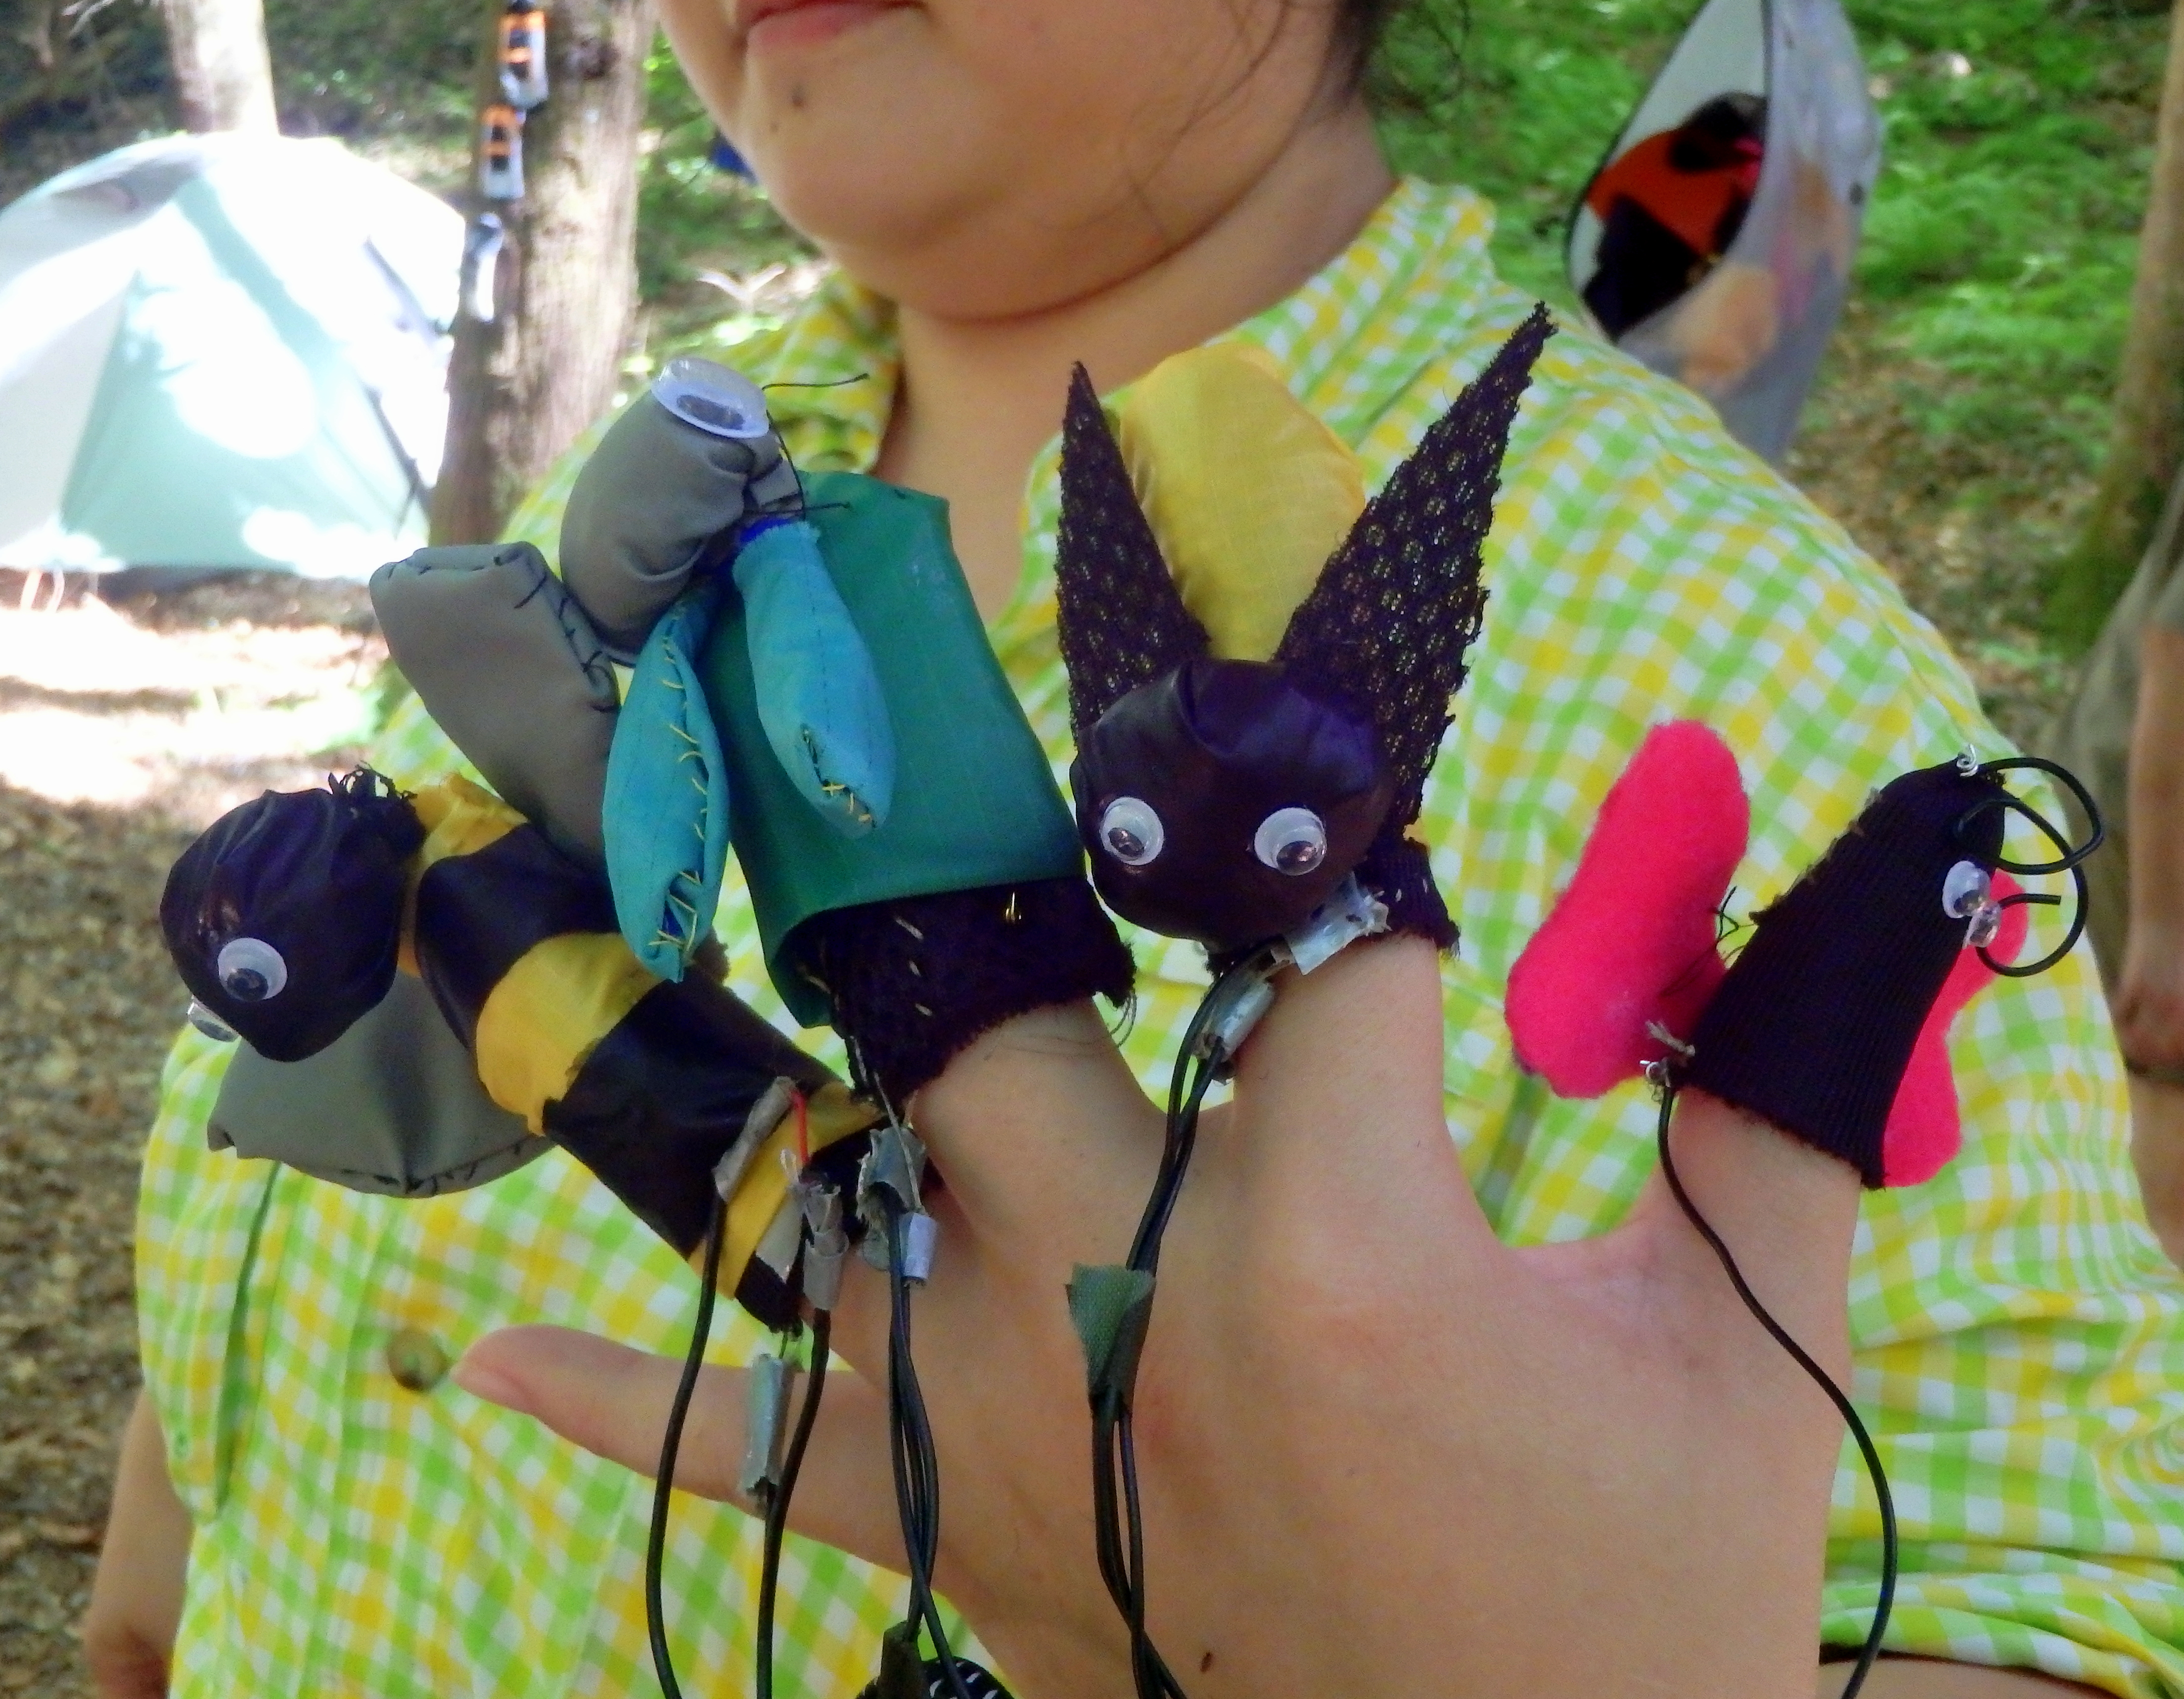
All the bug buddies together!
~ Angela
Come along with us and see the amazing studio we set up entirely in the wilderness!
Days i and ii: Pre-workshops
| First Day |
|
| Second Day |
|
Day 1: Hike In
| Challenge |
|
| Activities |
|
| Reflection | · Evening Journal Writing |
Day 2: Hike In
| Challenge |
|
| Activities |
|
| Reflection |
· Evening Journal Writing |
Day 3: Exploration Day
| Challenge |
|
| Activities |
|
| Reflection | · Evening Journal Writing |
Day 4: Build Day
| Challenge |
|
| Activities |
|
| Reflection | · Morning Journaling· Evening Journal Writing |
Day 5: Documentation Day
| Challenge |
|
| Activities |
|
| Reflection | · Morning Journaling· Evening Journal Writing
· Digital Daypack Design Jam o Teams create and present new physical concepts for |
Day 6: Bonus Day!
| Challenge |
|
| Activities |
|
| Reflection | · Morning Journaling |
Day 7: Hike Out
| Challenge |
|
| Activities |
|
| Reflection | · Morning Journaling· Chat and hang out in van
|
Day iii: Documentation Workshop
| Challenge |
|
| Activities |
|
| Reflection |
|
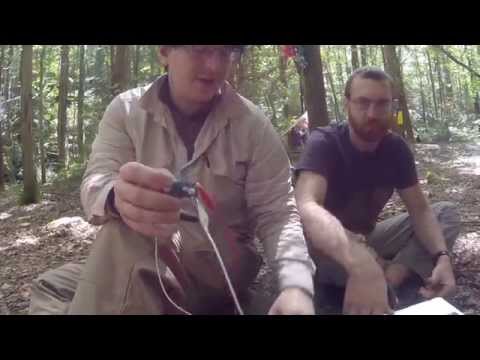
Matt Swarts and Andy Quitmeyer came up with a way to cheaply power laptops and other high-voltage devices off cheap powerpacks! Difficulty: Medium-easy. We cha
Laptops demand lots of power. They also usually need to charge from voltage source that is much higher than the 5 volts you can get out of cheap cell-phone charging powerpacks. This means that usually you have to get a really expensive power-pack (like this one for $100) that can output the 12-20 volts that your computer needs. These power-packs also need a higher-voltage themselves to start charging, so they are much harder to get charging from my solar panels than other cheap 5V packs.

19V power source (costs $100)
Instead you can now use something cheap like this 5V power supply that only costs $16.

and all you need is one extra simple part that can boost the voltage for only $4!

Materials Needed:
Tools
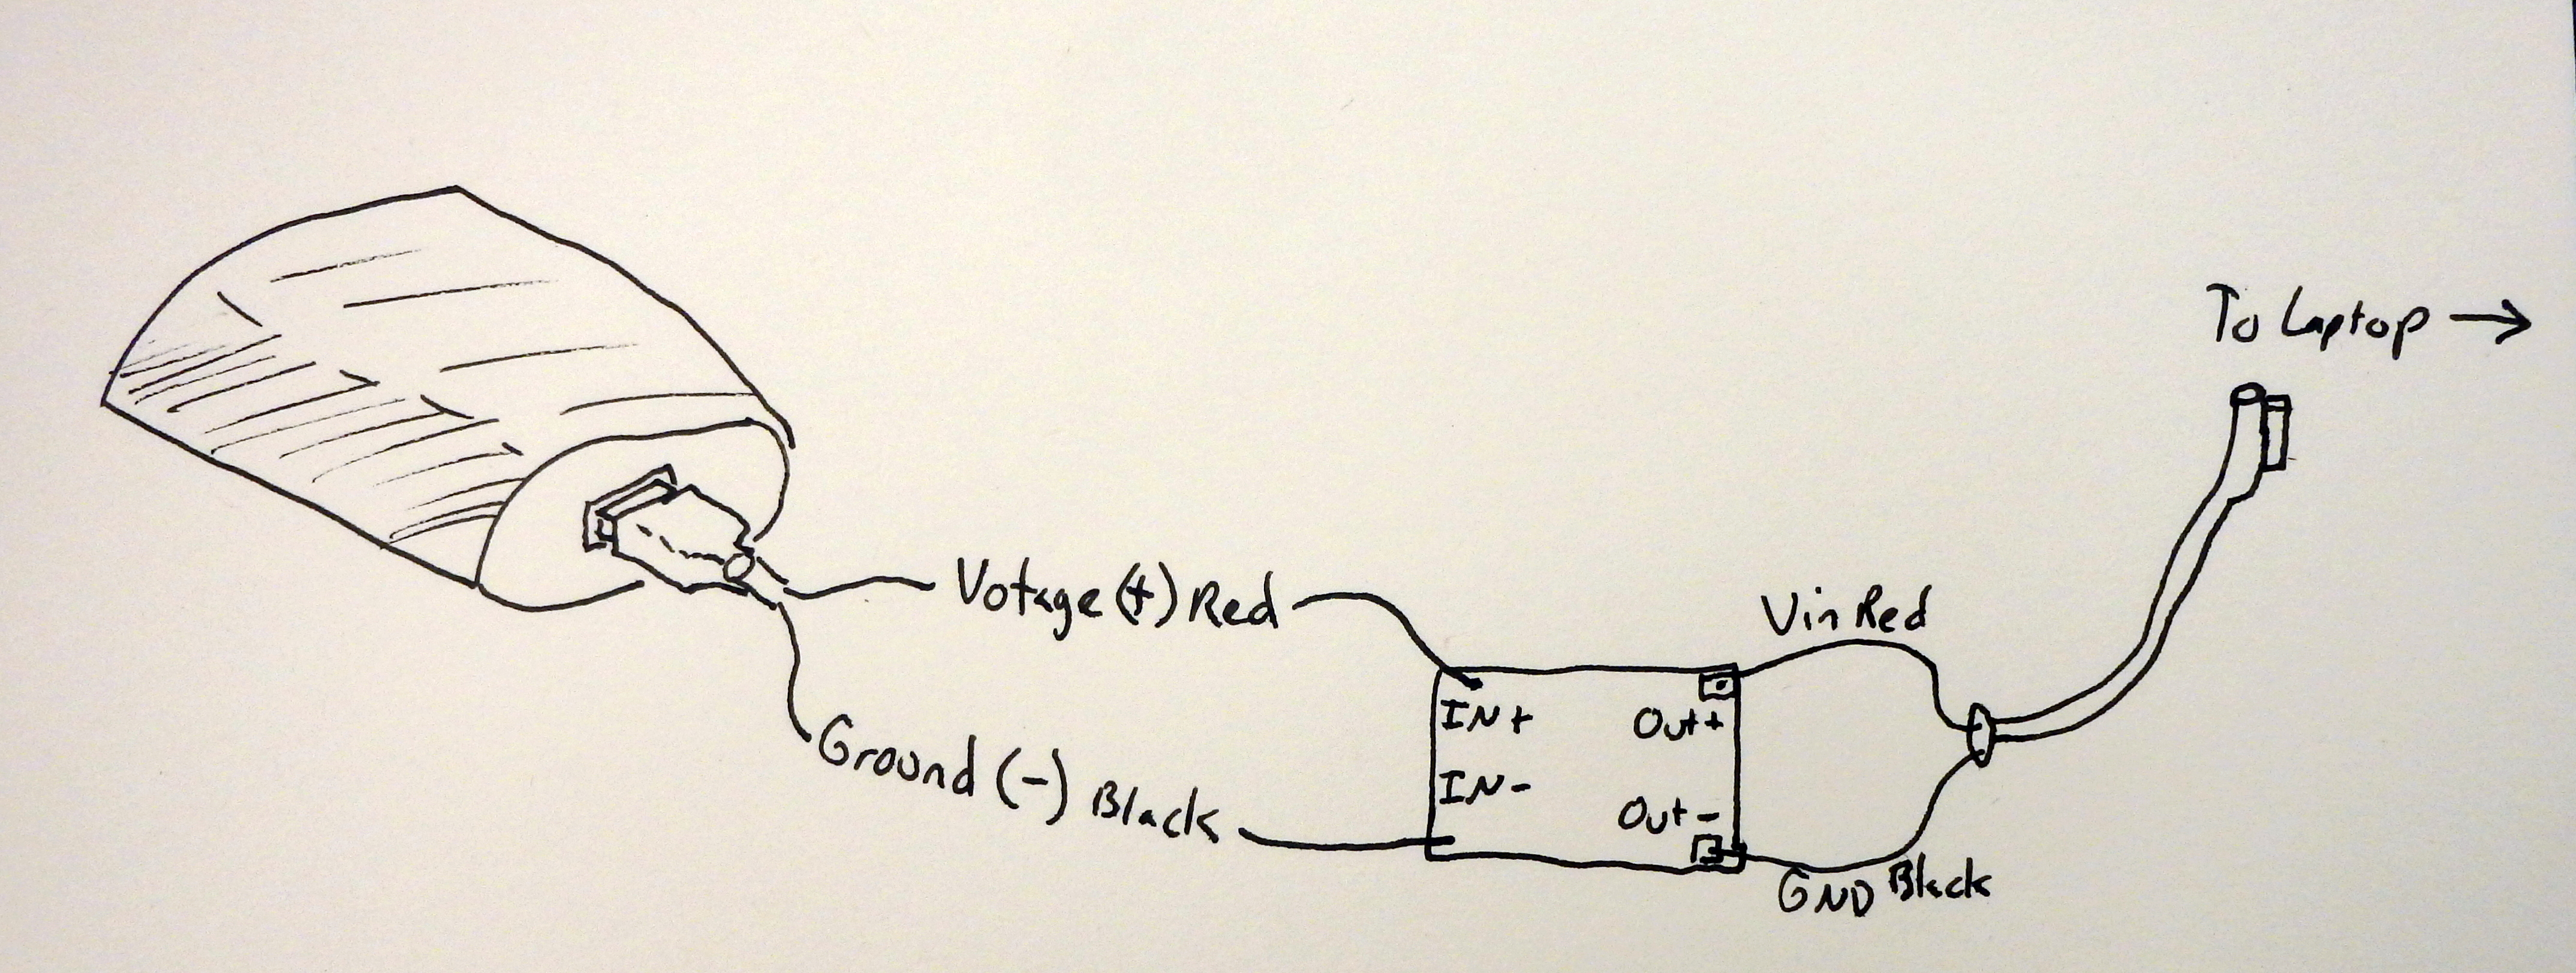
Schematics for Hooking up device
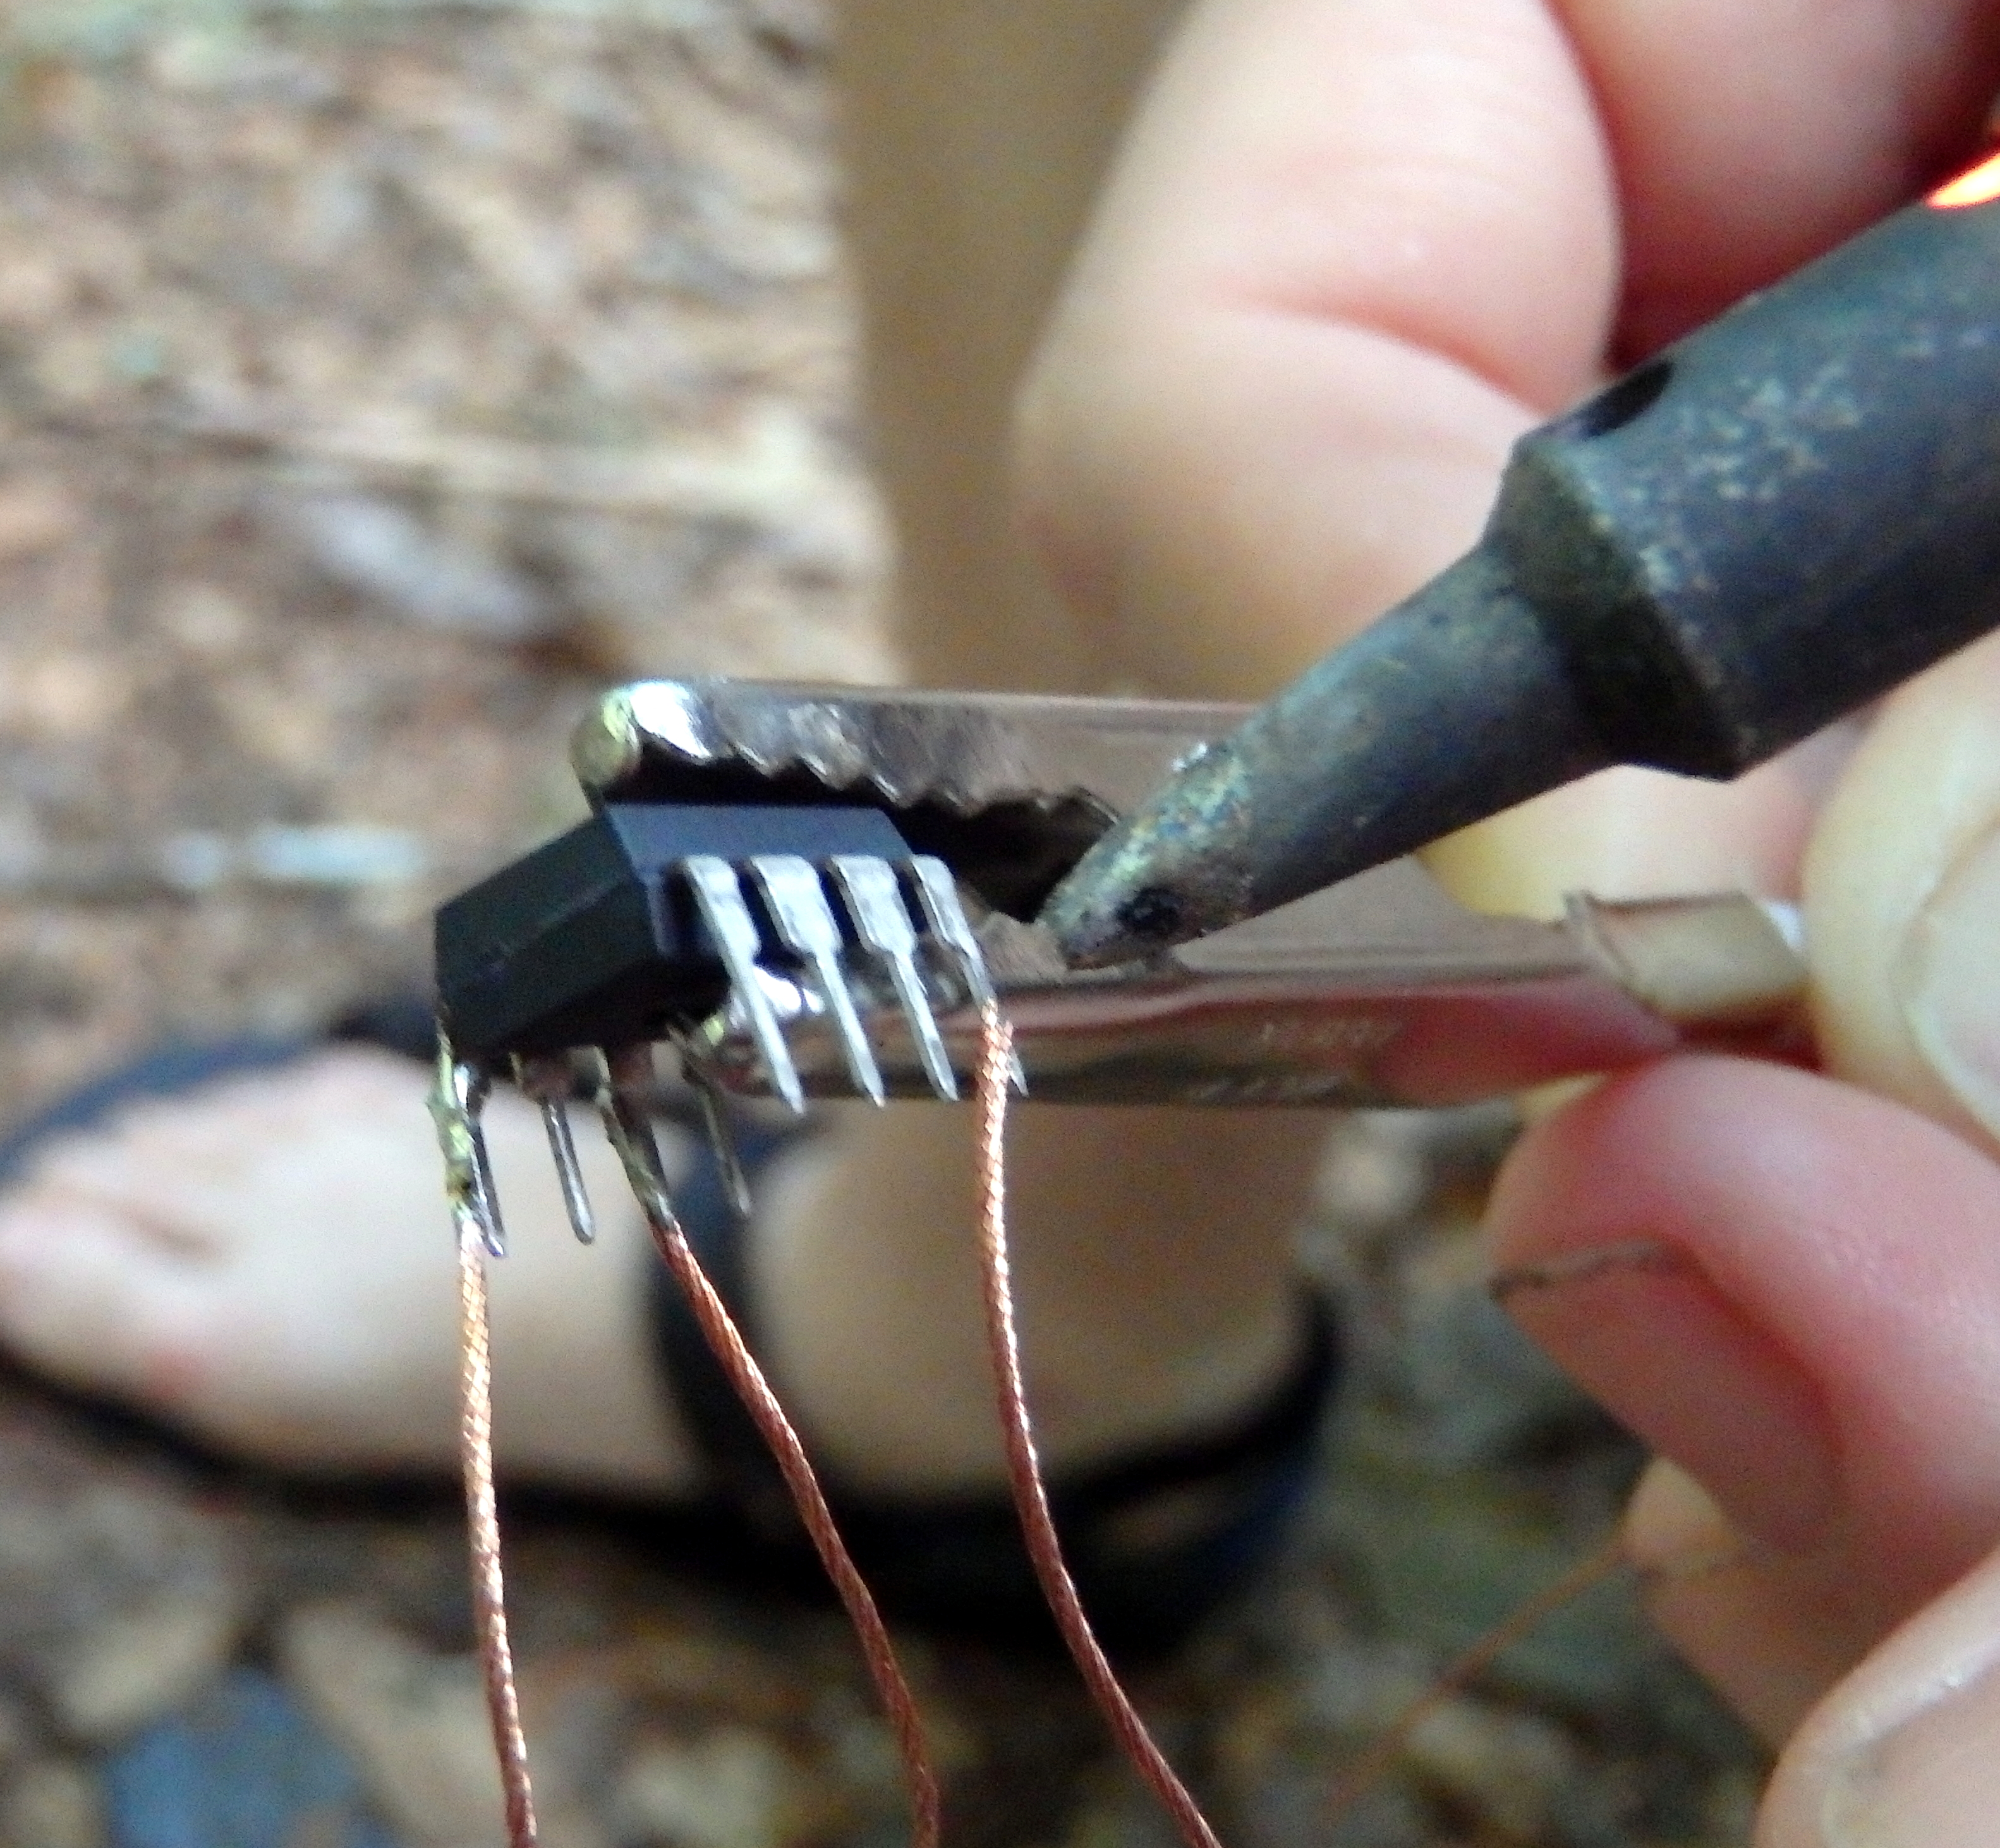
Just connect the positive and Ground from the power-pack to the “IN” ports of the booster. Then connect the + and – ports on the “out” side to the laptop charging cable (you can get cheap “repair” cables that have nice leads already pre-taken out.
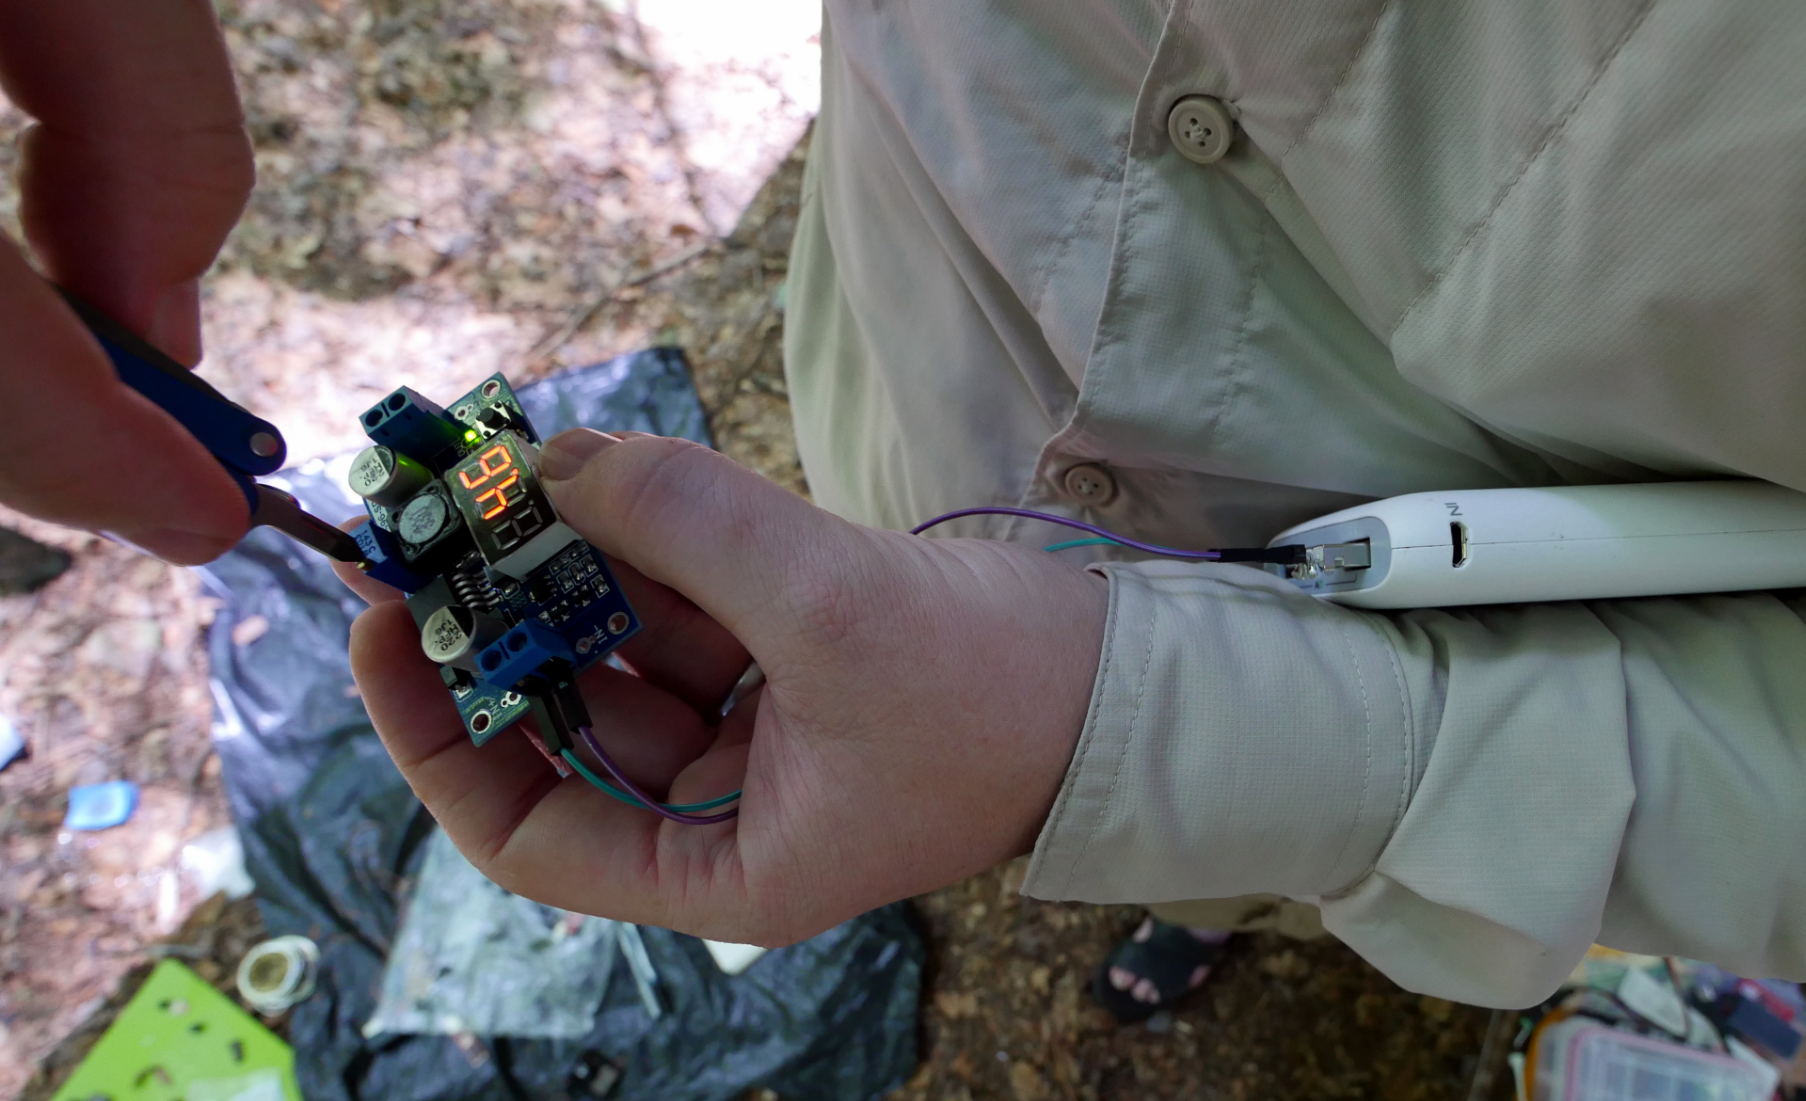
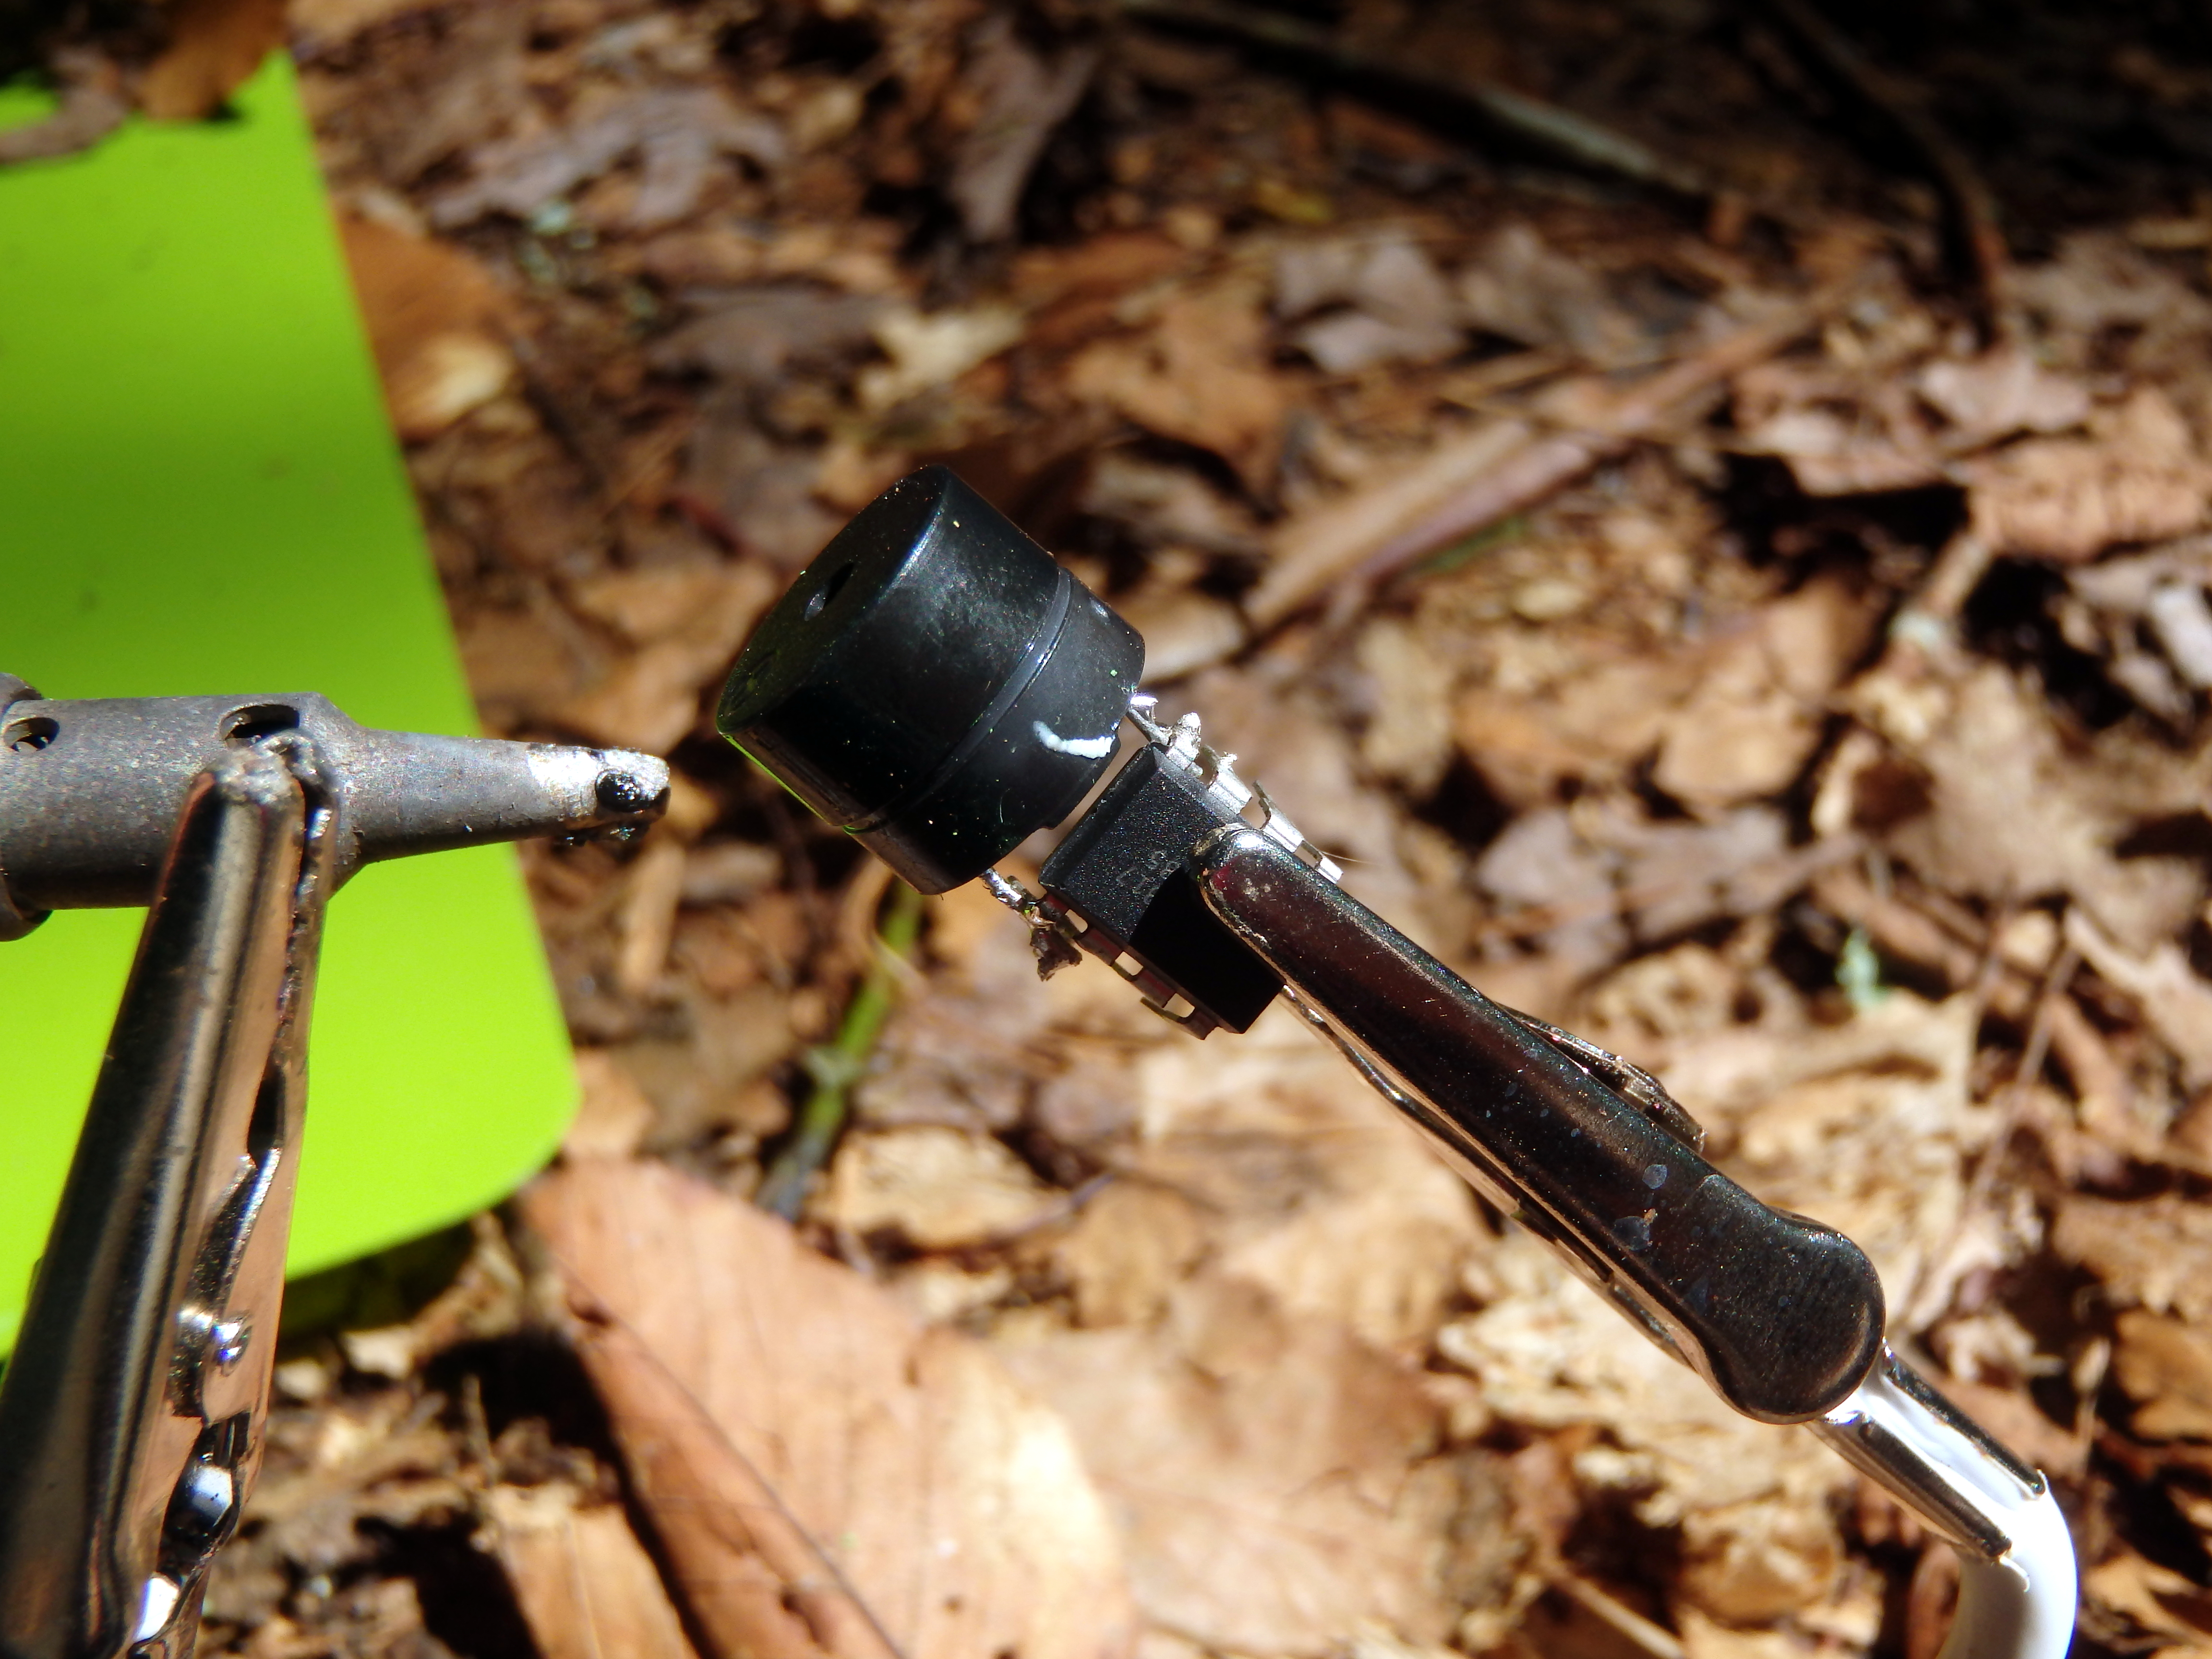
Now before you rush off to plug this thing into your laptop you need to set the voltage booster to the correct voltage. Some voltage boosters have a built-in display that lets you know what they are set to, but others you will need to connect a multi-meter.
Find the original charger for the laptop and make a note of the voltage that your device requires. Rotate the small flat-head screw on the top of the booster until you get the correct voltage. Boom, any of the even moderately hard parts of this how-to are done!
Now for jut $24, I have a slim power pack that can recharge my laptop TWICE!

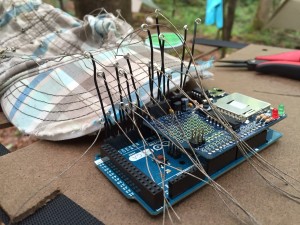
Part of the experience of hiking in the wild is the dramatic flow of changes in light as you move through the forest. To capture part of this experience we created a cap with photo sensors on it to record the changes in light patterns as we walk. The cap was made before we left for the wilderness.
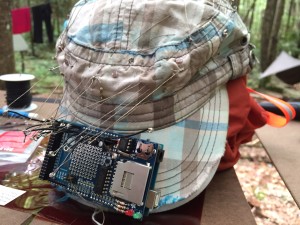
[image of cap]
We created the PhotoSphere with 16 photo-resistors meticulously sewn into the cap. Each photo-resistor needed a 1000 ohm resistor as a voltage divider to be able to extract the voltage changes. A typical Arduino only has 6 analog analog-to-digital converters (ADC). We used an Arduion Mega instead, which has 16 ADCs.
[image of photo resistor circuit diagram]

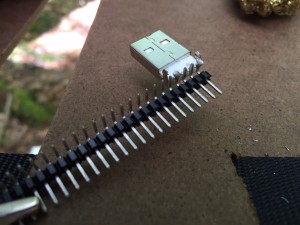
[image of closeup of conductive thread]
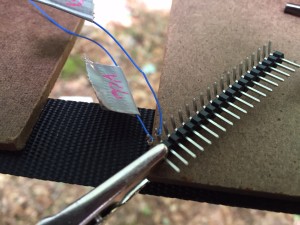
[image of wire with loop]
[image of all loops connecting to wires]
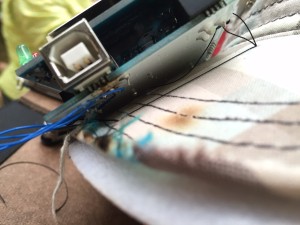
[image of closeup of sewing mega into the
[image of the rtc sd logger shield]

[image of closeup of connector wires]
[image of windows error message for device driver not working]

-Written by Matthew Swarts
The Succession of Trees

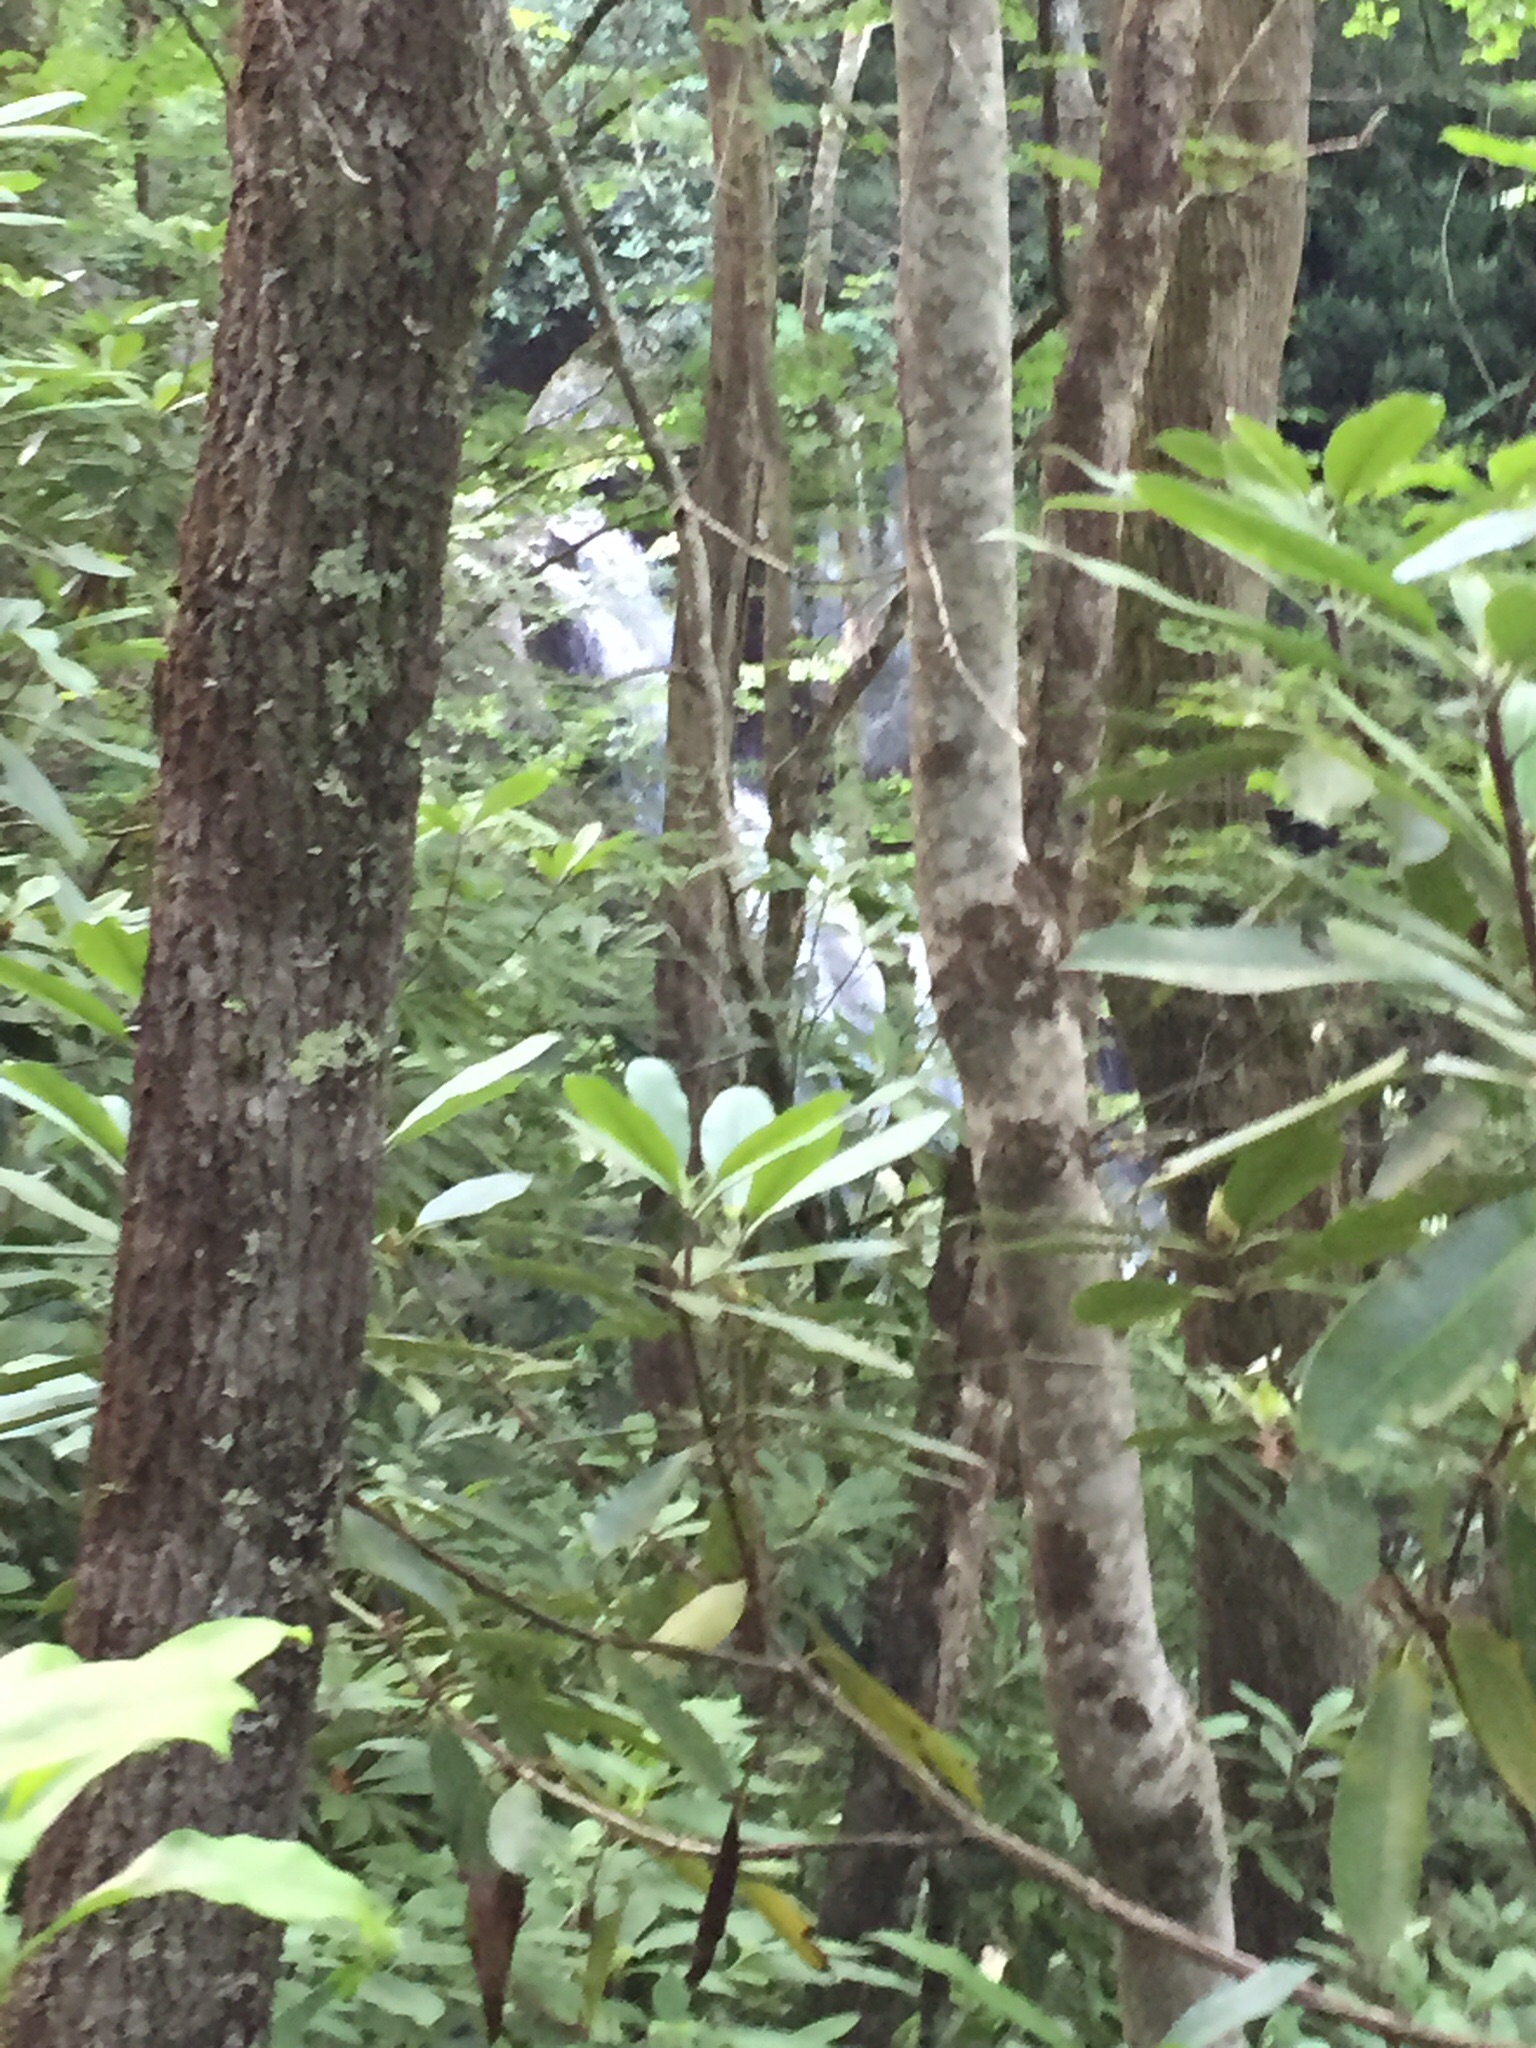
The Tennessee/North Carolina Appalachians are renowned for their diverse tree population, and our trek took us from 4470 feet at Unicoi Gap to the Citico Creek Campground #14 elevation of 1720, providing an altitude-inflected arboretum. Different areas were logged off over the years, so at the higher elevations most were younger than in the lower areas, but of course we benefitted from hiking on old logging roads and a rapidly disappearing railroad grade.
There were the constants– rhododendron forming the familiar Appalachian green tunnel and, at least in these forests, a preponderance of maples. Early we hiked amongst those maples, a few poplars, several species of birch, and what looked like a buckeye tree (though I could only find one rotten buckeye on the ground). What stopped everyone in their tracks were the monumental dead hemlocks. The Wooly Adelgid is rapidly decimating the hemlock population in the area, leaving behind standing dead trunks that still loom ghostly over the surrounding forest.
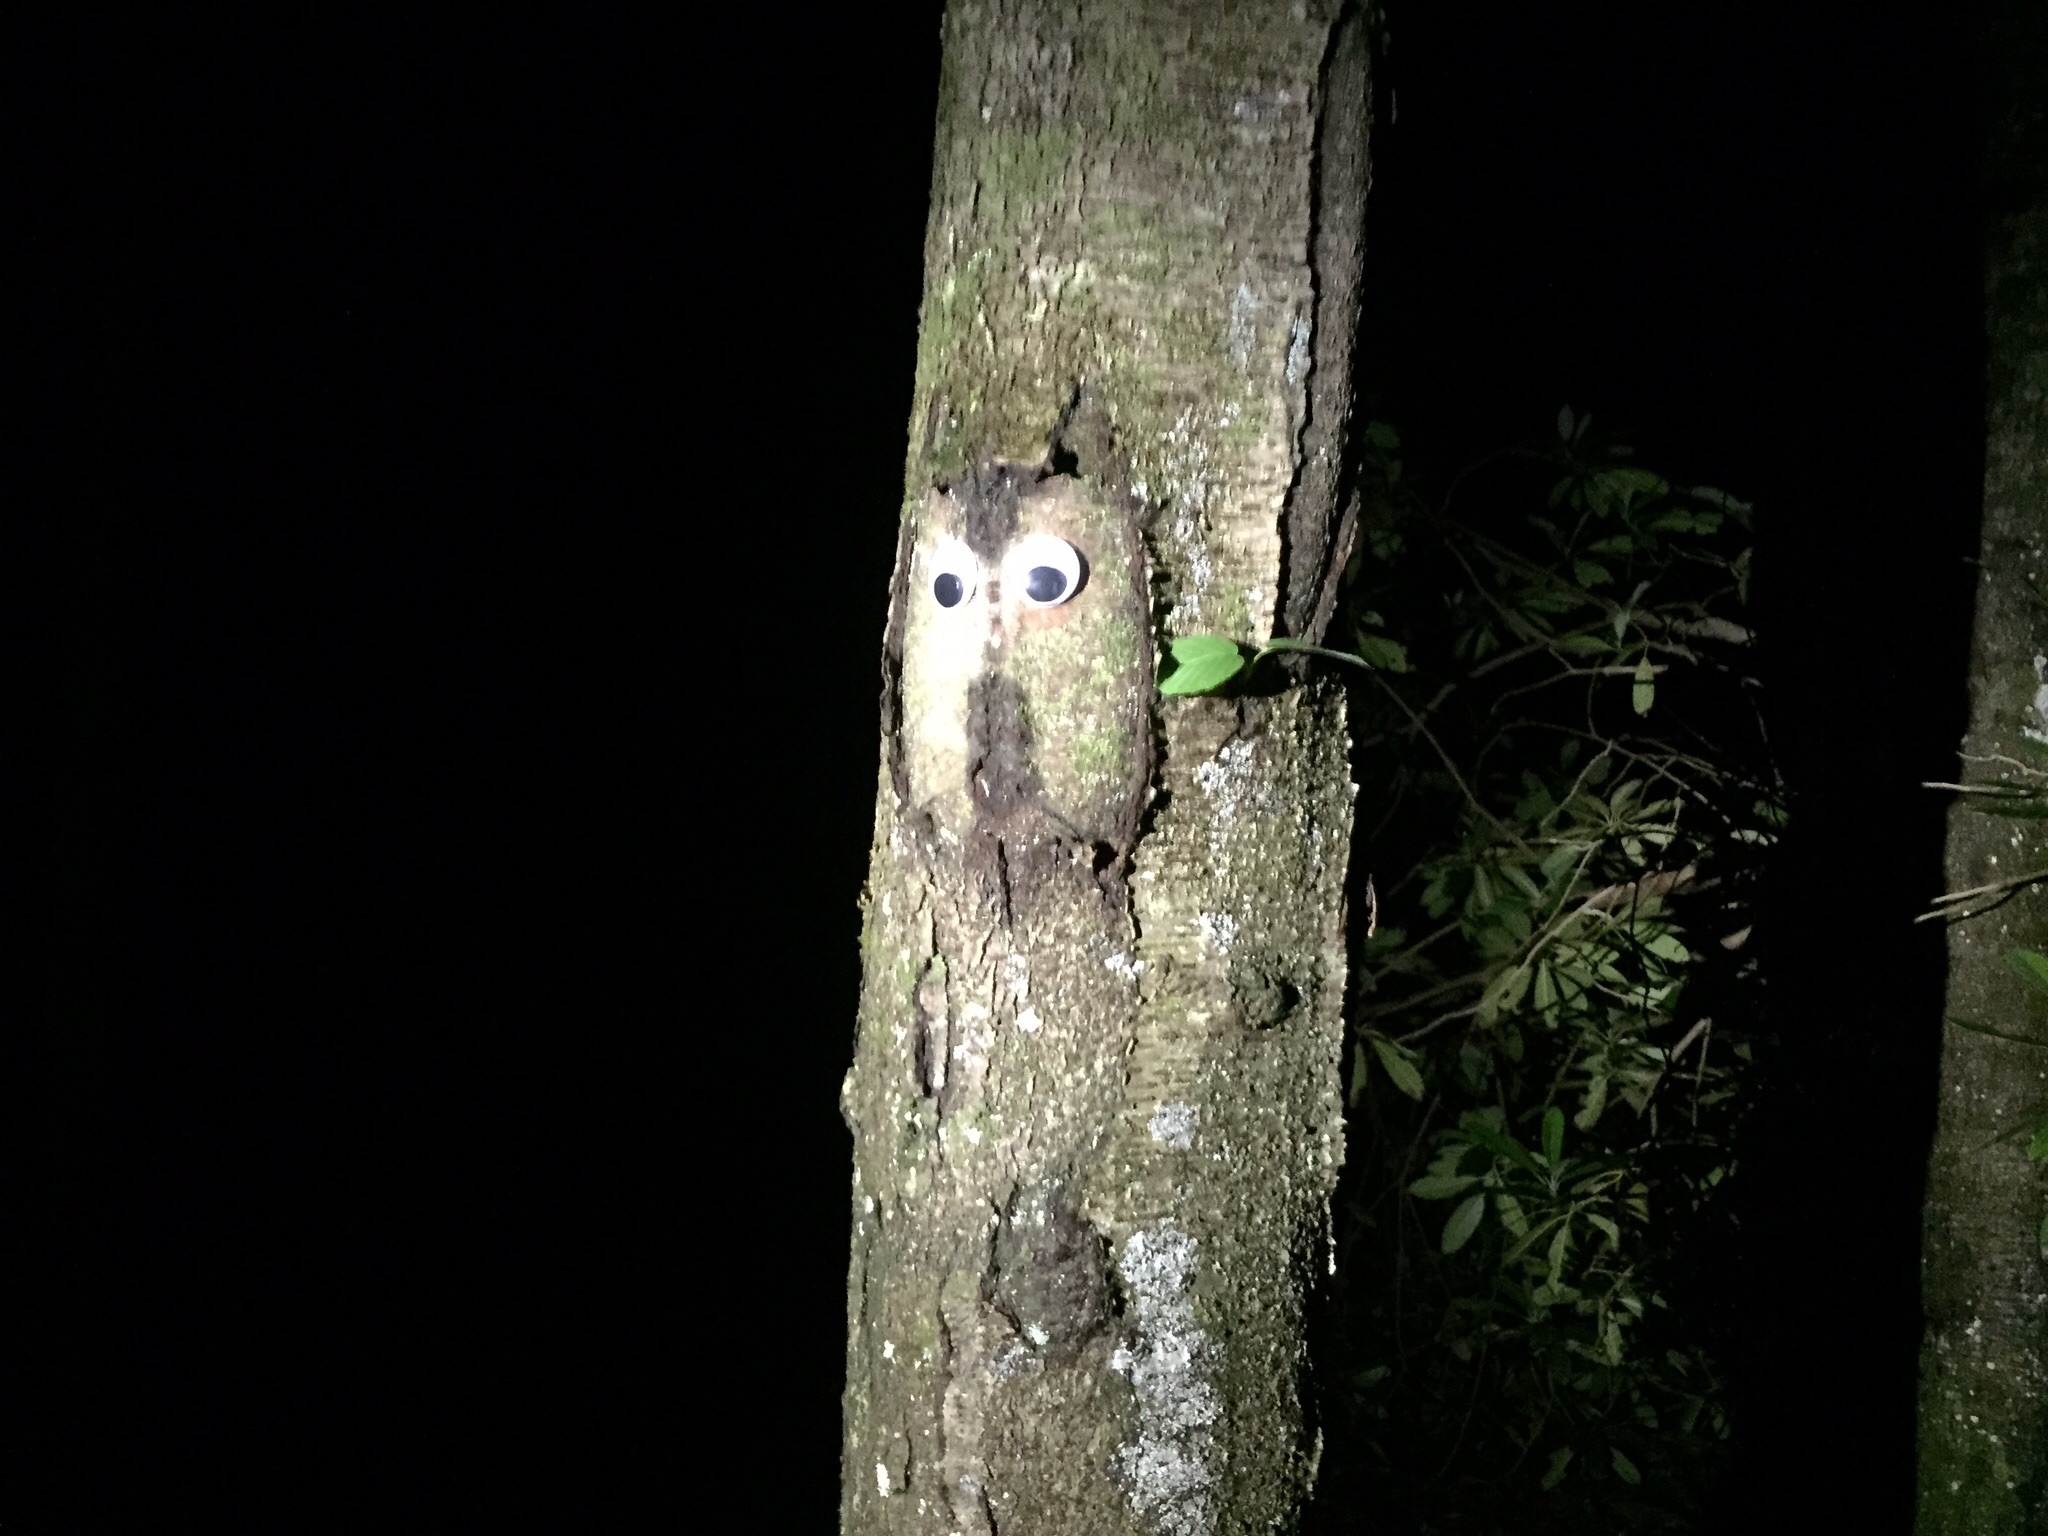
Descending further down were fewer dead hemlocks, along with a number of smaller live ones, the occasional hickory, very large maples, and finally a few oaks (they were noticeably absent higher up). Soon the tulip poplars started to dominate, and around the base camp were the largest in the forest. Turning from the largest to the smallest, there were a variety of club mosses including one which was nearly six inches high, and a lot of stubby Sassafras trees. Located only in our camp was a specimen of the nearly extinct Owl tree (see picture), and just down from the base was another campsite located in a grove of mature beeches–the light, filtered through the leaves, was the greenest of green.
Hugh Crawford
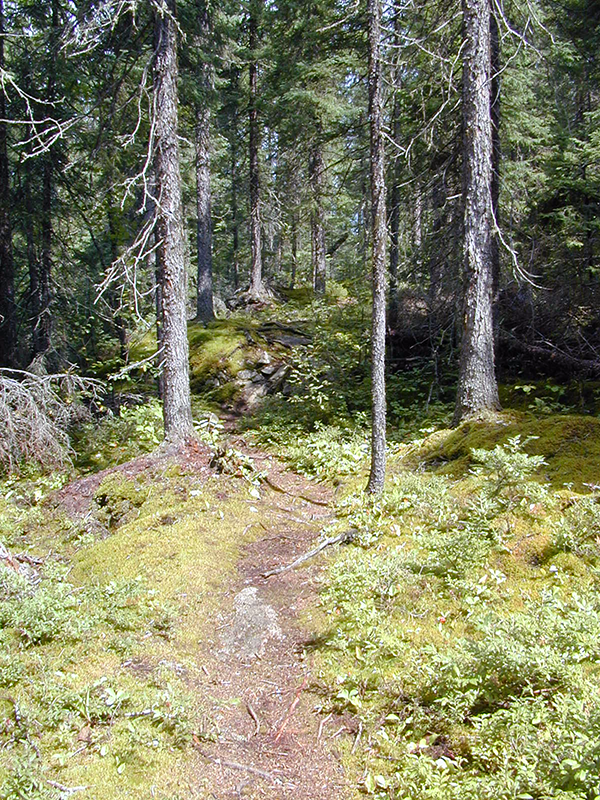
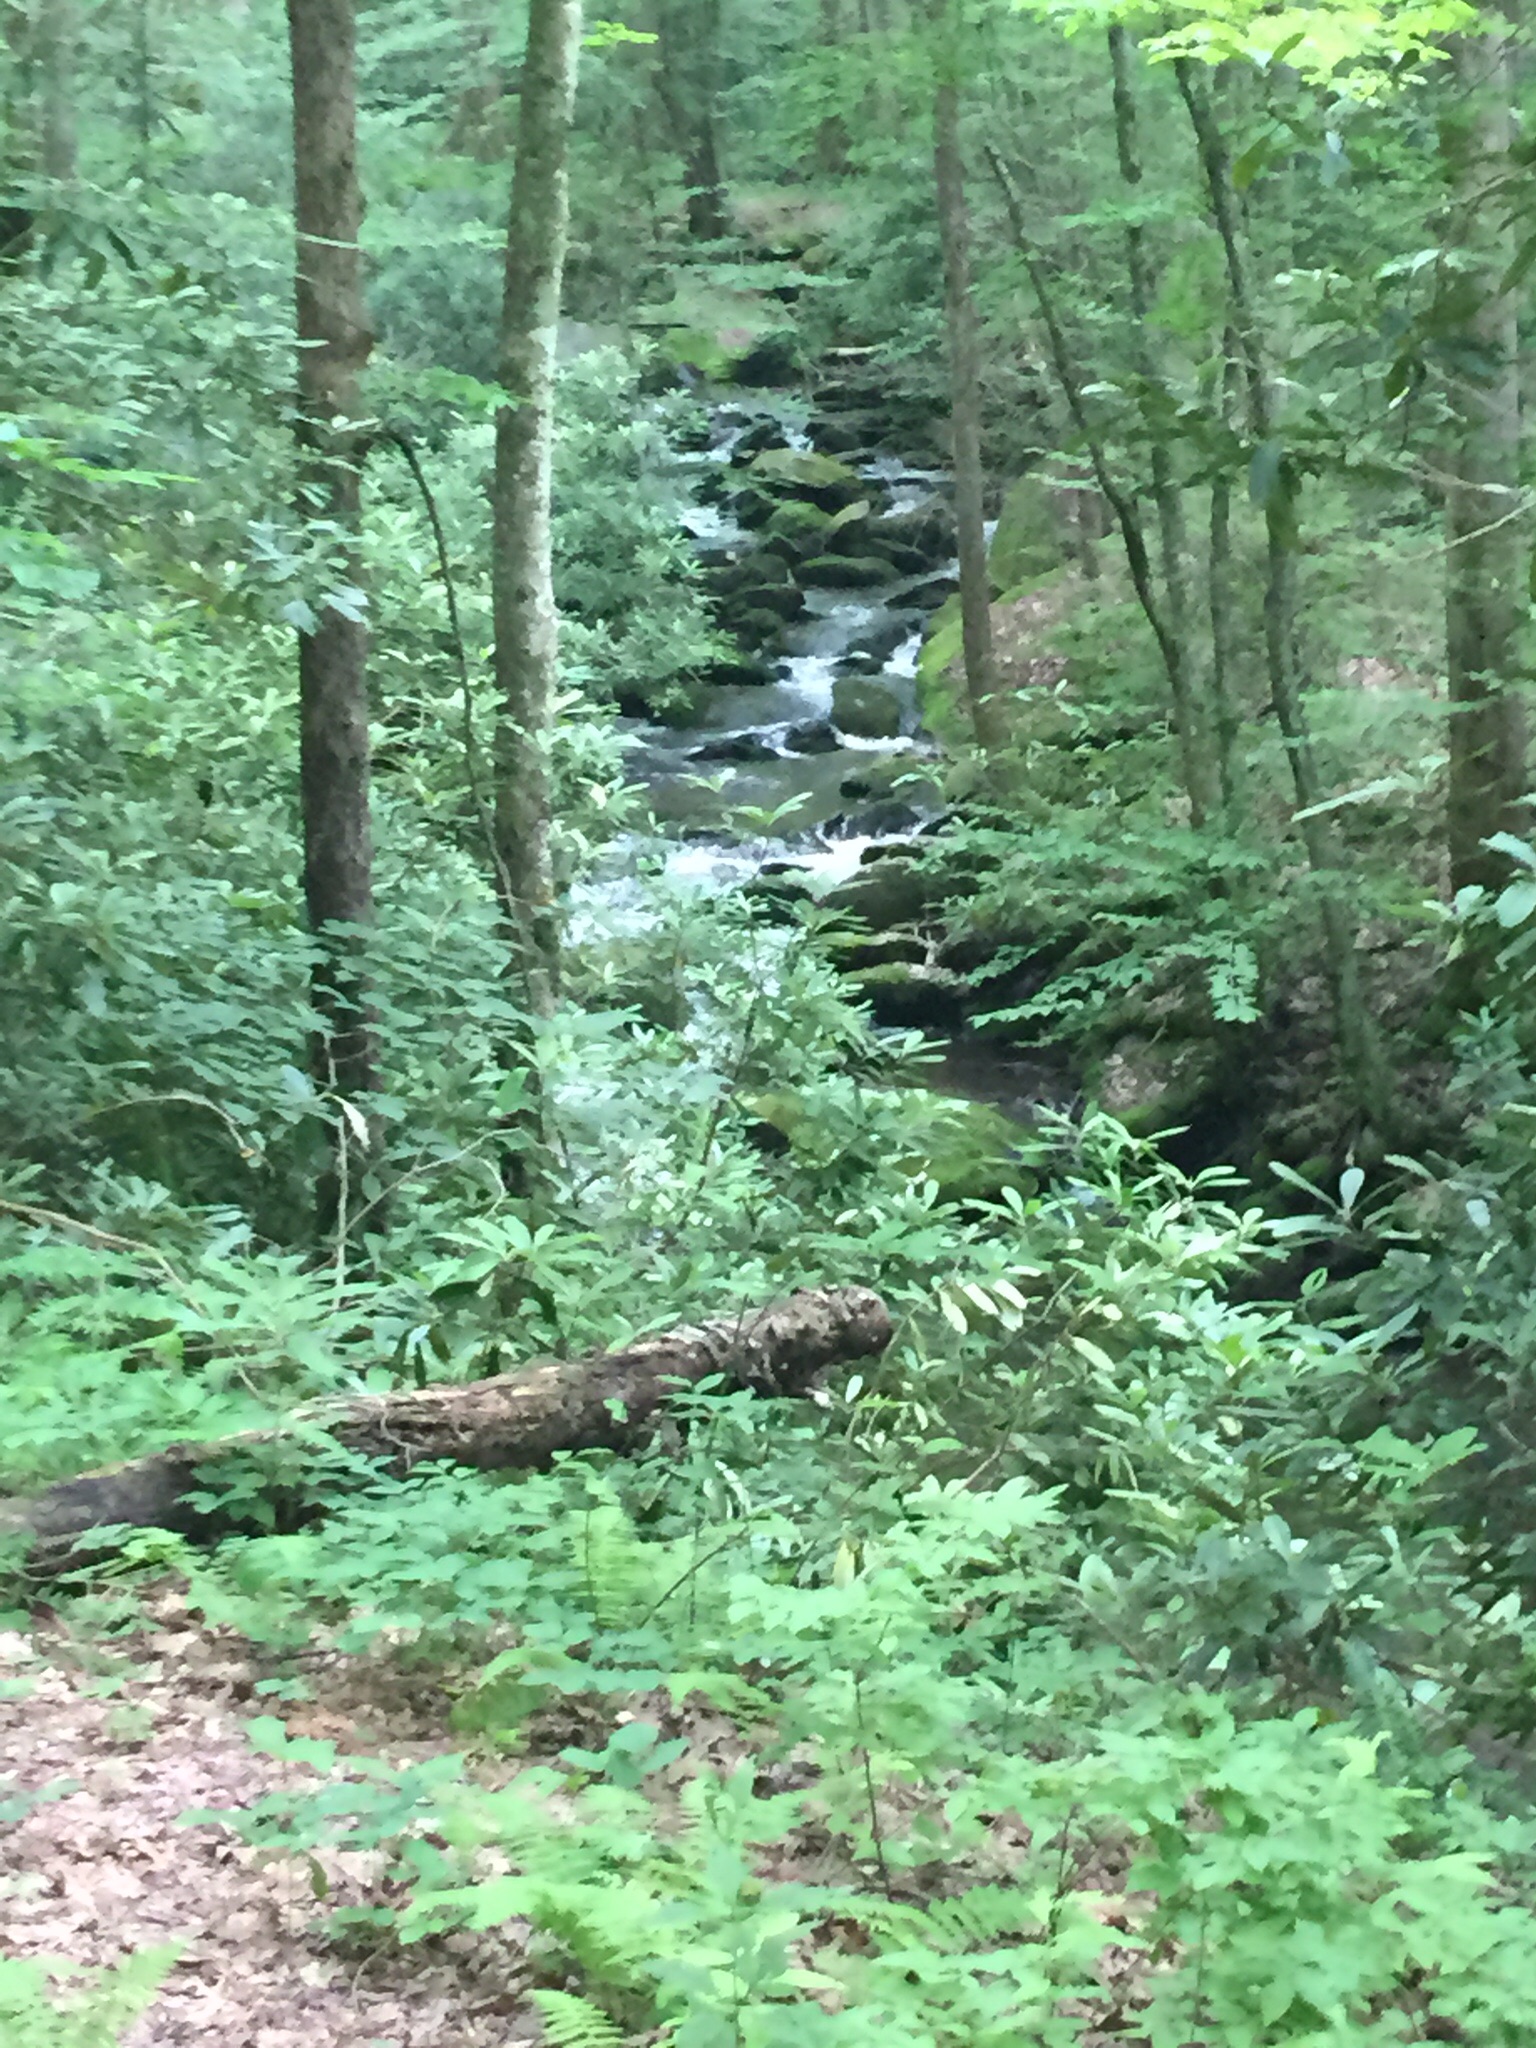
I love moss. I really do. I love moss so much that I can’t help but write about it. Moss is indeed one of the Great Things. 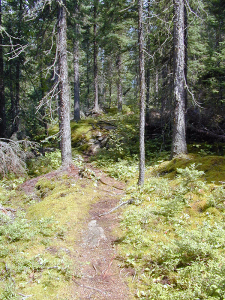 Moss is like a sedative and its porous structure imparts such a stillness to its surroundings that the sound it absorbs seems to manifest as a physical presence. It’s as if moss must consume sound in order to survive. Moss loves dampness and decay and the forests of Citico Creek provide an ideal substrate for huge bryophytic colonies. A porous absorber, moss converts a minuscule portion of the acoustic energy it consumes into heat. Dispersing that heat as waste is perhaps what make moss seem so cool.
OLYMPUS DIGITAL CAMERA
OLYMPUS DIGITAL CAMERA
OLYMPUS DIGITAL CAMERA